Re: Projekt Uber Geizig 1972 VW Bus Deluxe 9 Passenger
Posted: Sep Tue 14, 2010 2:40 pm
Putting the exhaust on, and an exhaust stud pulled out - it was helicoiled, which is just stupid of the PO to do. So I had to fix it. I used a carbon steel insert called E-Zlok with a little info from a well known Samba member.
Progress, and possible success:
Here's the hardware I picked up at the store:
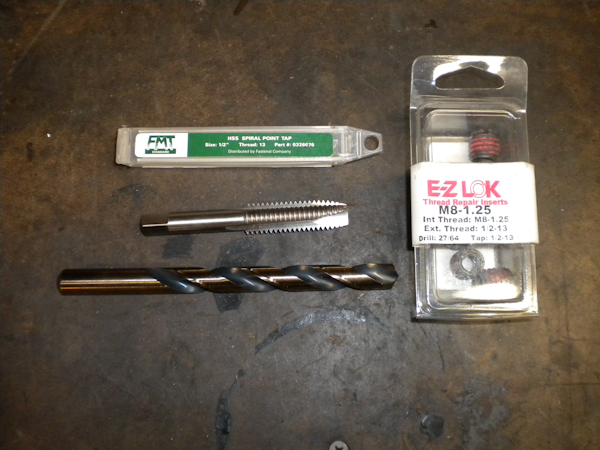
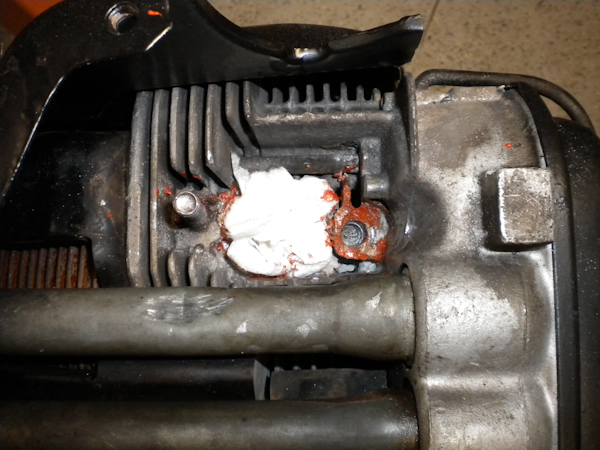
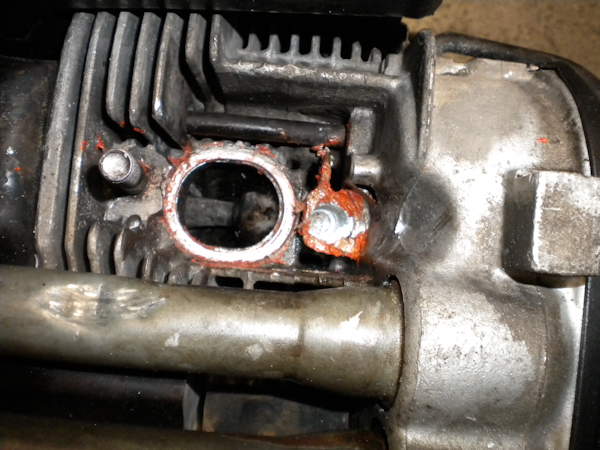
Here's what I have to work with, and I'll explain. The red is high temp copper RTV to help the exhaust seal up on these heads, and it got all over when I pulled the heat box off after the stud pulled. It's a pain to get off, so I'll most likely just leave it.
If you look closely, you will see that the boss for the stud has been ground down by the PO to a point where I thought the head was not usable, but with a longer bolt or stud I think it should be OK, I guess we will see.
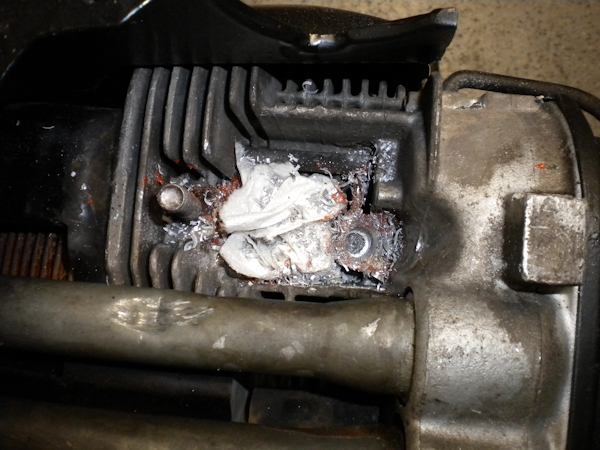
First I measred the depth of the thread insert, added a little to that length and marked by drill bit. Then, using my big 1/2 drill with a handle, I closely (eyeballed) matched up the angle of the other manifold stud and
drilled to that mark on the bit:
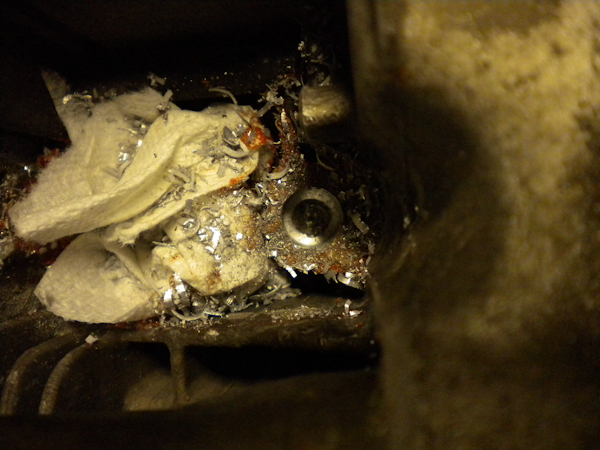
Here's a not very good close up:
I've tapped a few threads before, but always by hand, so I took the handle from my tap and dye kit, but it was too short on the tap. So, I improvised by using a 1/4 deep socket (9mm?) and a drill/socket bit that I normally use on my drill to run sockets, then attached the tap handle to that, which gave me plenty of extension:

From there, using plenty of cutting fluid, I slowly tapped the 27/64 hole and it threaded about 6 threads or so (hard to see in the pic):
Then I was able to thread the insert in. I didn't have a wide enough flat blade screwdriver, so I improvised with a small cold chisel and threaded the insert down until it hit the end of the threads. I have a small amount of the top of insert sticking up, but it is in the threads solid - it's not going anywhere. This also gave me some room underneath the insert for expansion:
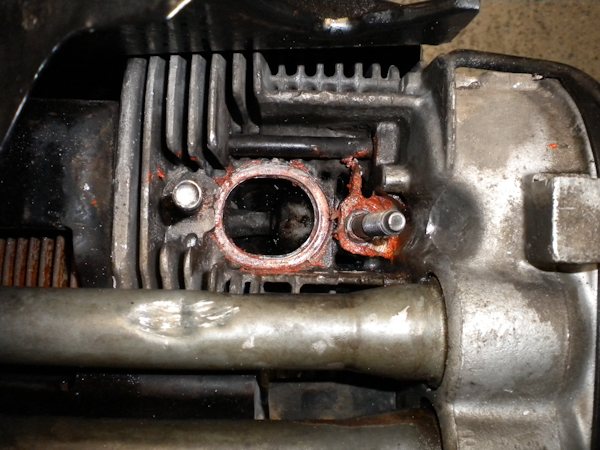
Here it is all buttoned up and ready to attach the lower tin:
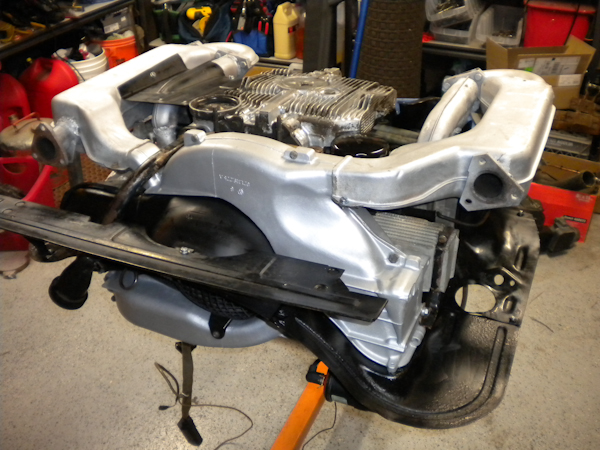
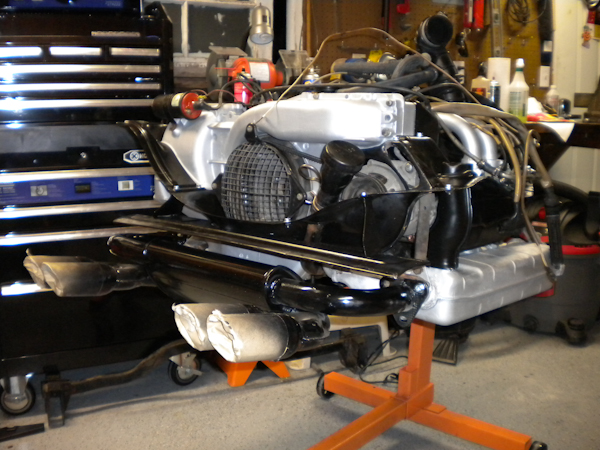
Here's a small preview of what it will look like when it's all ready to go:
Progress, and possible success:
Here's the hardware I picked up at the store:
Here's what I have to work with, and I'll explain. The red is high temp copper RTV to help the exhaust seal up on these heads, and it got all over when I pulled the heat box off after the stud pulled. It's a pain to get off, so I'll most likely just leave it.
If you look closely, you will see that the boss for the stud has been ground down by the PO to a point where I thought the head was not usable, but with a longer bolt or stud I think it should be OK, I guess we will see.
First I measred the depth of the thread insert, added a little to that length and marked by drill bit. Then, using my big 1/2 drill with a handle, I closely (eyeballed) matched up the angle of the other manifold stud and
drilled to that mark on the bit:
Here's a not very good close up:
I've tapped a few threads before, but always by hand, so I took the handle from my tap and dye kit, but it was too short on the tap. So, I improvised by using a 1/4 deep socket (9mm?) and a drill/socket bit that I normally use on my drill to run sockets, then attached the tap handle to that, which gave me plenty of extension:
From there, using plenty of cutting fluid, I slowly tapped the 27/64 hole and it threaded about 6 threads or so (hard to see in the pic):
Then I was able to thread the insert in. I didn't have a wide enough flat blade screwdriver, so I improvised with a small cold chisel and threaded the insert down until it hit the end of the threads. I have a small amount of the top of insert sticking up, but it is in the threads solid - it's not going anywhere. This also gave me some room underneath the insert for expansion:
Here it is all buttoned up and ready to attach the lower tin:
Here's a small preview of what it will look like when it's all ready to go: