Page 12 of 26
Re: Projekt Uber Geizig 1972 VW Bus Deluxe 9 Passenger
Posted: Sep Thu 16, 2010 8:43 am
by sneakyboy1
Looking great Mike!
Re: Projekt Uber Geizig 1972 VW Bus Deluxe 9 Passenger
Posted: Oct Mon 04, 2010 11:40 pm
by Mikewire
Ok, a couple of more things done.
The battery tray was toast, so I made a new one from 3/4 plywood, painted it with flat black implement paint and made/bought a couple of brackets to secure it. Set it in place with a good bead of black silicone and it's solid. Ran new + and - cables and undid the cluster of wiring made up by the PO. Cleaned up the non-functional AC lines and wiring too.
It's not impressive, but it works and should last longer than the bus:
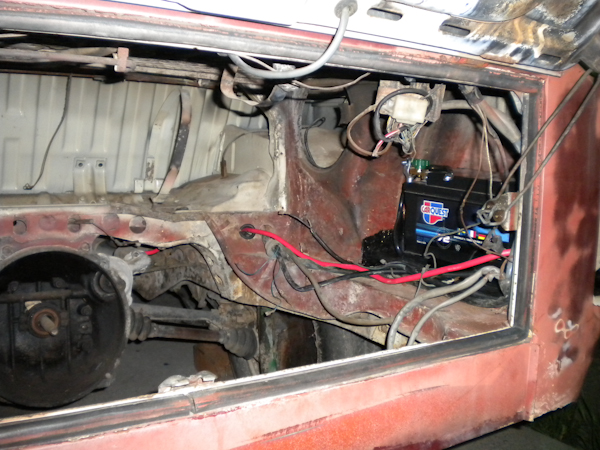
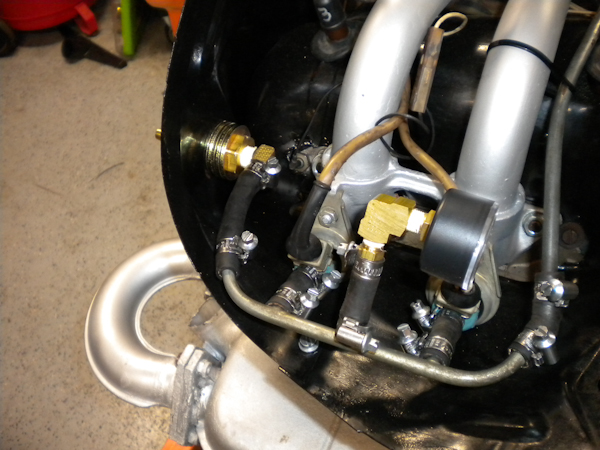
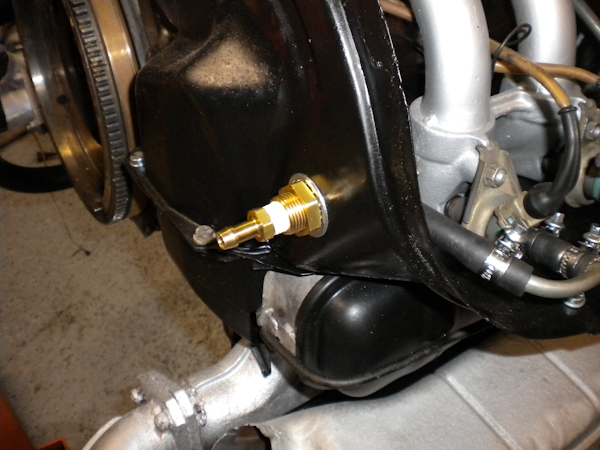
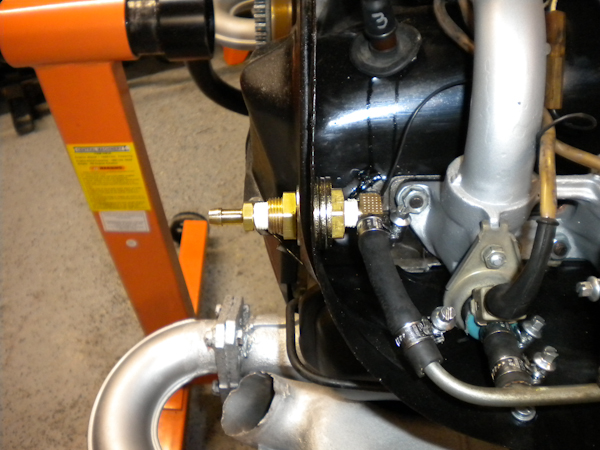
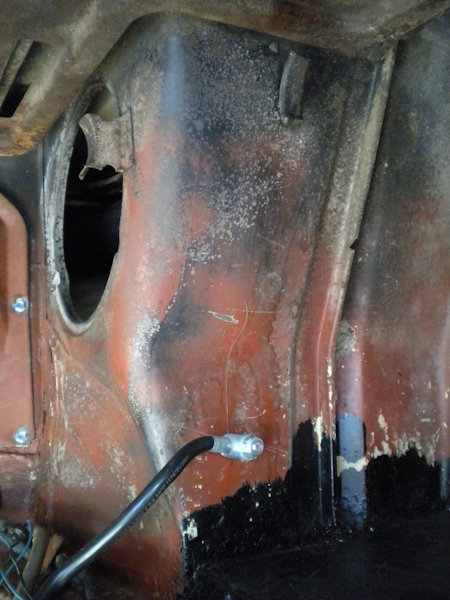
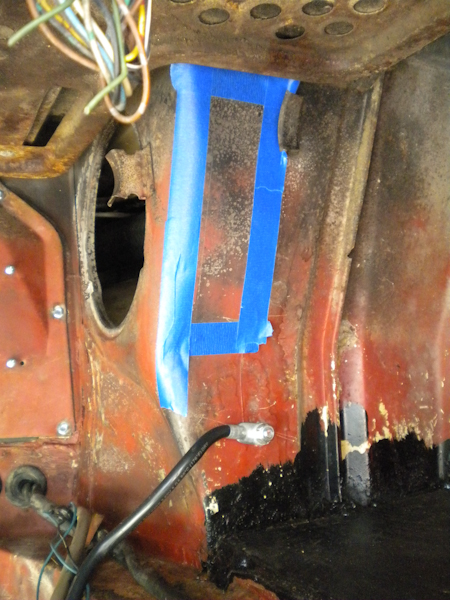
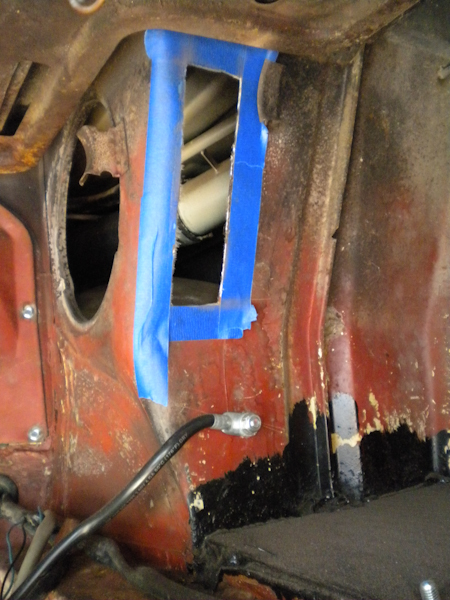
Here's my solution to the fuel connection through the firewall - basically a full bulkhead connection with 5/16 fuel nipples (tee hee), a few washers to space it out and some yellow fuel resistant PFTE tape to seal it all up:
Also fixed the fuel sender (that's another project), but I lost the pics due to a corrupted micro SD card in my phone, which is getting formatted and set back to factory defaults like a bitch right now

Next up is to get the fuel sender back in the tank, tank in bus, and seal up the firewall and then I can finally this motor in the engine compartment.
Re: Projekt Uber Geizig 1972 VW Bus Deluxe 9 Passenger
Posted: Oct Tue 05, 2010 8:09 am
by Jd3
atta boy....
Re: Projekt Uber Geizig 1972 VW Bus Deluxe 9 Passenger
Posted: Oct Tue 05, 2010 10:35 am
by 4est
looking great. dang you getting close!
That engine looks awesome!
Re: Projekt Uber Geizig 1972 VW Bus Deluxe 9 Passenger
Posted: Oct Tue 05, 2010 9:02 pm
by sneakyboy1
Looking great mike, can't wait to see this next year!
Sent from my DROIDX using Tapatalk
Re: Projekt Uber Geizig 1972 VW Bus Deluxe 9 Passenger
Posted: Oct Wed 06, 2010 2:55 pm
by Jd3
StaggeredMK4 wrote:Looking great mike, can't wait to see this next year!
and all the free candy

Re: Projekt Uber Geizig 1972 VW Bus Deluxe 9 Passenger
Posted: Oct Mon 11, 2010 10:42 am
by Mikewire
^lol. Got a big bag for ya sonny.
Ok, so I'm running short on good weather so I am trying to get things done.
This weekend:
- Fuel tank, all vent lines, sender, filler hose etc re-installed and tank firewall sealed with new weather stripping and screwed tight back in place.
- Dual relay and resistor pack mounted on the firewall.
- Volt. regulator rewired, mounted to firewall, and made a new alternator harness.
- Engine bay cleaned and power washed.
- New rear tail lenses and one new housing and all lights hooked back up and tested.
- All loose wires trimmed up and currently being sorted through.
- 12v battery power applied!
Off to ask TheSamba people some wiring questions, cause I'm stumped on a couple of things that I think are '72 specific to the Type 2.
Re: Projekt Uber Geizig 1972 VW Bus Deluxe 9 Passenger
Posted: Oct Mon 11, 2010 11:54 am
by YASHA7FOLD
I hate the guessing game in wiring. It seams that any diagram has something wrong! Oh wait that could be because I am inpatient.

Re: Projekt Uber Geizig 1972 VW Bus Deluxe 9 Passenger
Posted: Oct Mon 18, 2010 9:17 am
by Mikewire
^No doubt - most of the issues are just from corrosion of the copper connectors and broken connectors. That's an easy fix, but it's really time consuming.
This weekend I was able to trim down all the loose connections and terminate them or tape them up so they aren't bare. I also picked up all new fuses, all of which were the wrong amperage or blown/missing and got all my turns, brakes, parking and the interior lights all working - all that's left is to plug all the wires back into the correct spots on the cluster and it should be good for electrical. Oh, and I also pulled the ambers out of the front turns and the bulbs will be replaced with stealth (homebrew'd) amber bulbs.
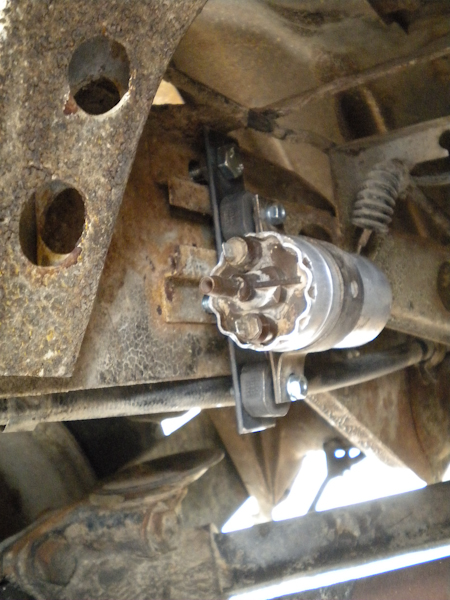
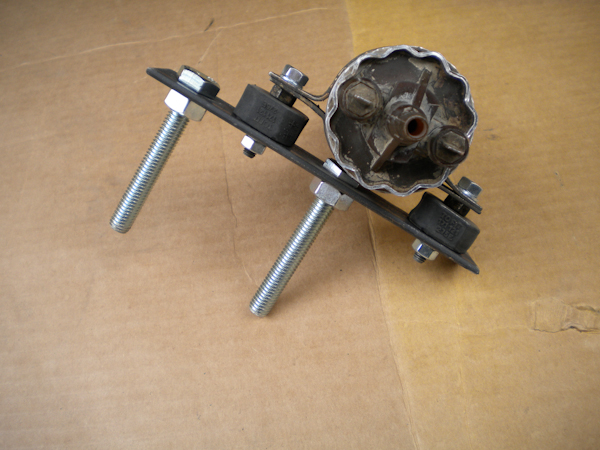
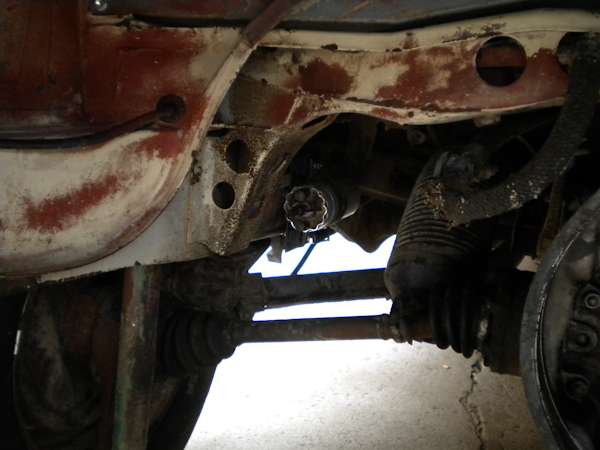
I made a bracket for the electric fuel pump:
It may not look it here, but I have plenty of clearance to the bottom of the pump bracket, but there is still a chance I may need to adjust the height of the pump and/or bracket.
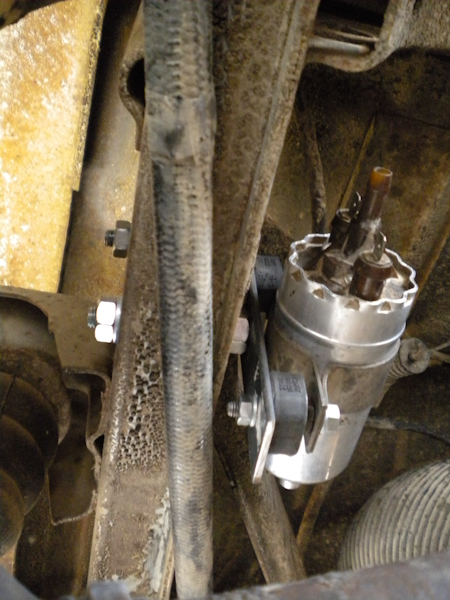
I used the existing factory holes in the frame and drilled out the other side to bolt through the frame rail:
New TB:
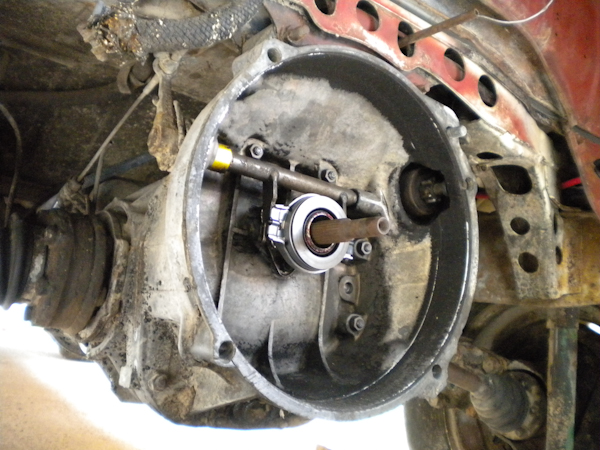
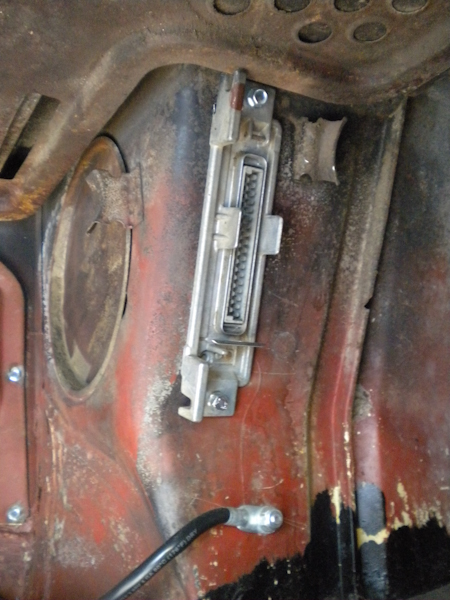
Then I cut a spot for the ECU just like the 1975+ F.I. models would have:
Doesn't seem like a lot of progress considering I worked a majority of the weekend out in the garage, but I spent so much time cleaning up loose wires and making lights turn on and off that I really only got pics of the major progress.
Only a couple of things in the engine bay to get done - one, being the air box support. I was able to get one out of a parts bus which I will have a couple of tabs welded up so that I can attach it to the rear support. the other is a new/used VR since the one that was in the bus was for a generator, not an alternator. If time allows I should be able to get that done sometime this week.
Re: Projekt Uber Geizig 1972 VW Bus Deluxe 9 Passenger
Posted: Oct Mon 18, 2010 10:08 am
by Roadhog
do werk son.
Also, you might want to put a rubber bushing on the other side of the bolt too, by the nut. One won't help that much.