Page 5 of 6
Re: Audi Atlas A4 Avant
Posted: Apr Thu 11, 2013 6:38 pm
by paintballguy424
Good stuff Mike I wanted to do this mod but didn't want to be the local guinea pig. I hope you see an improvement in mpg also.
Sent from my iPhone using Tapatalk
Re: Audi Atlas A4 Avant
Posted: Apr Thu 11, 2013 8:50 pm
by choptopvolksrod
did the coil swap in my jetta right before I came to the billings euro show got like 30 mpg on the trip there. I noticed an improvement in mpg and a slight power increase also.
Re: Audi Atlas A4 Avant
Posted: Apr Thu 11, 2013 9:01 pm
by sneakyboy1
Looks great Mike!
Sent from my SCH-I535 using Tapatalk 2
Re: Audi Atlas A4 Avant
Posted: Apr Thu 11, 2013 9:34 pm
by padroB5
Re: Audi Atlas A4 Avant
Posted: May Tue 21, 2013 2:40 am
by Audicted
Hey mike I was wondering if you out an aftermarket deck into the wagon with Bose integrated in it. I'm looking around and it seems the only way to have an aftermarket deck while keeping stock Bose speakers is to purchase an adaptor.
Thanks
Oh the wagon looks great, my inspiration no doubt

Re: Audi Atlas A4 Avant
Posted: May Fri 24, 2013 4:37 pm
by Mikewire
Mine is not Bose. Looks like a line converter is needed to keep the amp from popping when changing sources and on/off. Other than that it should be fairly plug and play with a good harness.
Re: Audi Atlas A4 Avant
Posted: Dec Mon 23, 2013 1:37 am
by Mikewire
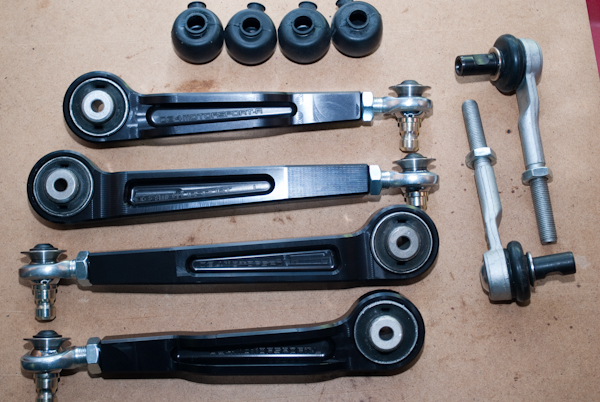
These 034 Motorsports adjustable upper front control arms, plus another set of outer tie rods are going in soon:
Re: Audi Atlas A4 Avant
Posted: Dec Mon 23, 2013 3:03 pm
by YASHA7FOLD
Let me know if you need any help with those.
Re: Audi Atlas A4 Avant
Posted: Feb Thu 27, 2014 1:41 pm
by Mikewire
Control arms went in and I've driven on them with a proper alignment.
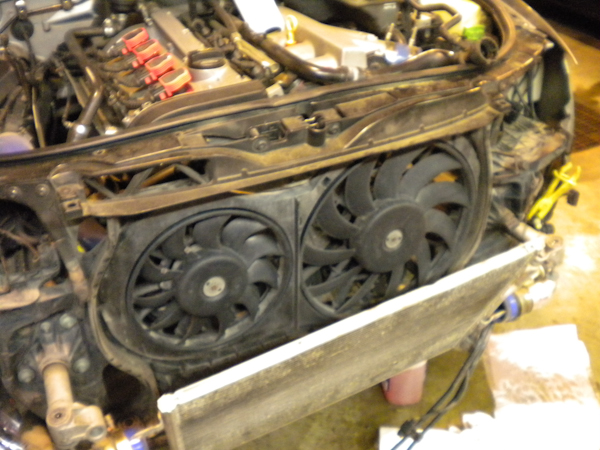
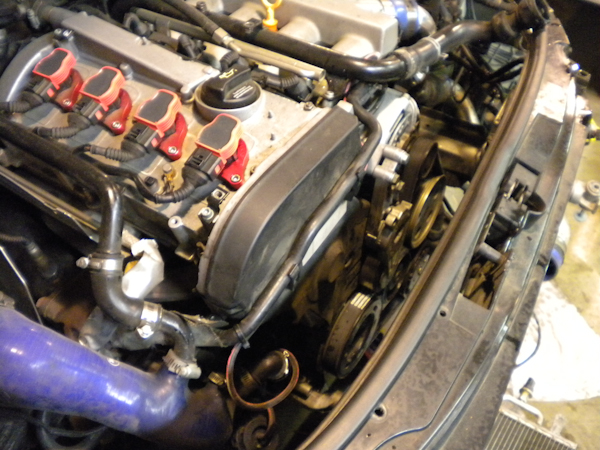
After that the next job was timing belt and new radiator:
Busted out the tools and got to the core, put it in service mode
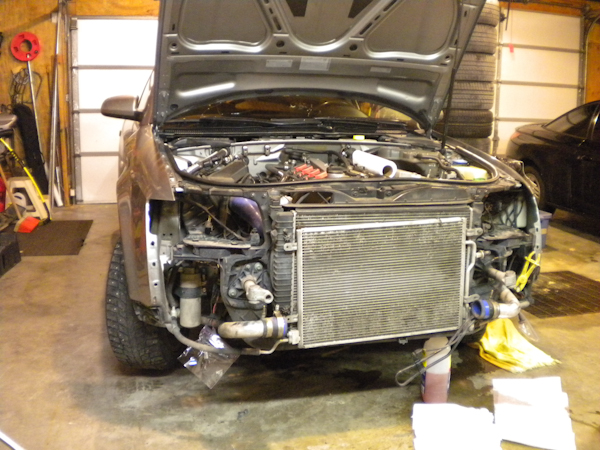
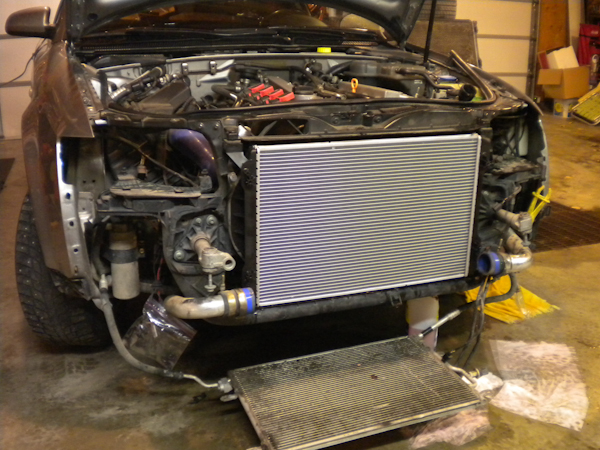
Old leaky radiator out
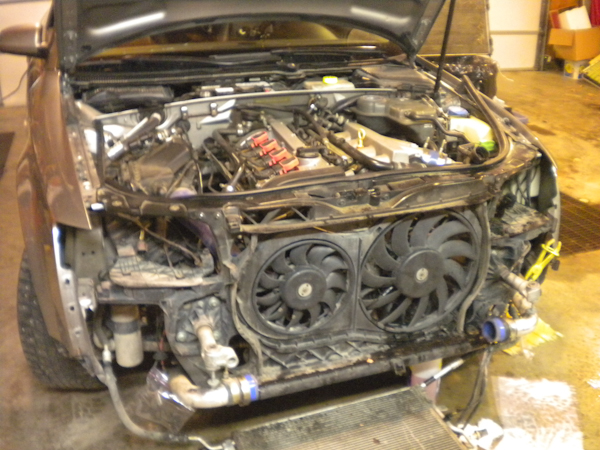
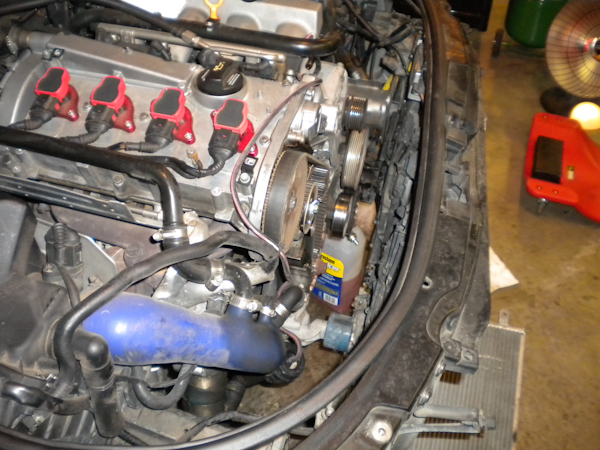
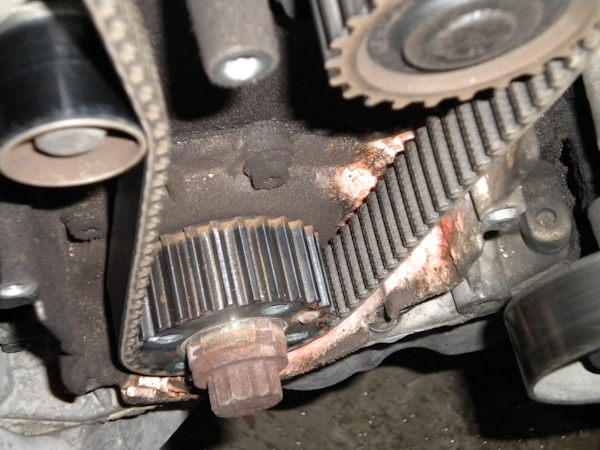
Pulled the timing covers and got to the water pump and tensioners
You can kind of see things through the radiator fans

My water pump seal was leaking a bit...

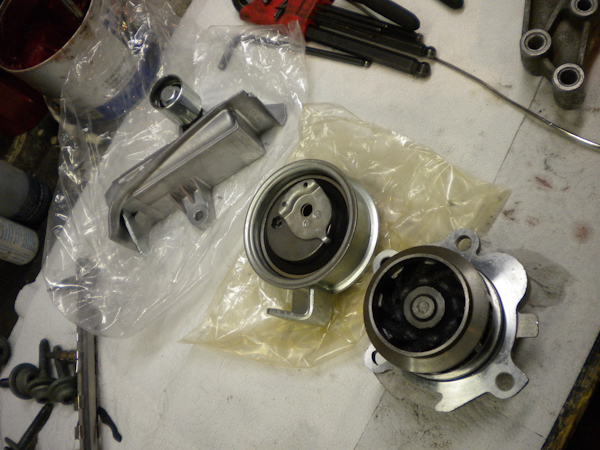
New parts prepped for install - all German parts, no cheap $hit.
All installed, timing belt lined up and ready to pull the tensioner "grenade pin"
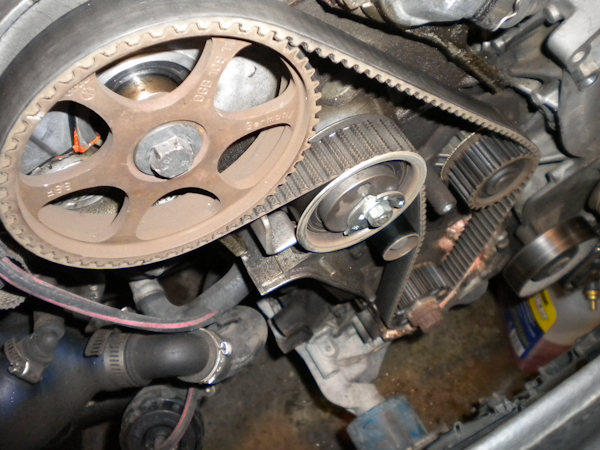
All ready to run
Don't forget that new radiator!
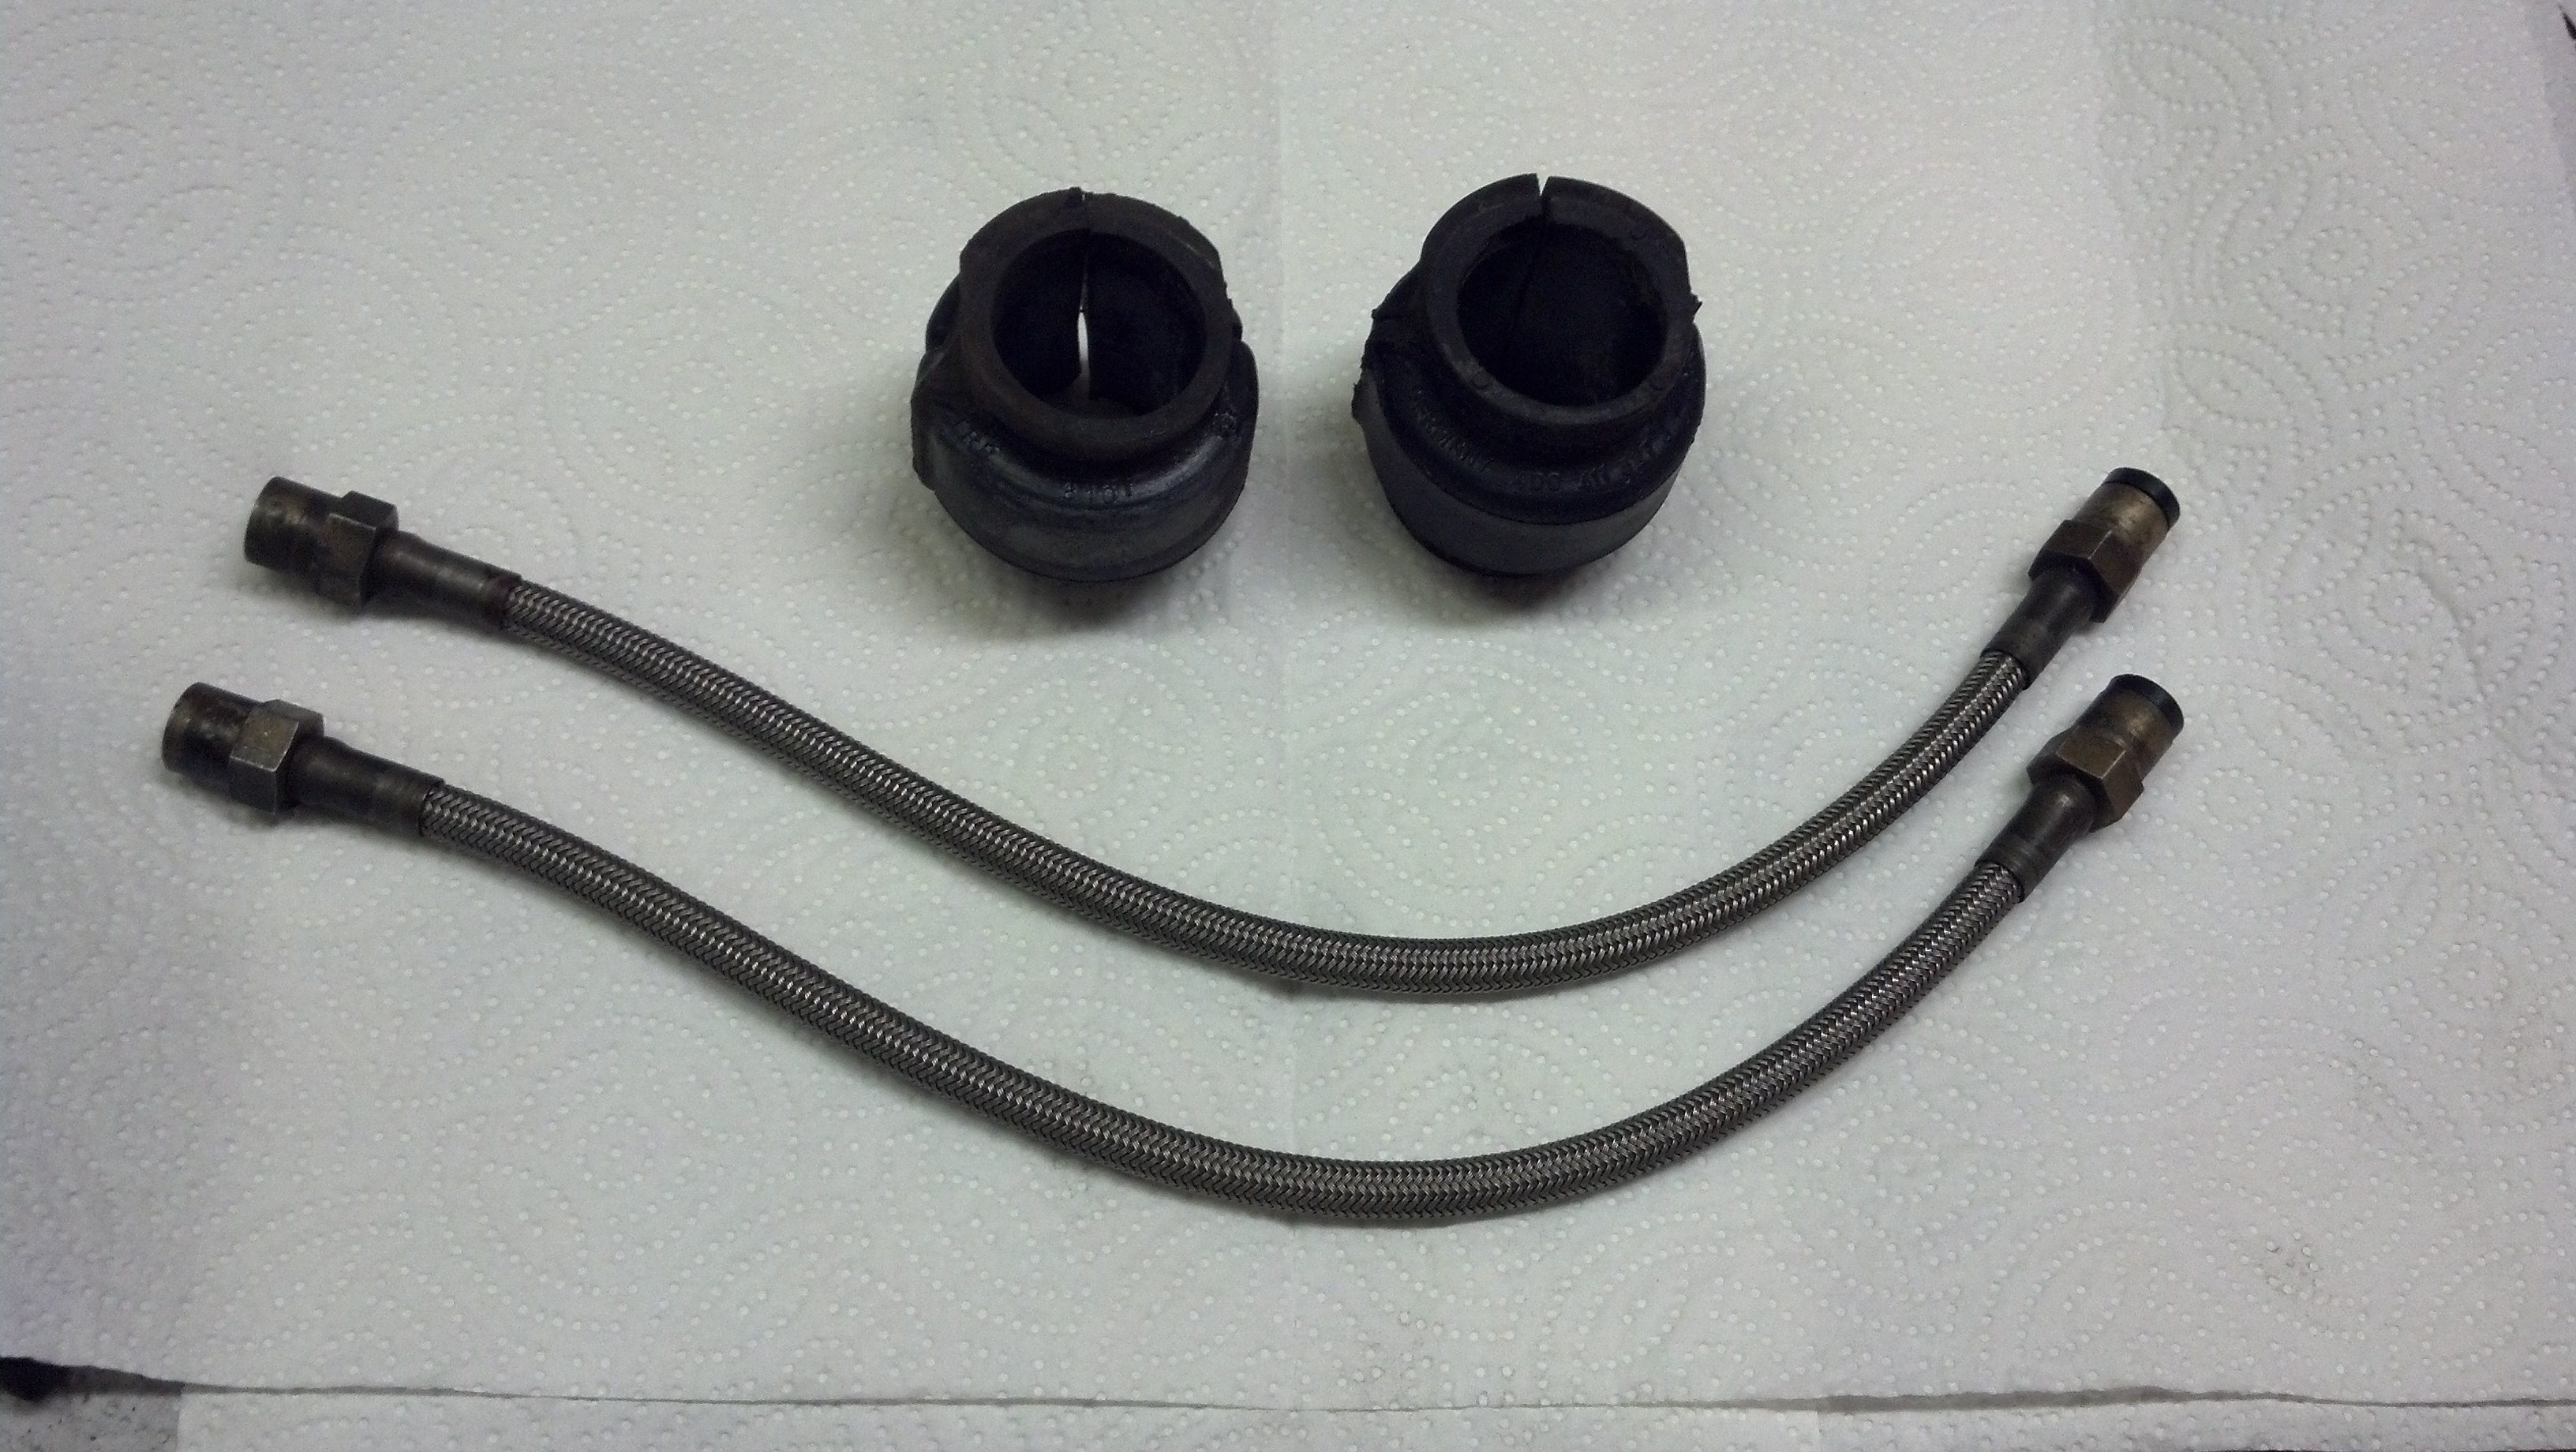
And...new-to-me Neuspeed stainless front brake lines (and sway bar bushings)
Done for a while. Noticed my front axle inside boots are torn and spewing grease

Up next...RAXLES

Re: Audi Atlas A4 Avant
Posted: May Thu 08, 2014 12:22 pm
by Mikewire
Had an issue with a clunk in the front end going over bumps, and my axles boots were torn. Ended up going with Raxles on both sides and pulled the trigger on a set of ST coilovers to refresh the suspension.
Problem solved. Conclusion below...
Here's what I did...and here are the parts I replaced:

New axles from Marty @ Raxles:


Replaced both sides and took it for a spin, and still a knock. Sigh...well, the inner boots were torn and they needed replaced anyhow, so that's done.
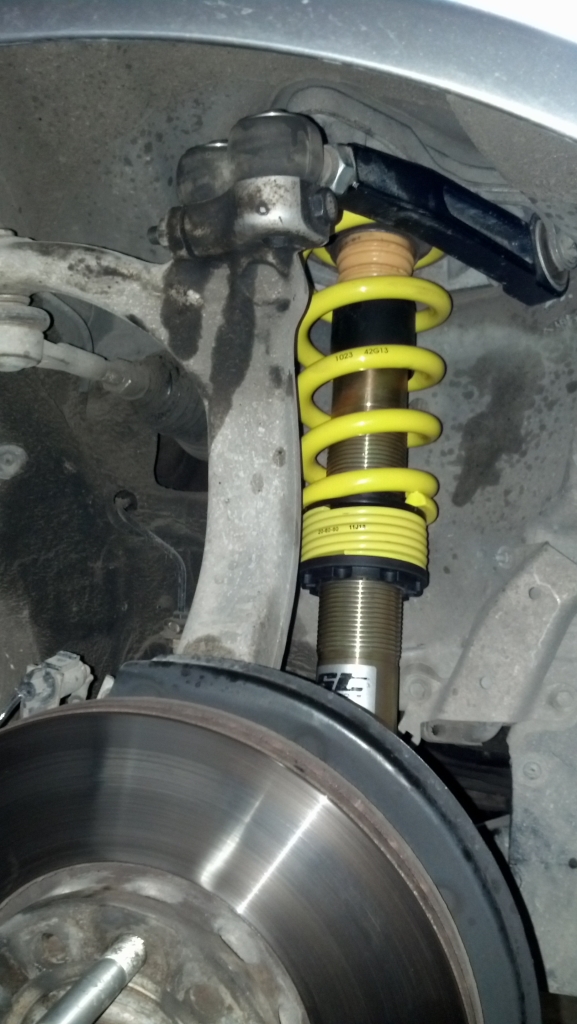
And new ST coilover suspension:
While installing the ST's I noticed this mark on each of my lower control arms:

[o_o] Oh man. Yeah, so I think the longer bolts that came with my FCP control arm kit may have been a bit long. When the strut compressed and the control arms flexed, it appears the bolt would hit the front of the rear control arm. [mad] I ended up cutting them down by about 1/2 inch, which is sufficient to secure the strut, and short enough to clear the control arm.
Torqued all the bolts to spec under load and went out for a drive. FINALLY, no more knock knock...and the ST's ride much nicer than my H&R/Koni Yellow static setup.
Now to install the rear setup and it's all done.
Conclusion: The longer lower strut bolts were an issue, but were not all the problem. I suspect the entire problem was a combination of either a) worn out struts, and/or b) the strut nut was just not getting tight enough, although I used my air impact with two washers to tighten the sh*t out of it. Throw in the bolts hitting/interefering with the rear control arms, and those conditions would certainly cause knocks.
Key install tips:
- Be sure to install the washer on the top of the strut rod, and underneath the strut cap
- Install new strut bushings - they are cheap
- Torque the strut nut to spec (40Nm IIRC) per the enclosed and very detailed install instructions (thank you KW/ST)
- I used an additional lock washer under the strut nut - gives just a bit more insurance so the strut nut is tight and to spec