Page 1 of 3

1972 Type 1

Posted: Jun Fri 27, 2014 12:34 pm
by kevin286
A few of you know that I keep a 1972 Type 1 hidden.
Recent events:
Drive to Costco - die on way home, find broken fuel pump
Drive to dinner party - die on way home, find empty tank
Drive to car show - die on way home, find nothing, fiddle and working again

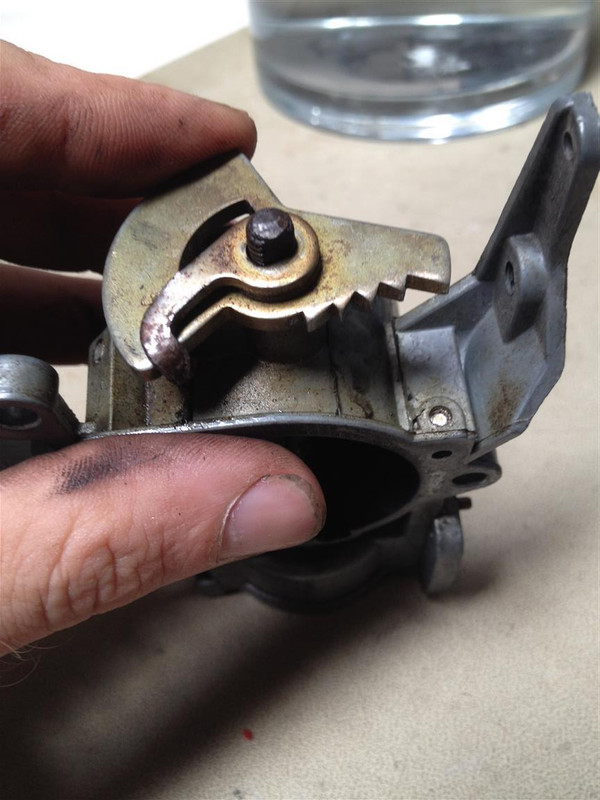
Now that I'm completely tired of sucking gas as part of my troubleshooting steps, and the gas flavored burps that go along with that I decided the fuel system needed attention.

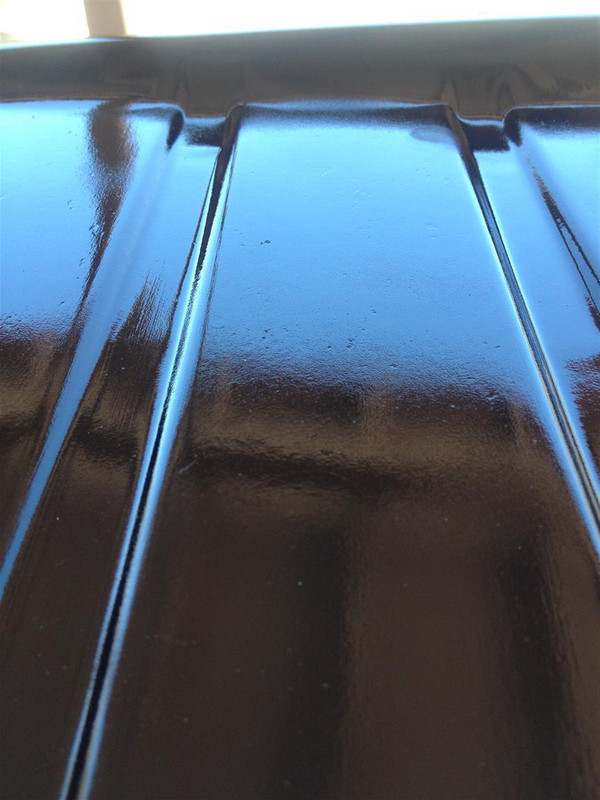
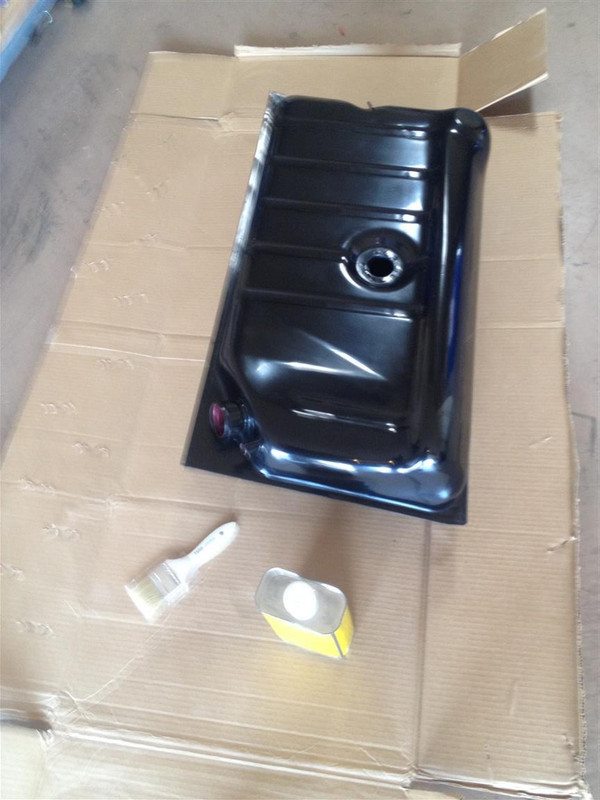
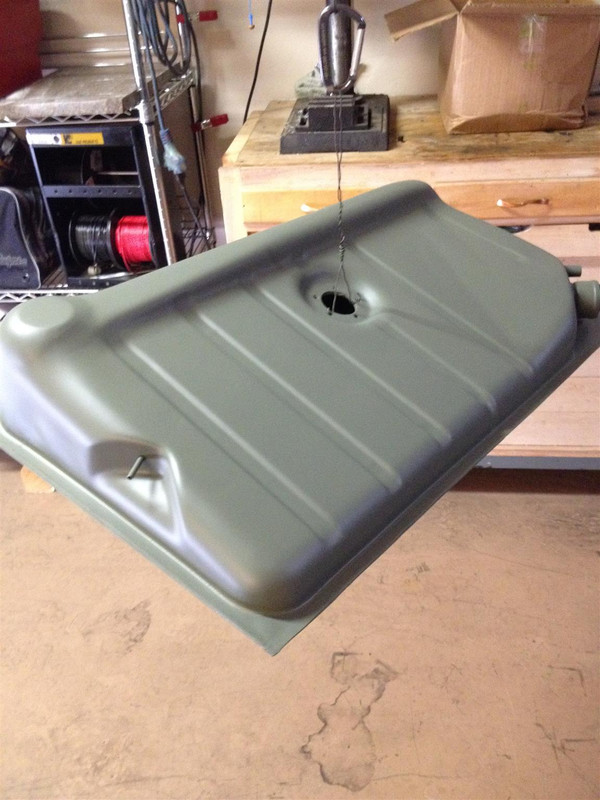
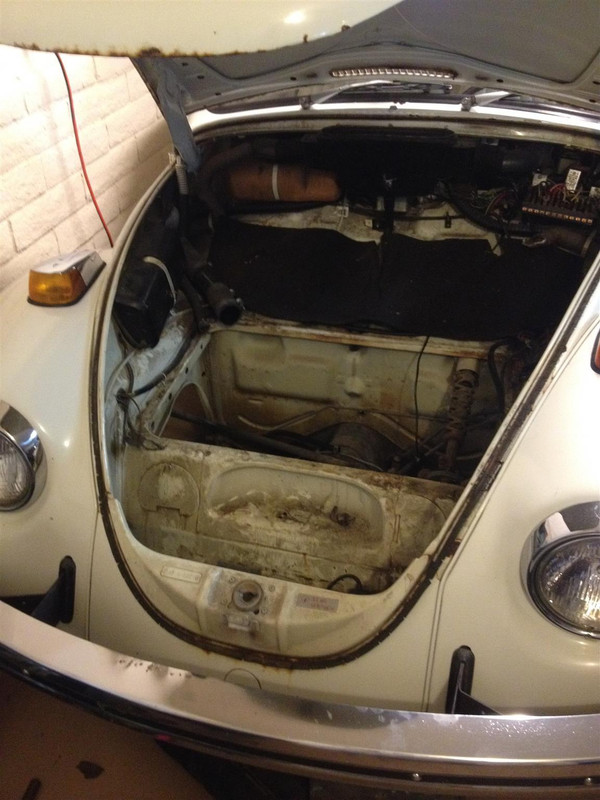
Starting with the gas tank
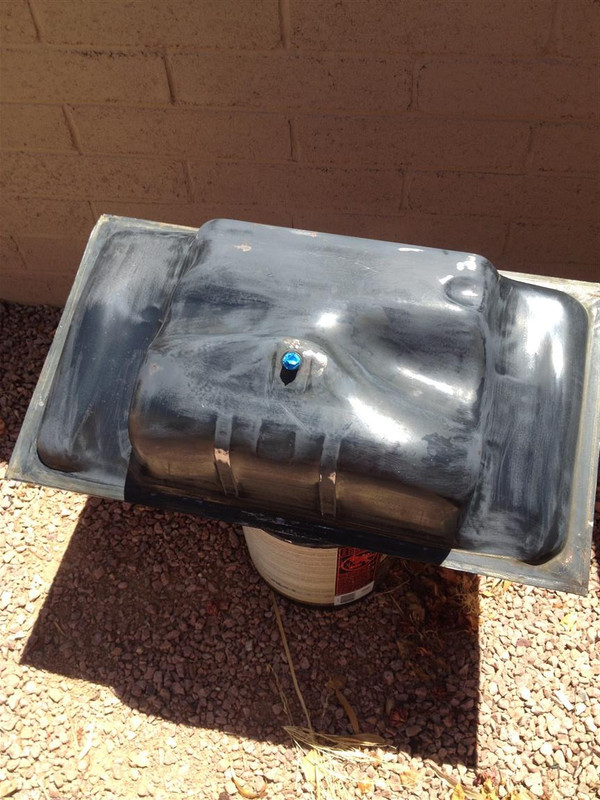
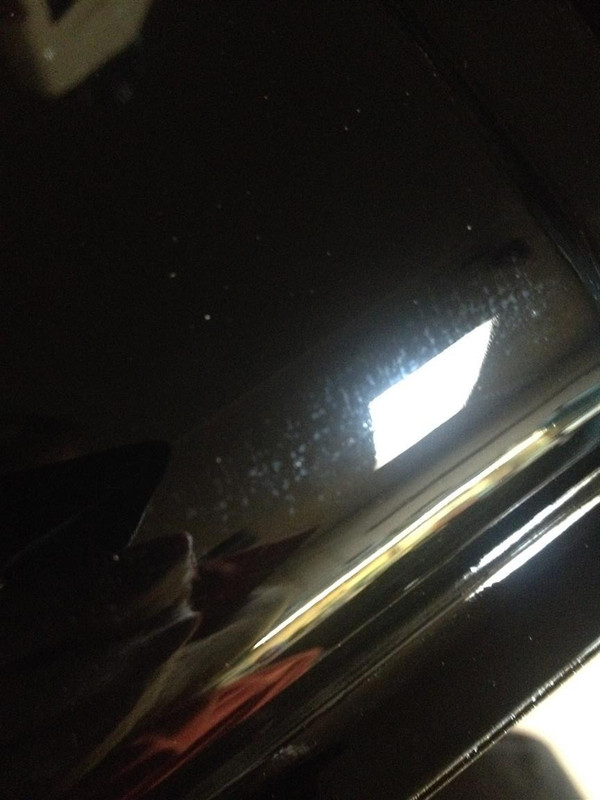
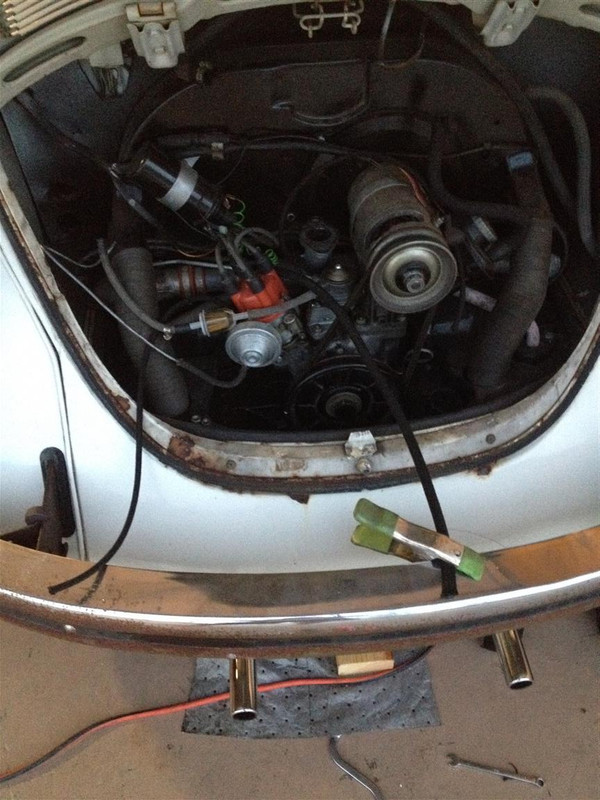
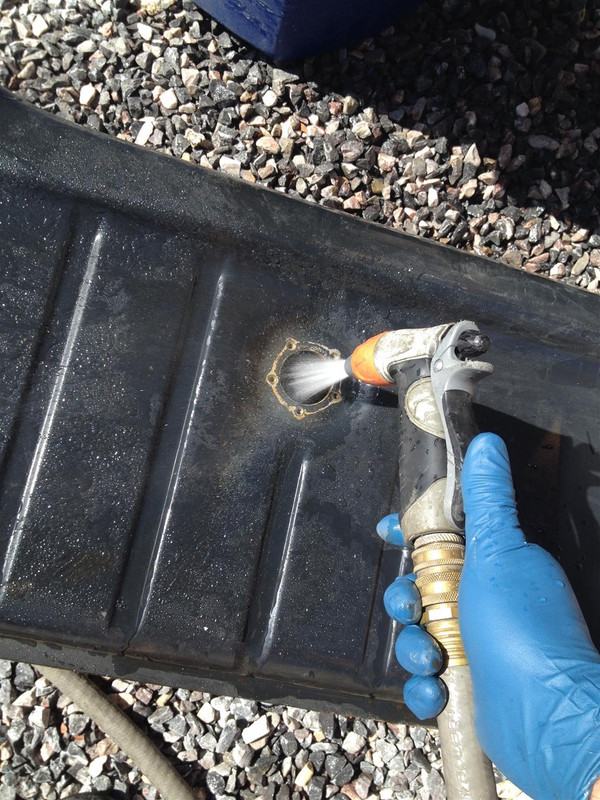
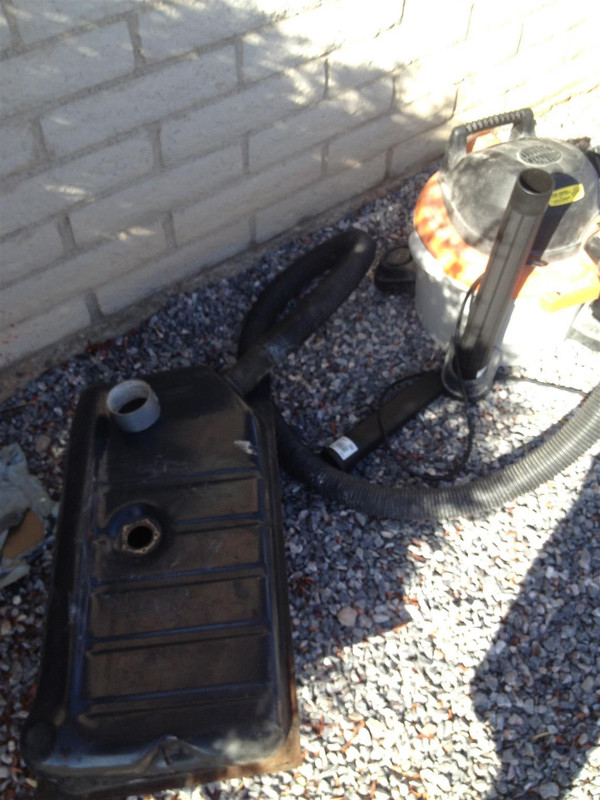
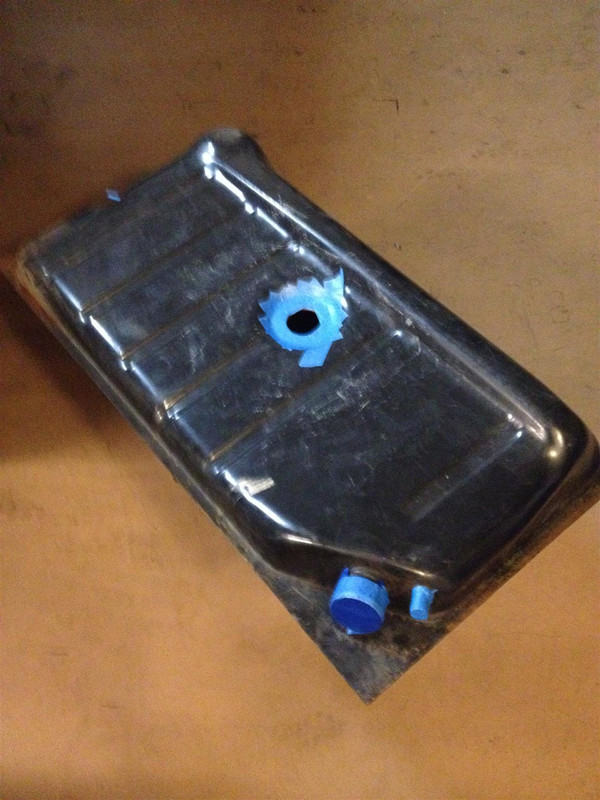
Remove - four bolts and a few hoses. no big deal
Image
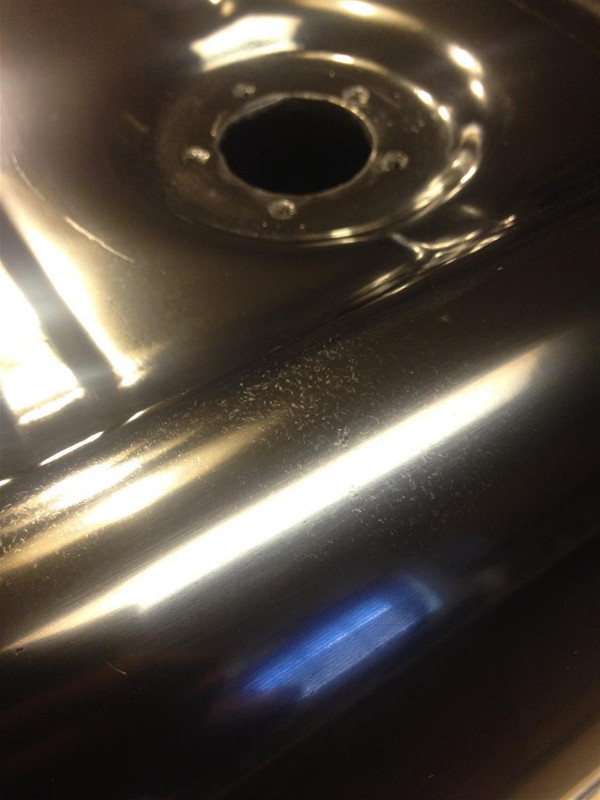
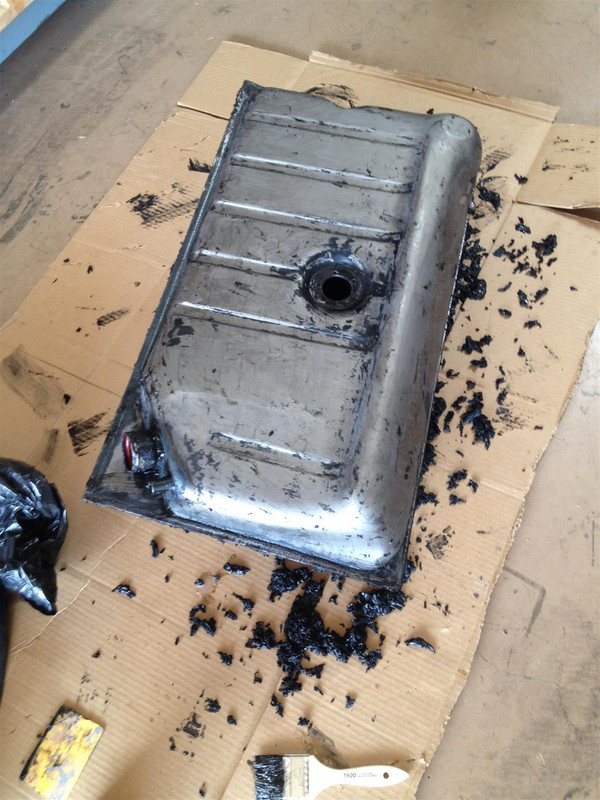
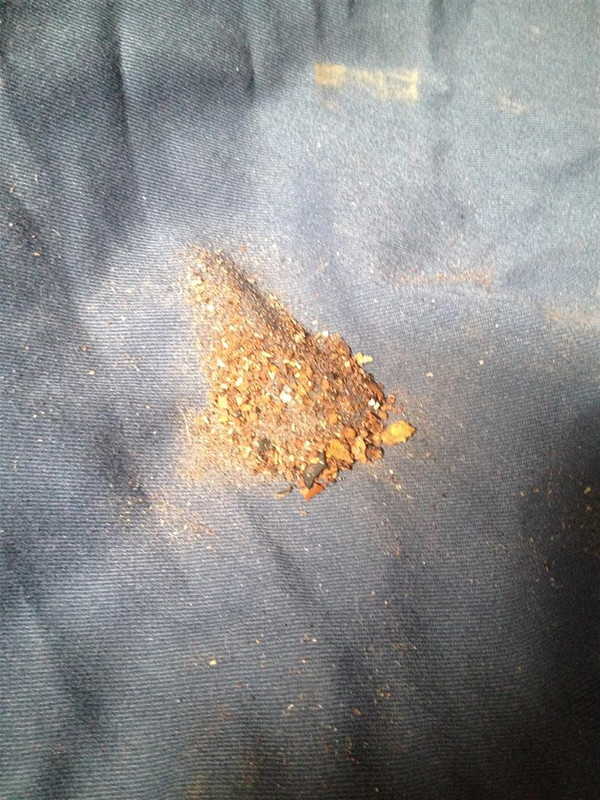
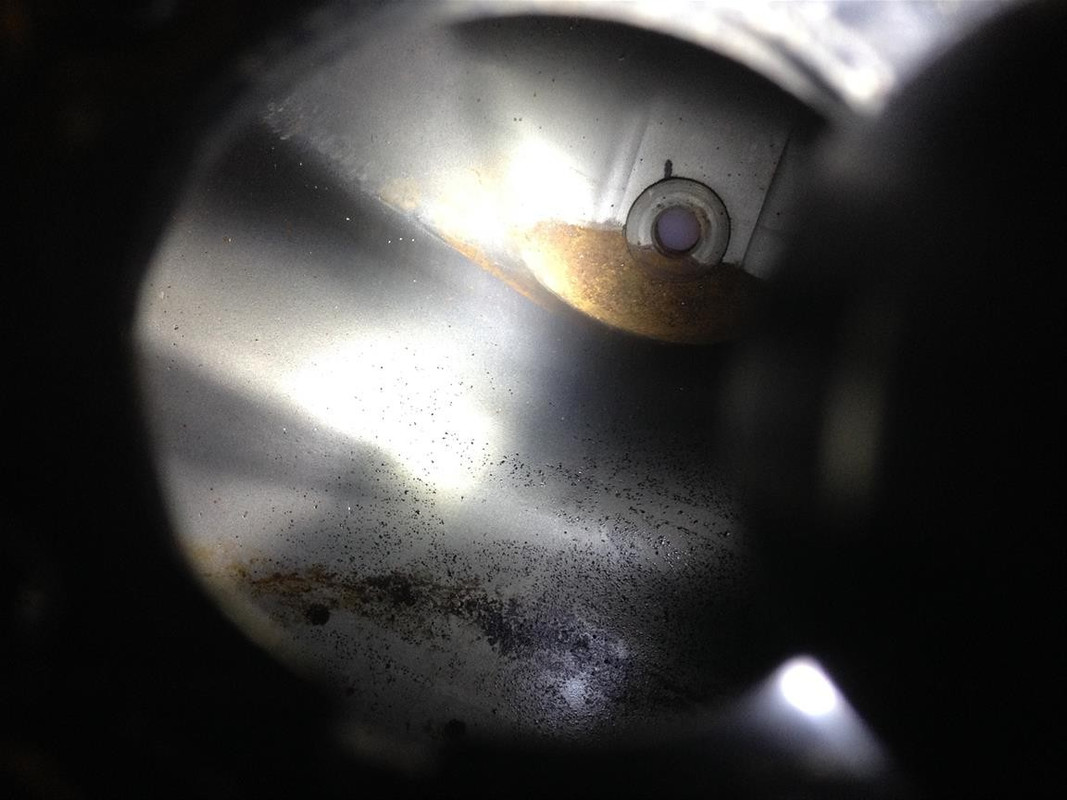
Got a little bit of crusties out when draining and bottom of tank has a little rust showing
Image
Image
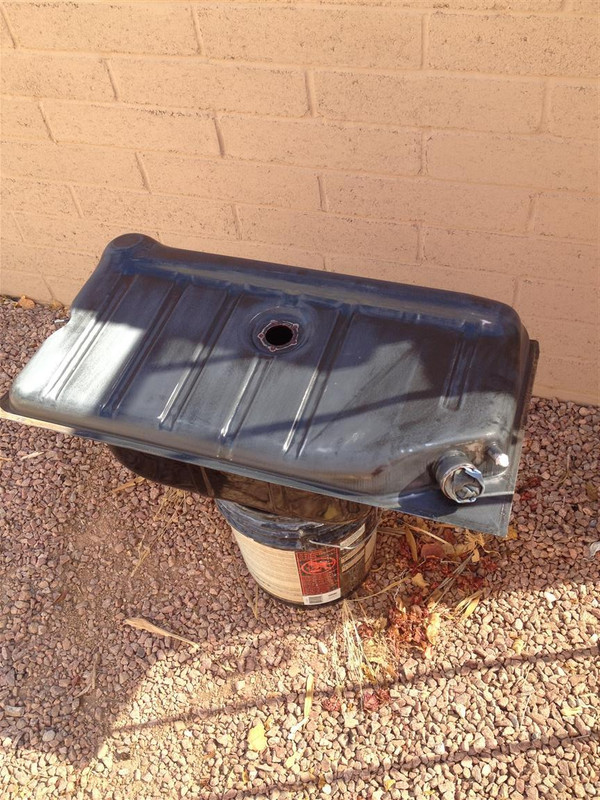
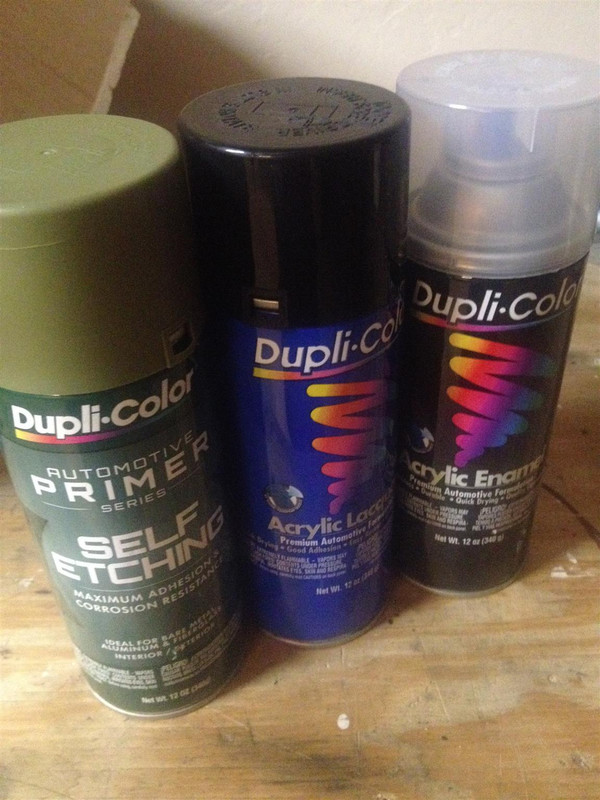
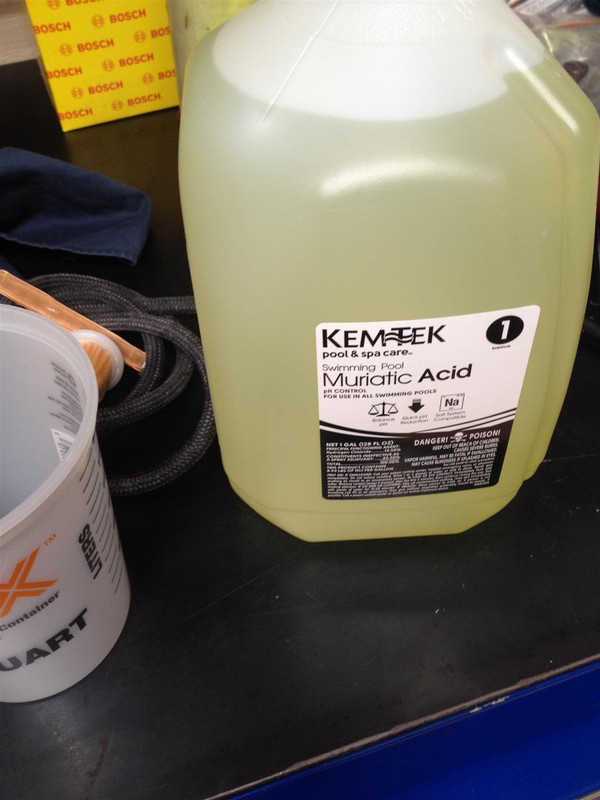
Seal off the holes and swish around some muriatic acid solution to get rid of the rust and prep it for sealing
Image
Image
Neutralize and rinse
Image
Image
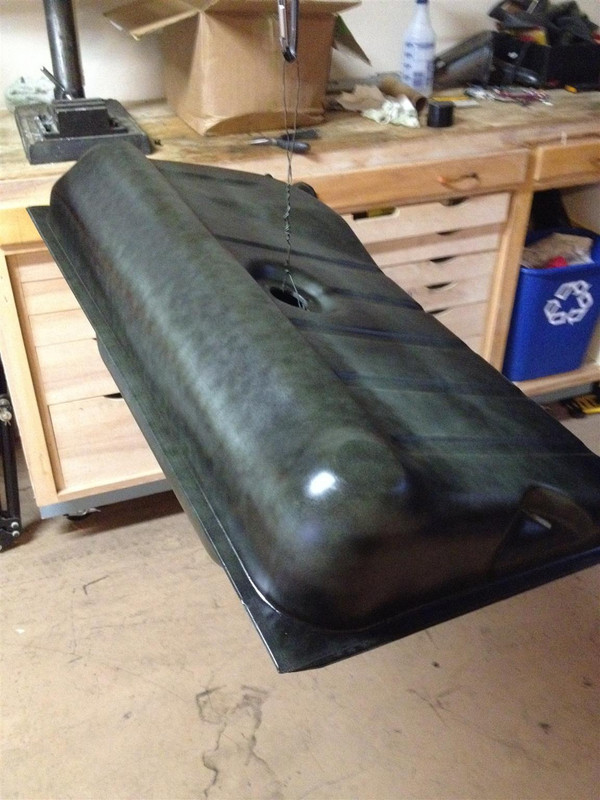
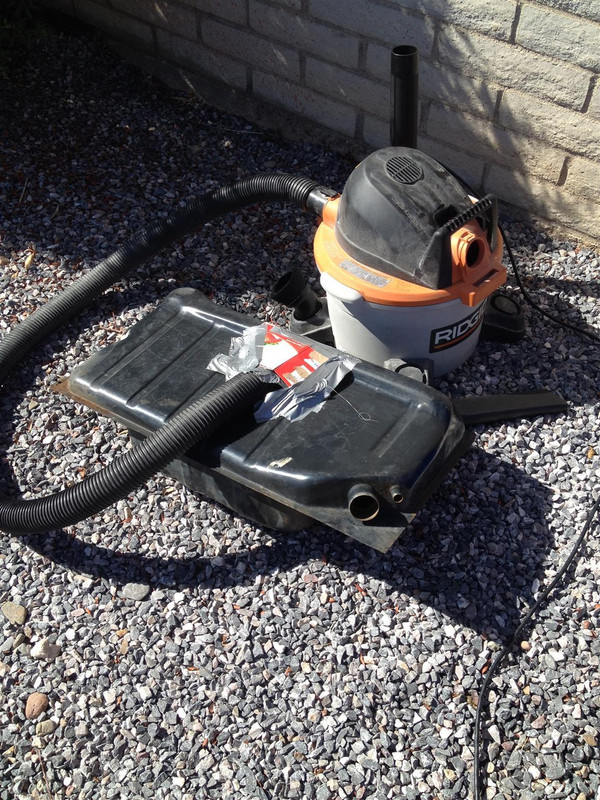
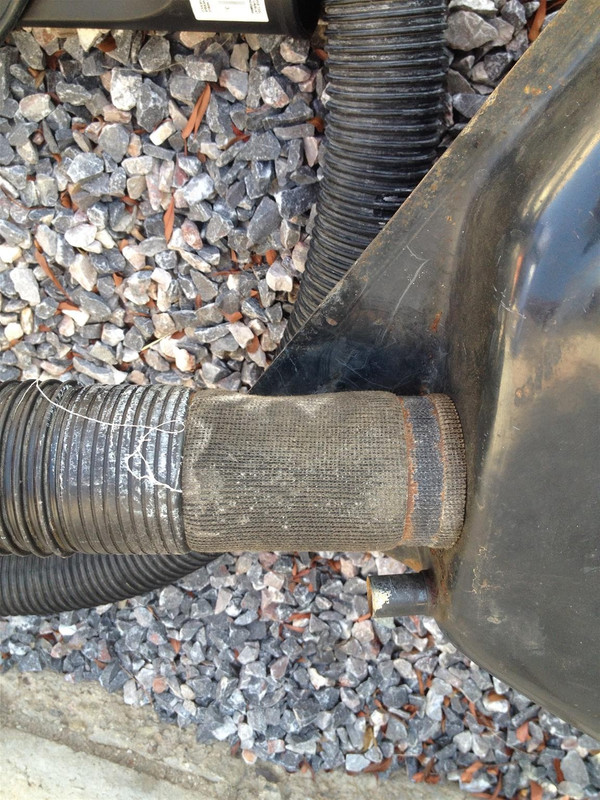
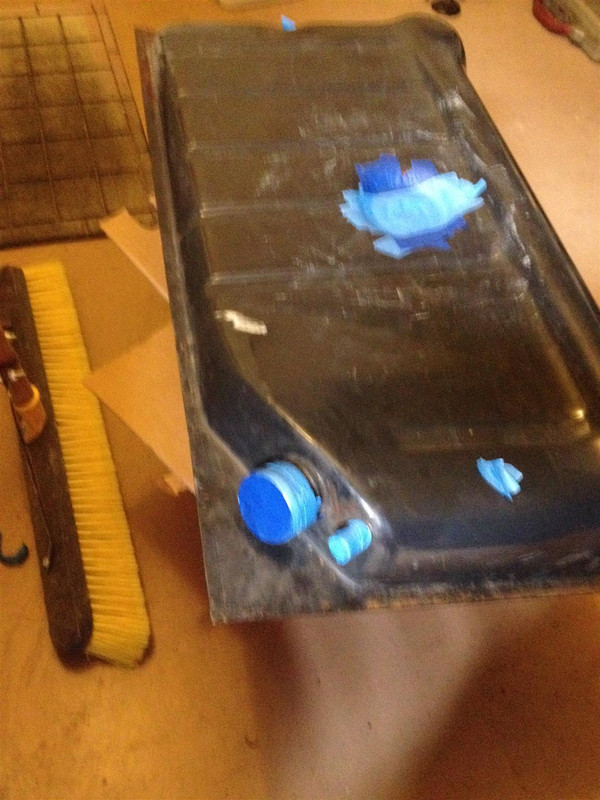
Dry. First I ghetto rigged something, then found that the filler tube from the car made a perfect adapter for my shop vac
Image
Image
Image
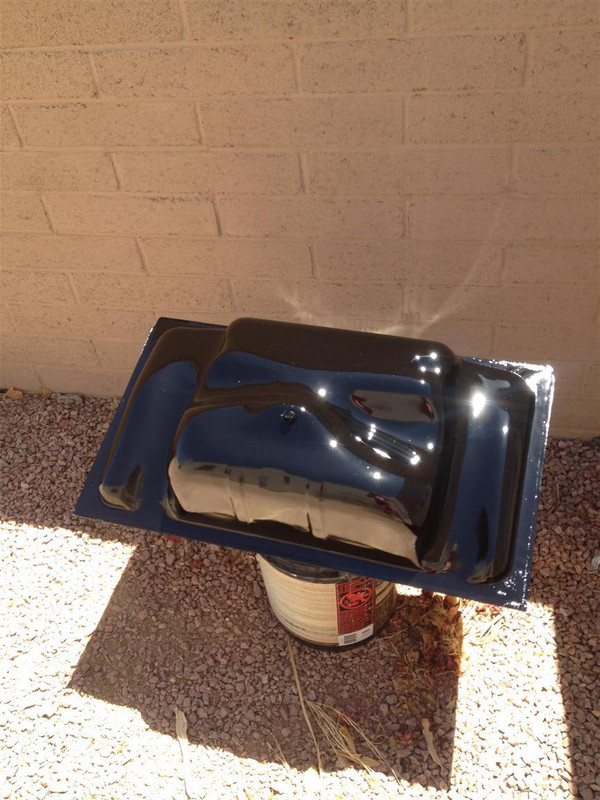
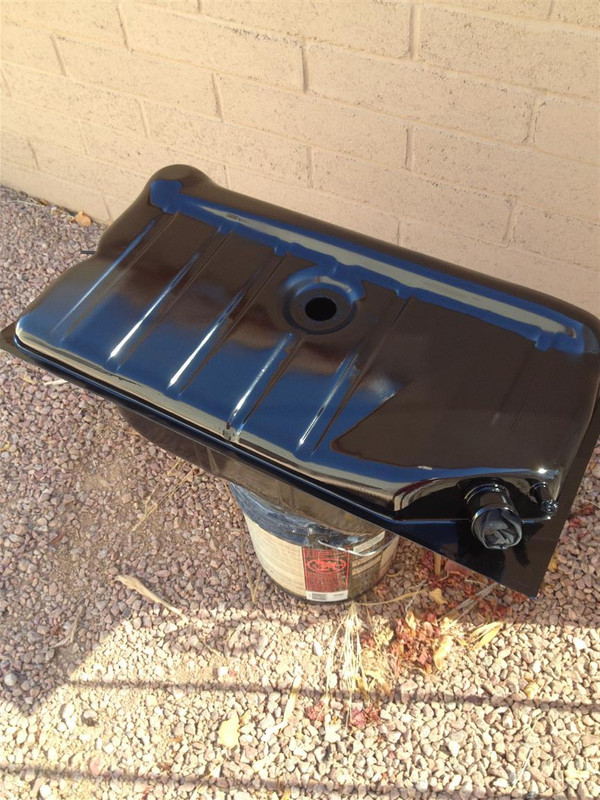
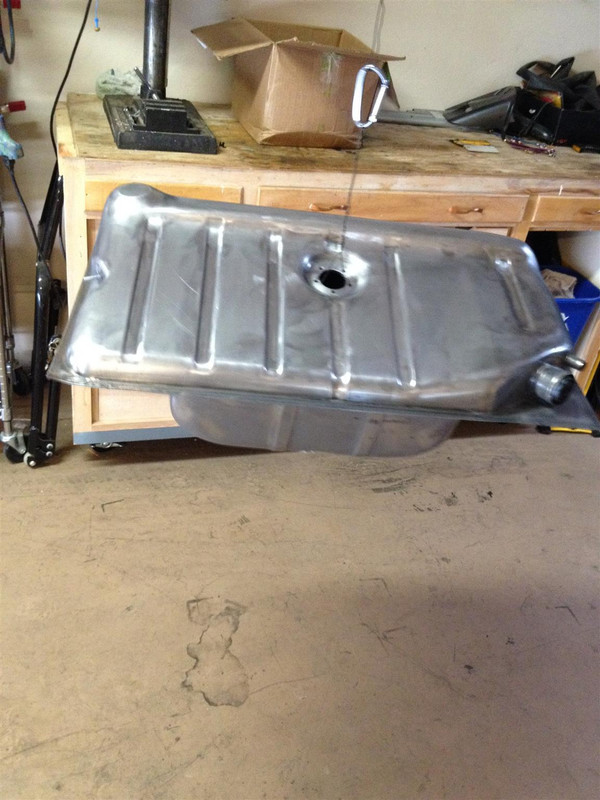
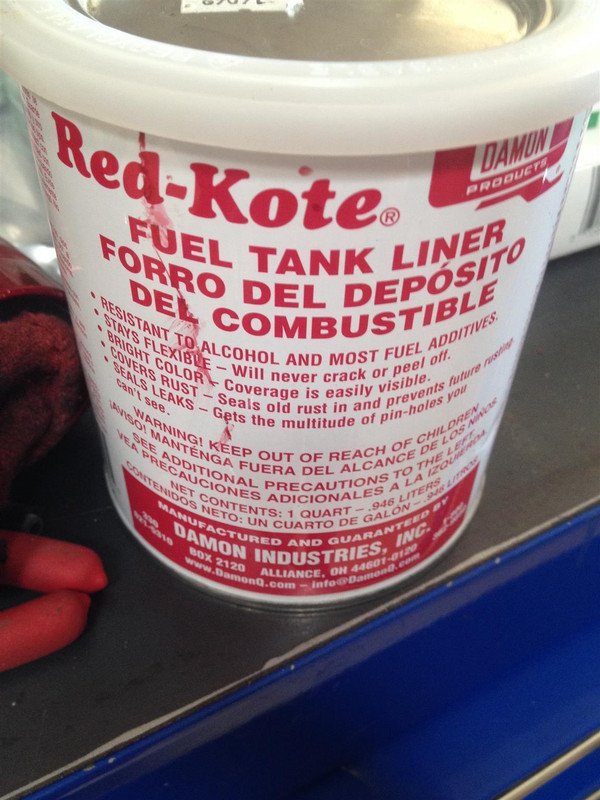
Prep the tank for some sealer, I used Red Kote because that's what O'Reilly had
Image
Image
Image
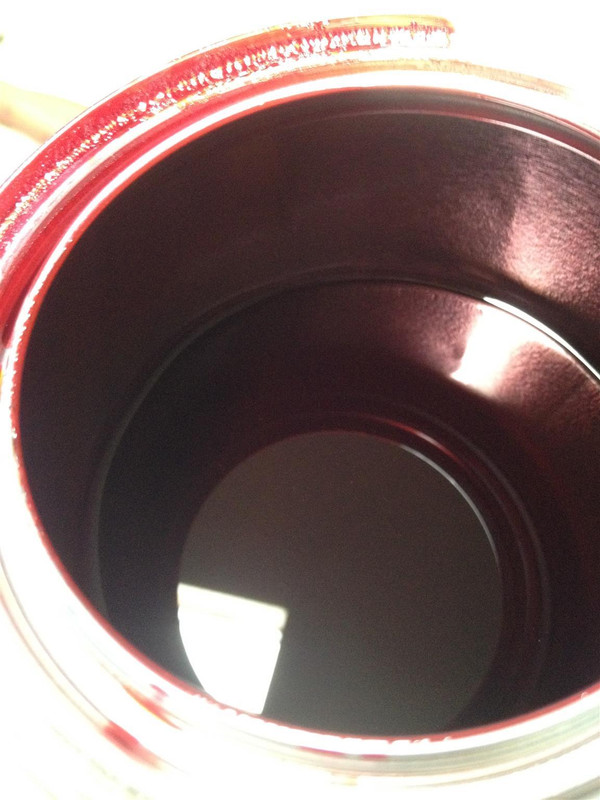
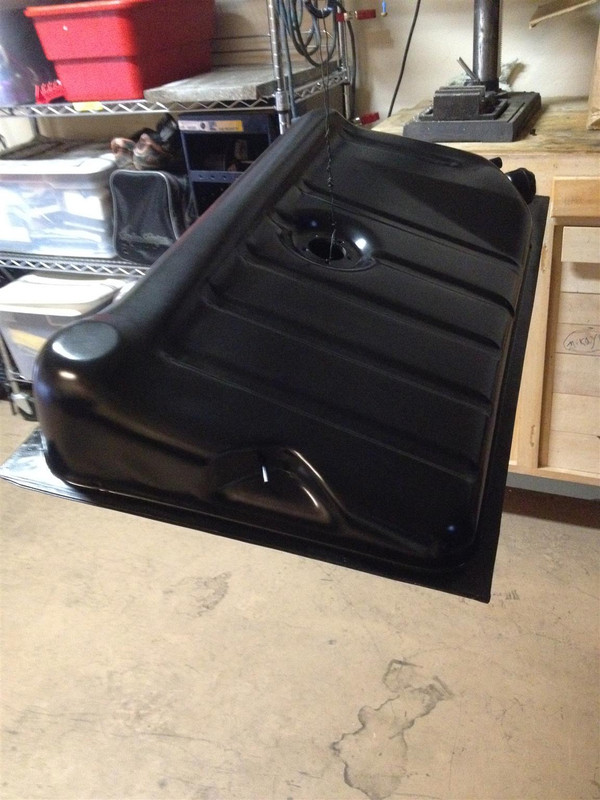
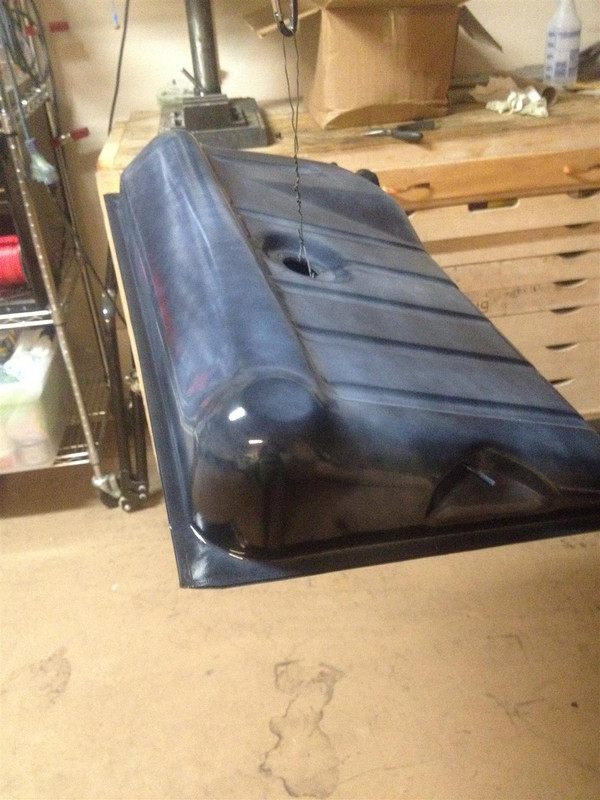
After pouring it in, tape up the last whole and rock the tank till your arms are rubber and when it dries
Image
Image
Then drain the excess
Image
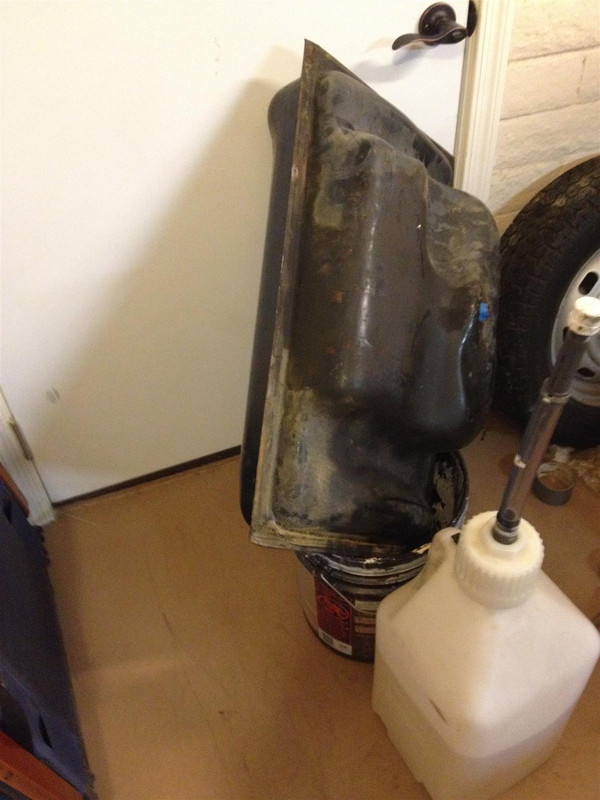
I had enough drain out that I put a second coat on and that pretty much used up the whole quart.
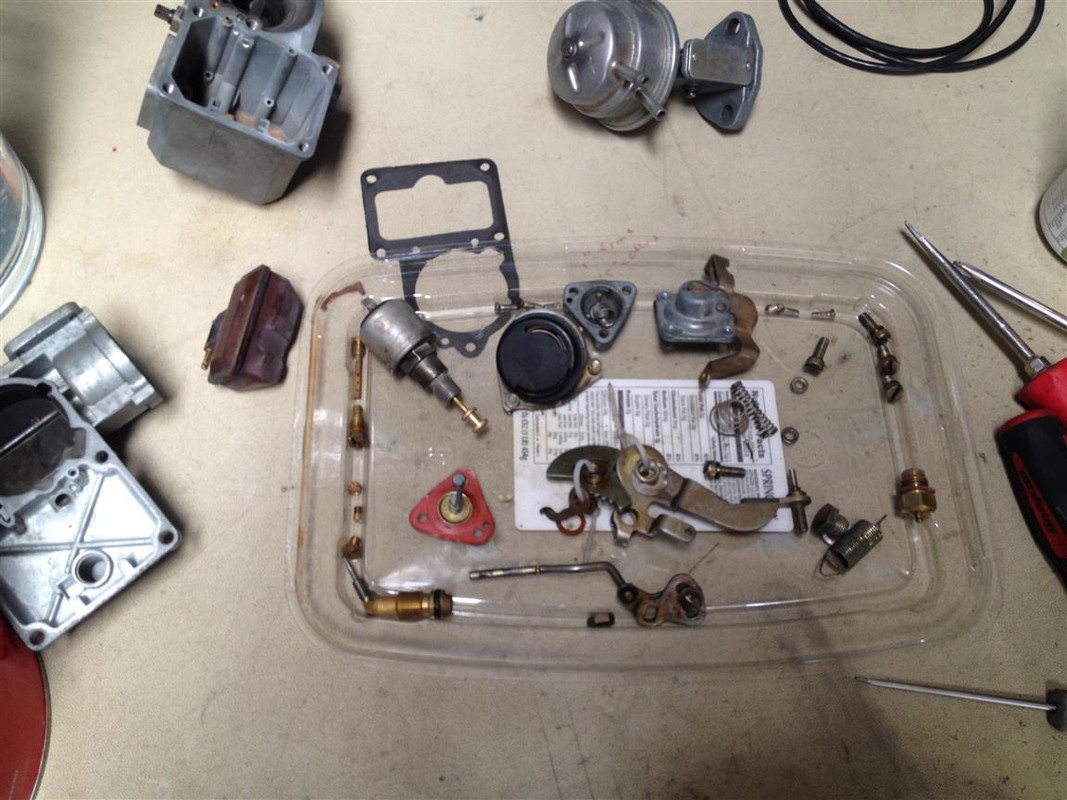
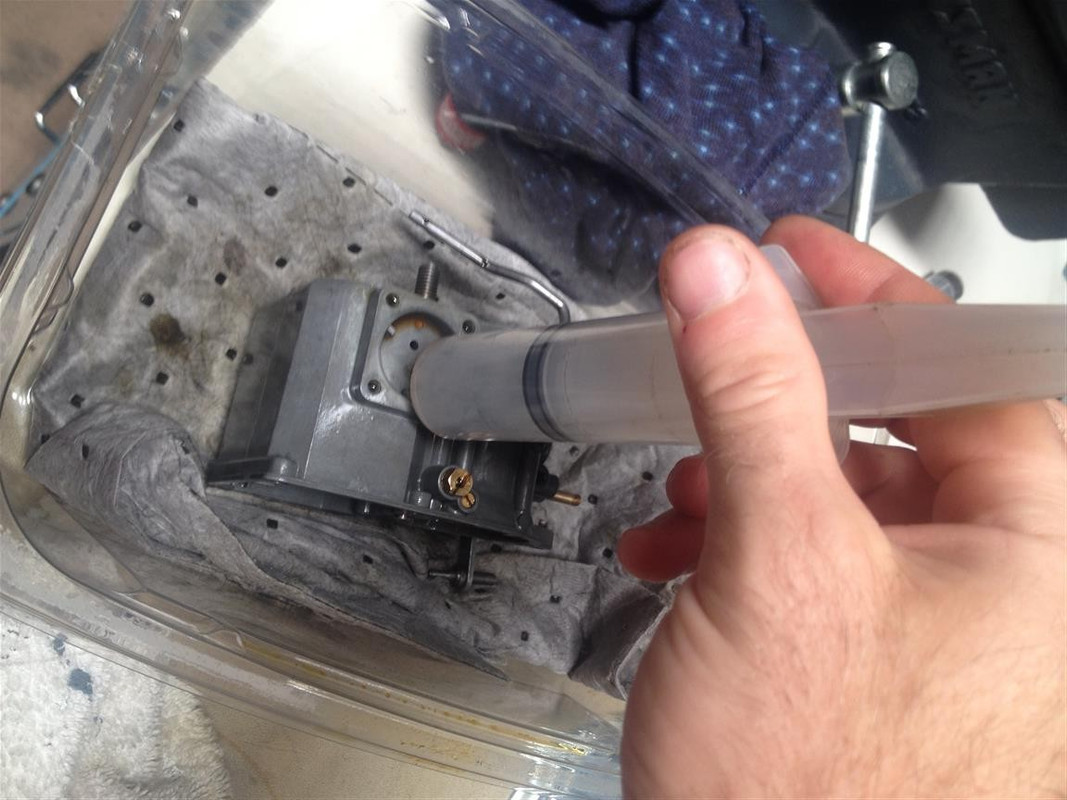
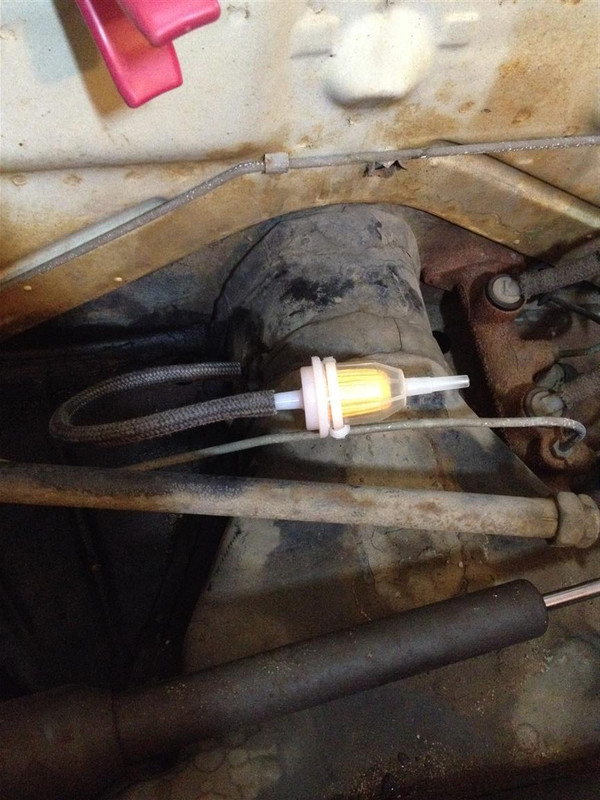
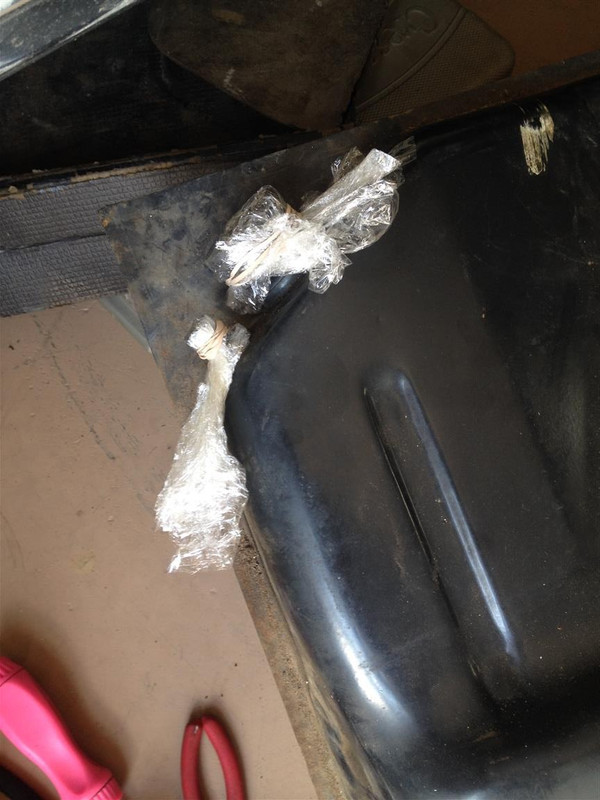
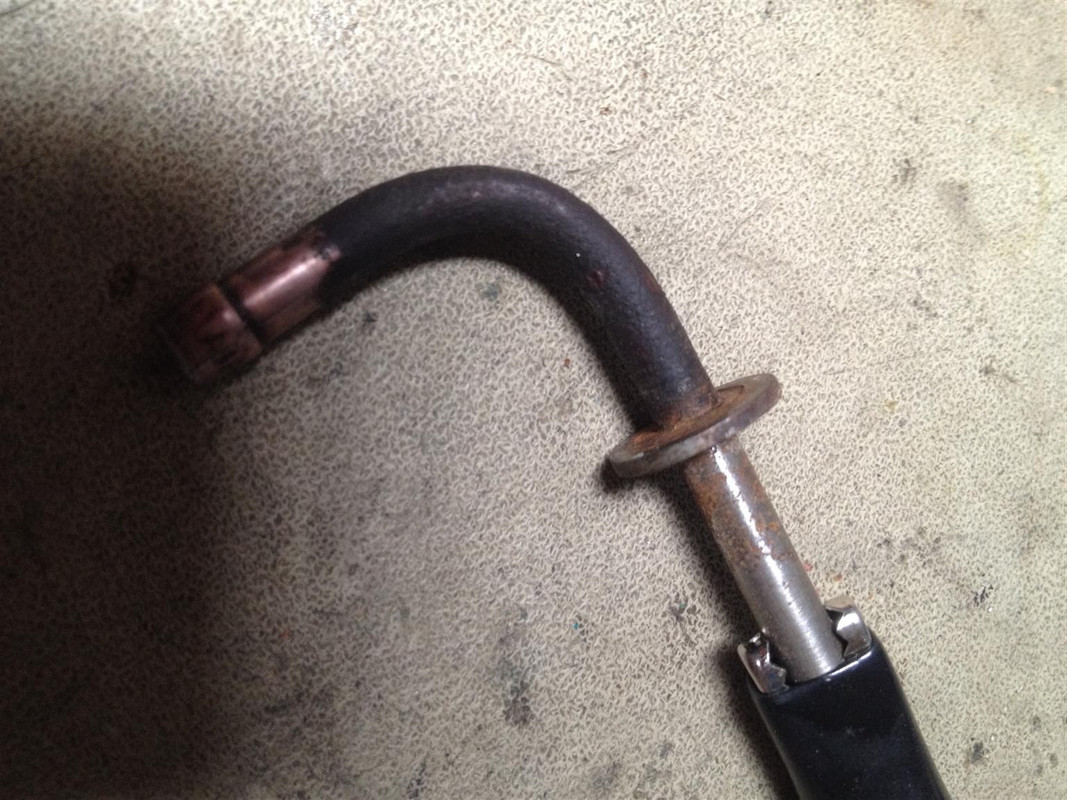
Got a new fuel filter (intank and in-line) and some new fuel line too. Cause I aint taken no chances. Needed to remove the old filter remnants and clean up the outlet tube
Image
Image
Image
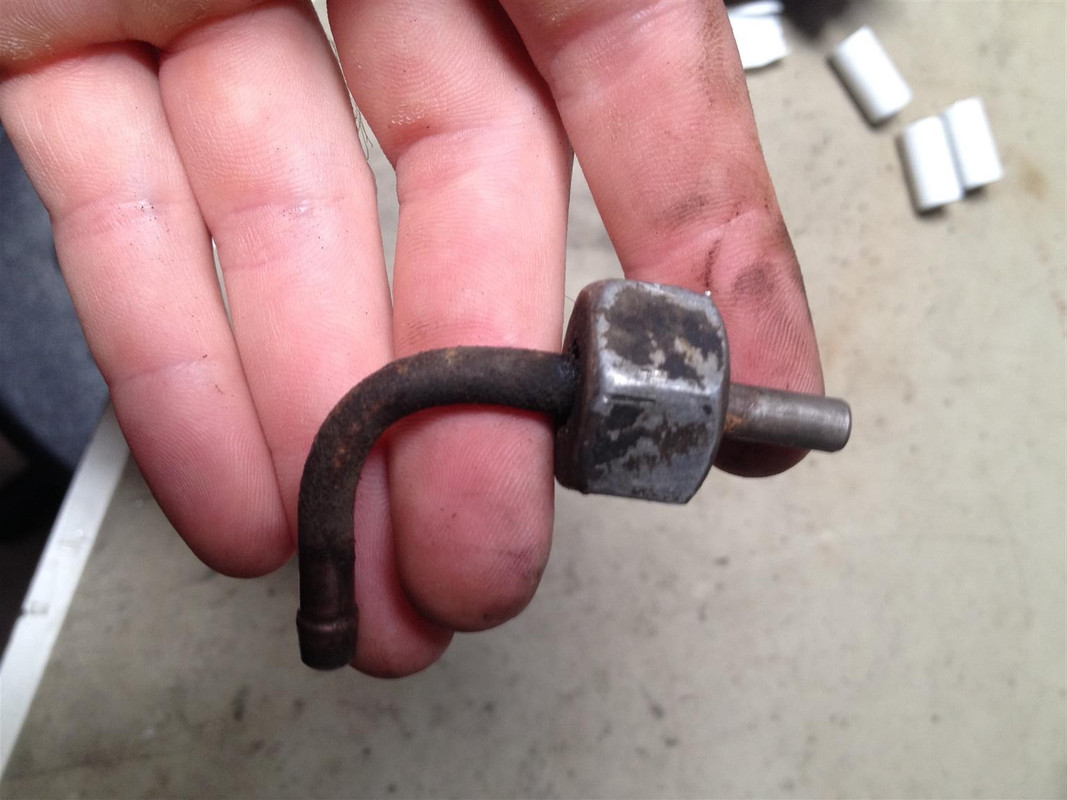
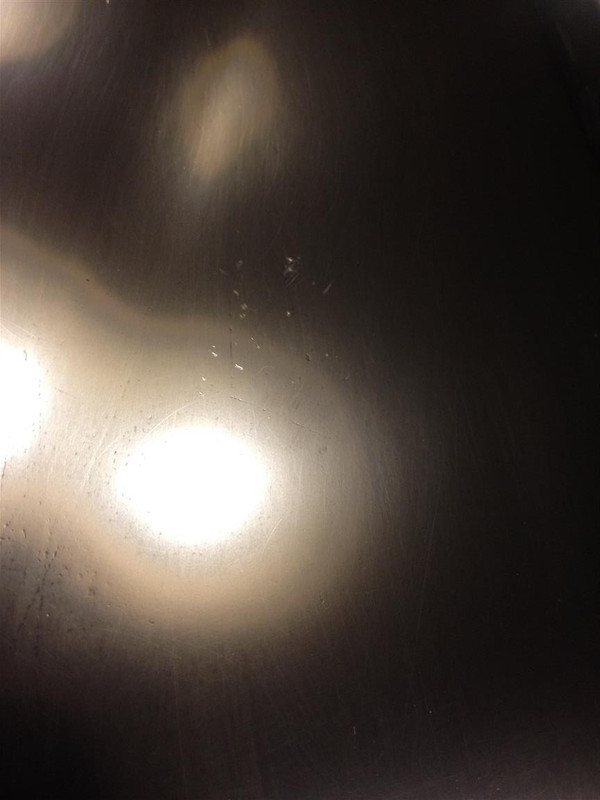
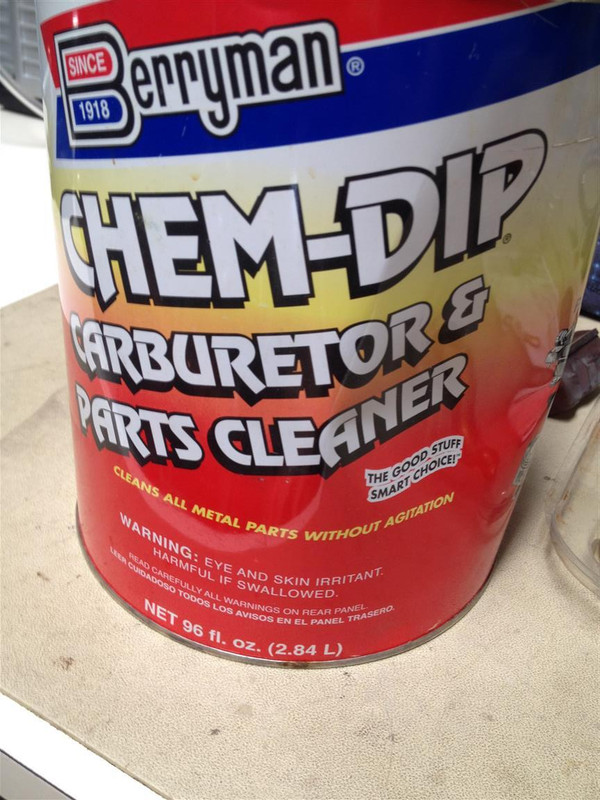
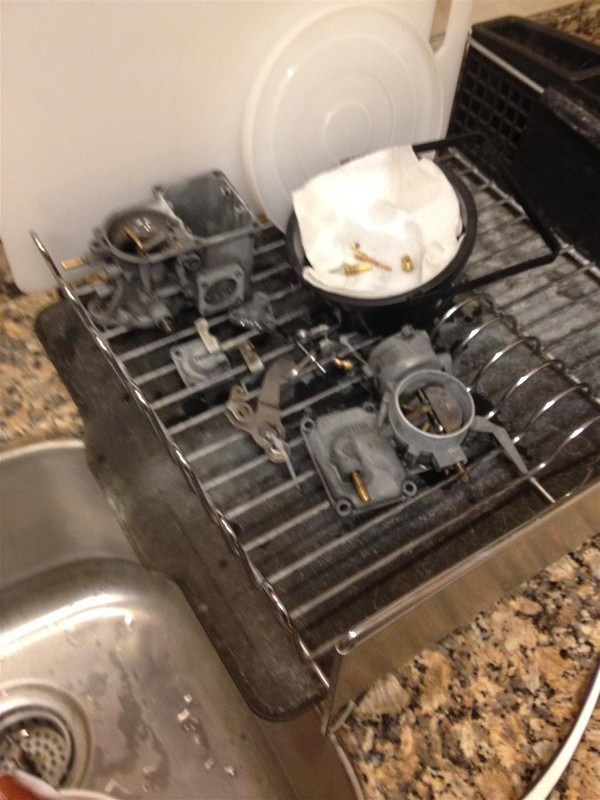
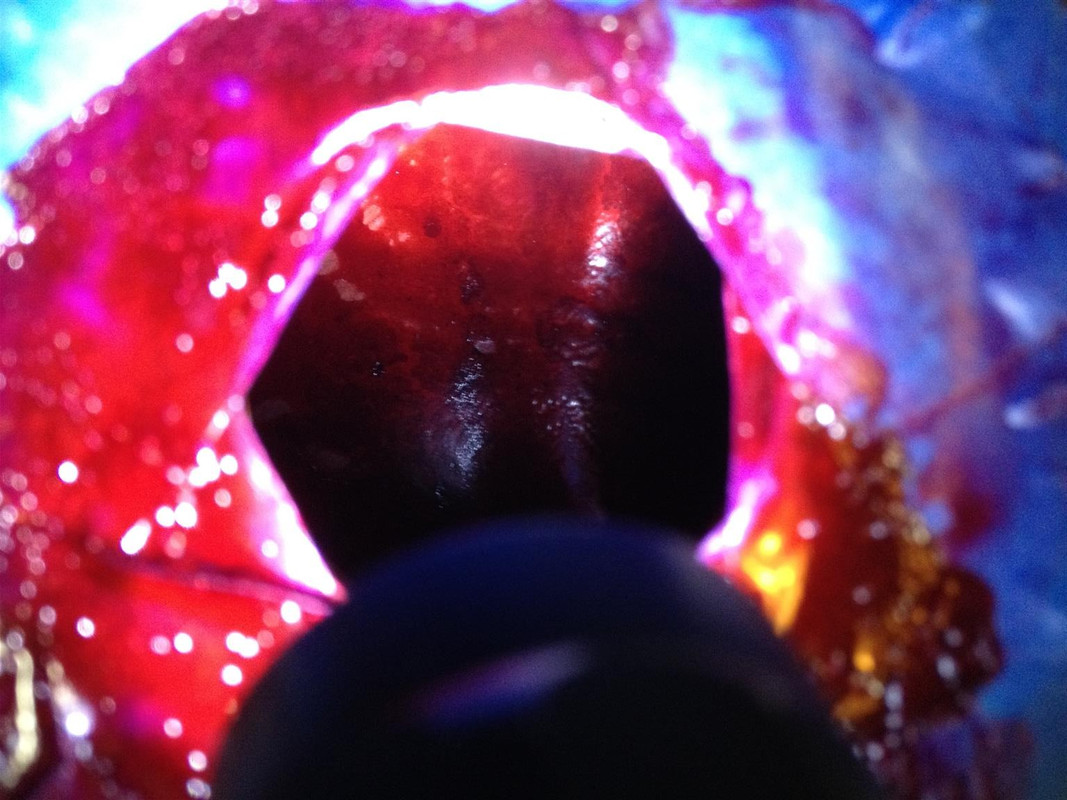
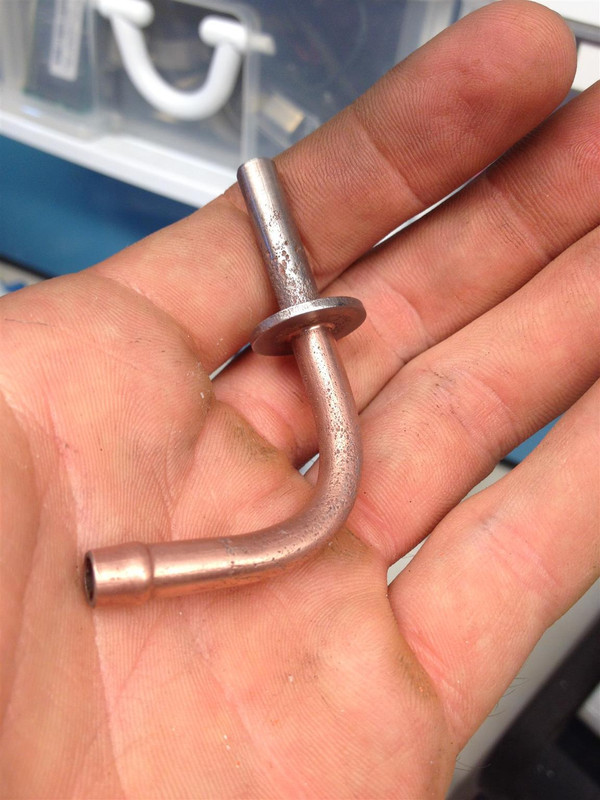
Once I got it apart it was gross, needed the rust removed and bla bla
Image
Image
Image
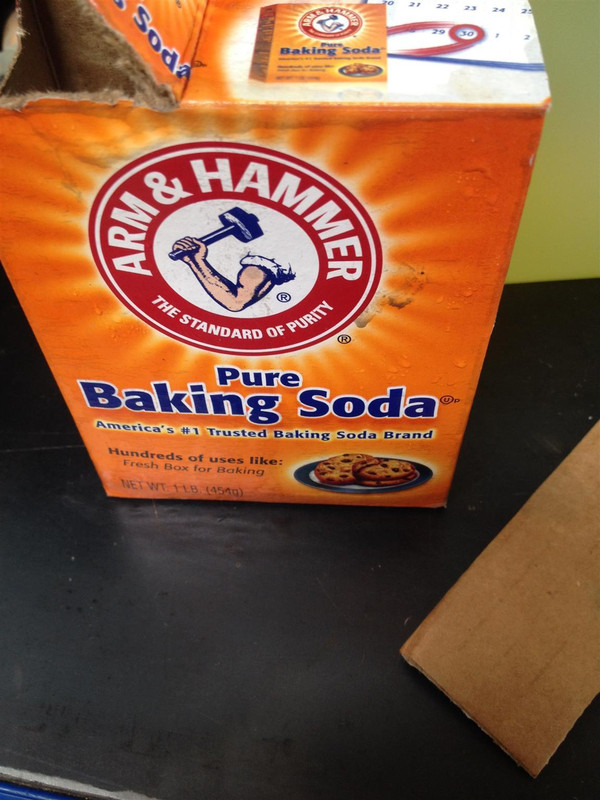
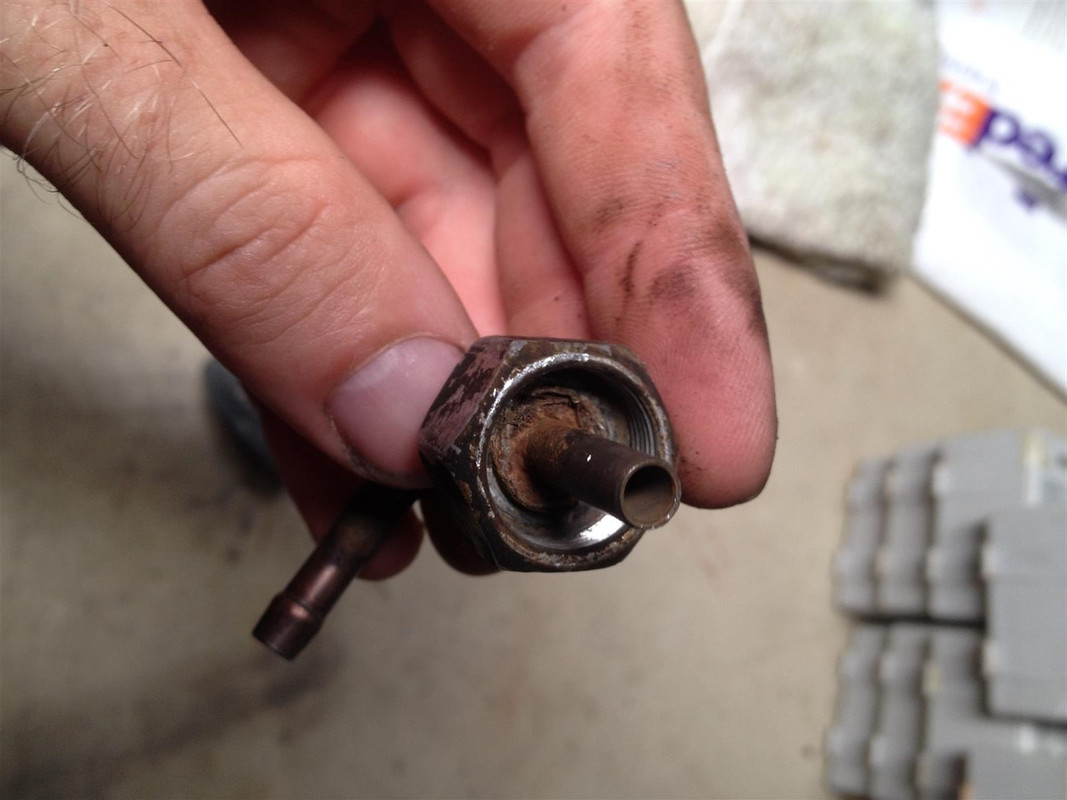
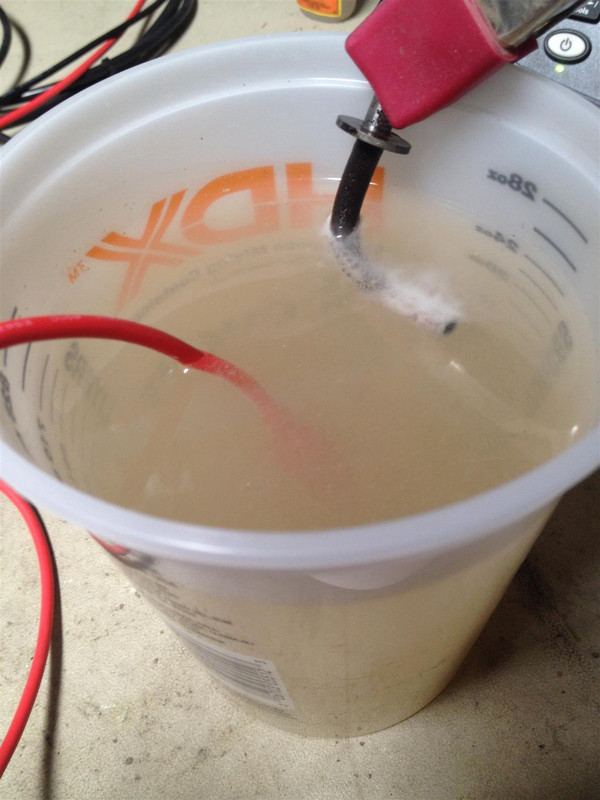
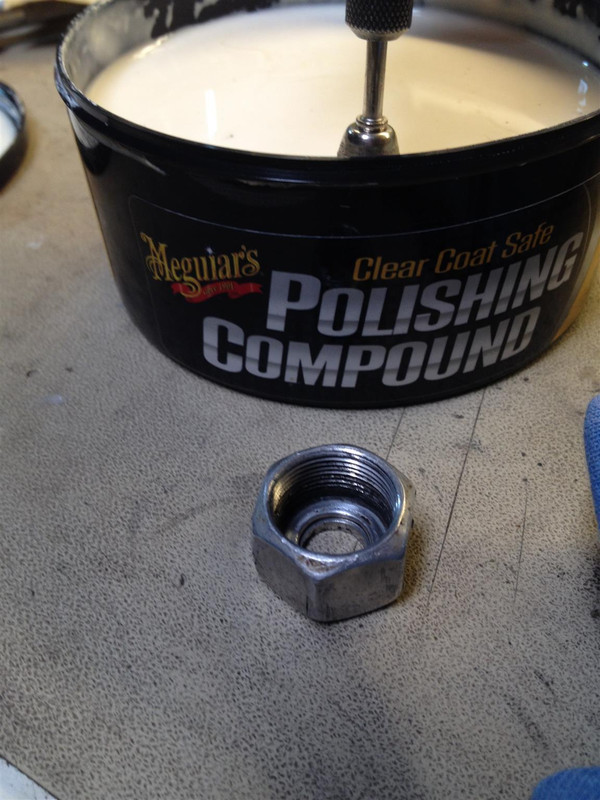
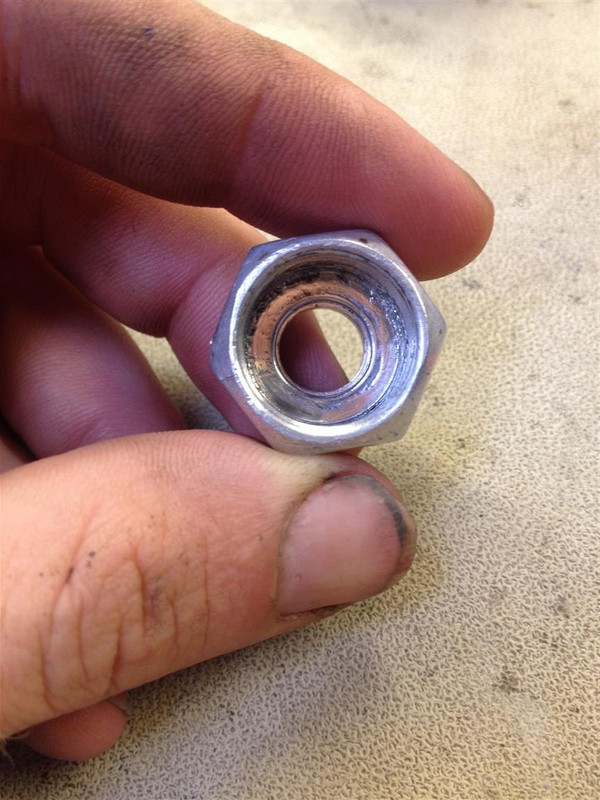
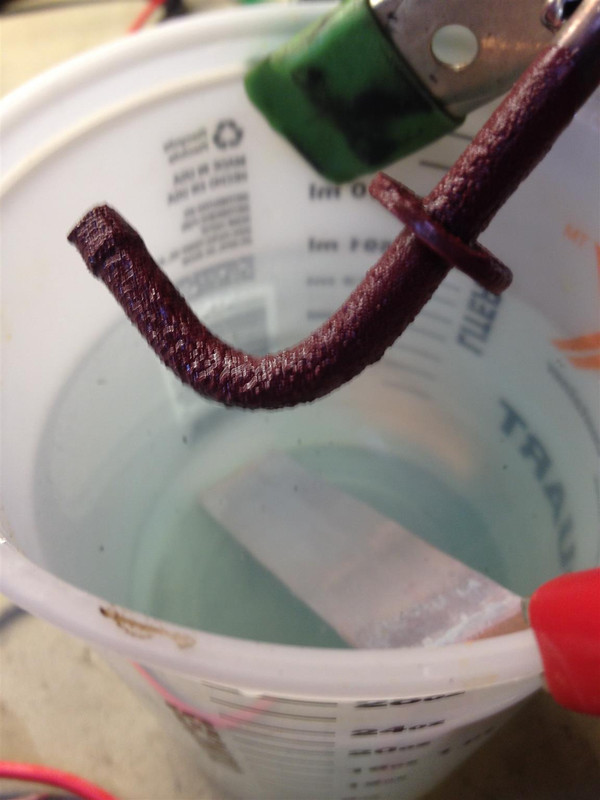
Rigged up some water baking soda solution and electo zapped the rust, also cleaned up the nut thing
Image
Image
Image
Image
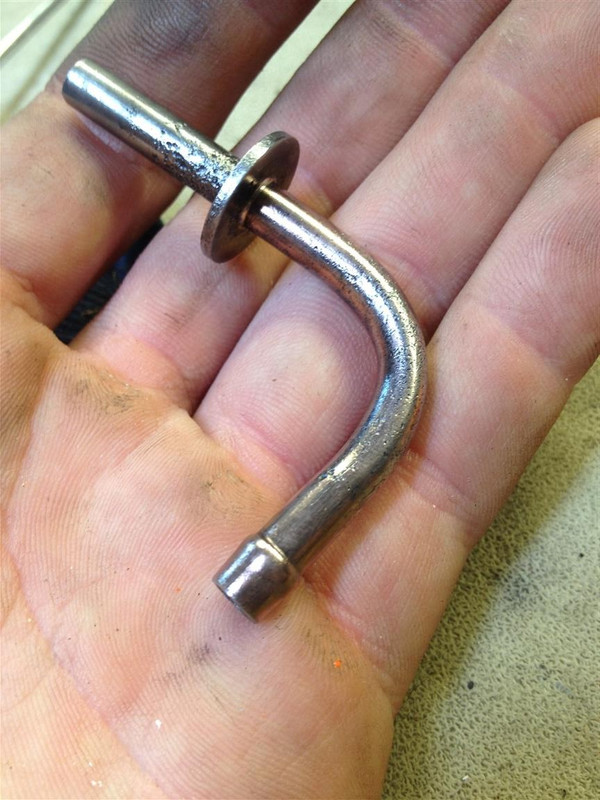
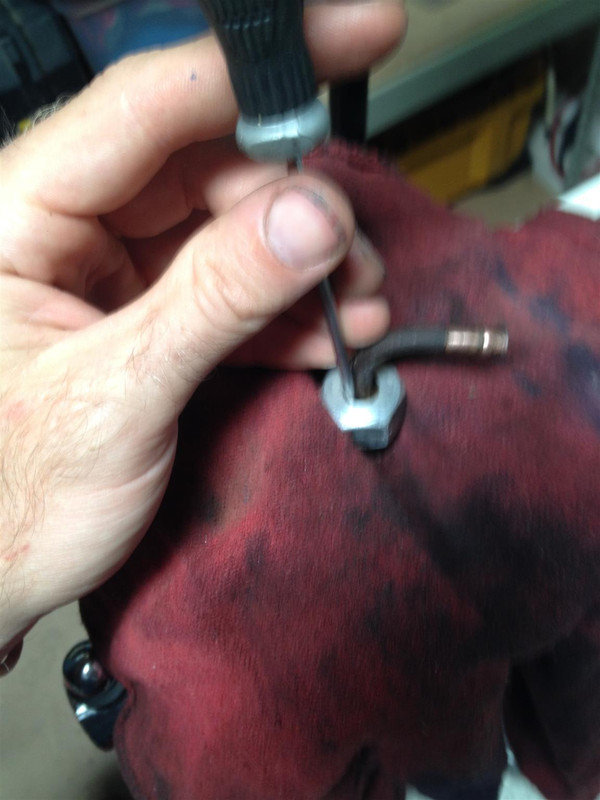
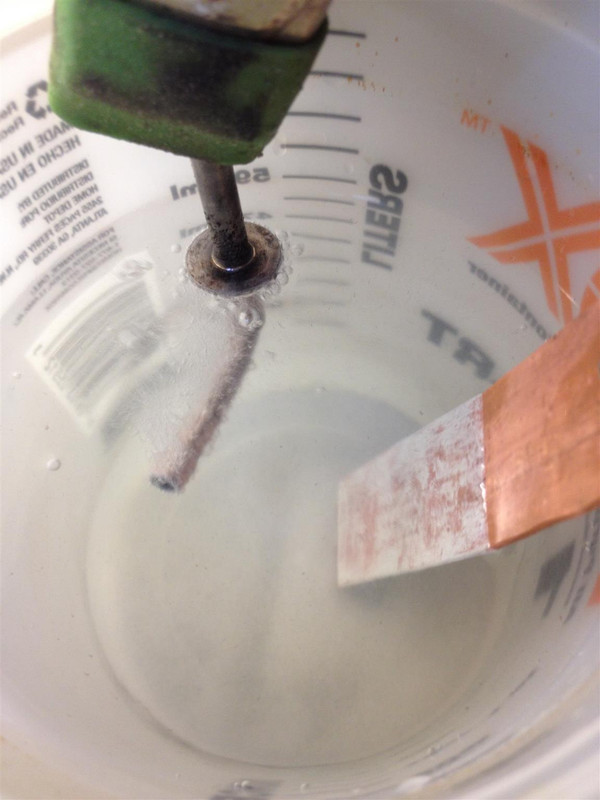
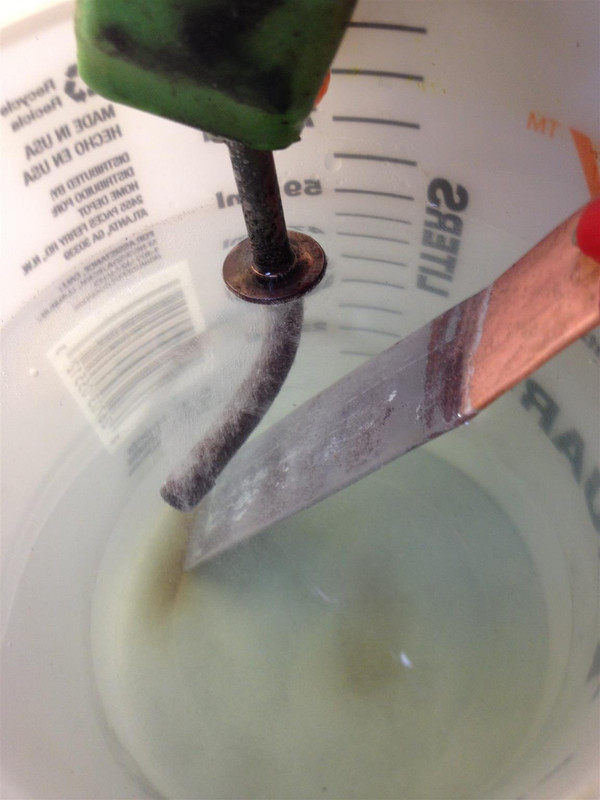
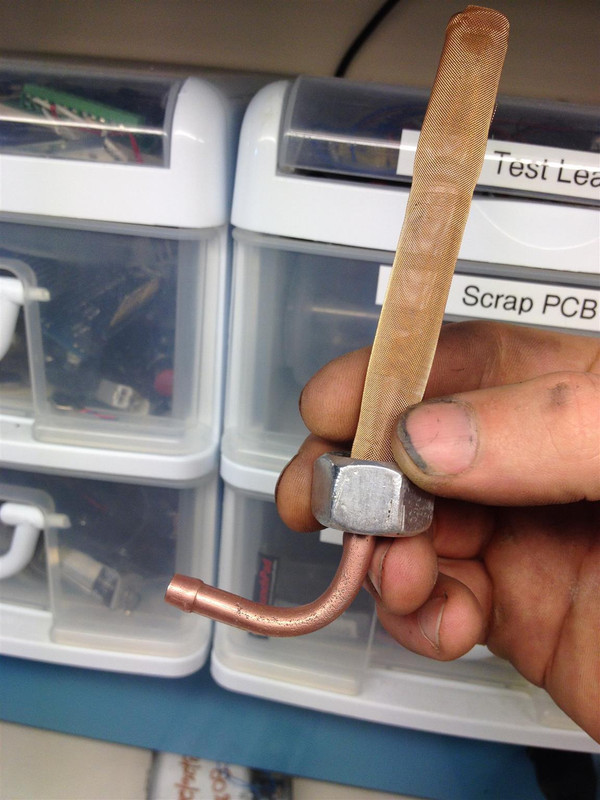
It looked like originally the end of the outlet tube was copper plated so I thought I'd try that too.
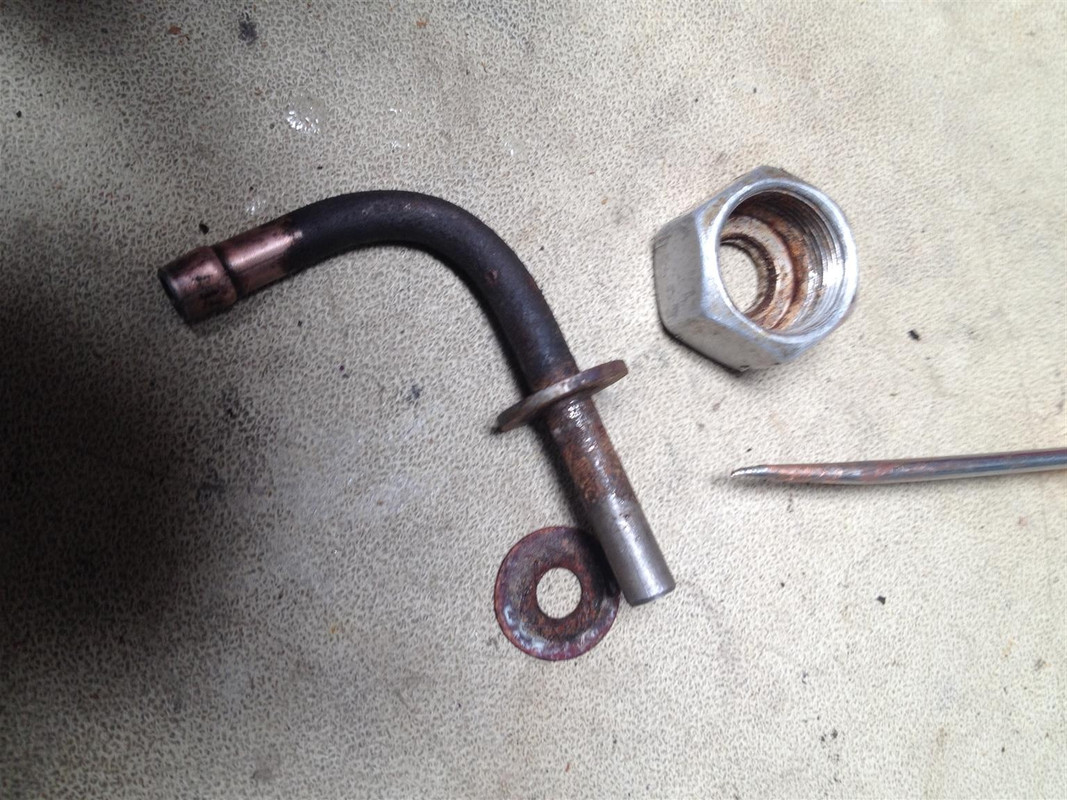
Some diluted muriatic acid and salt water solution
Image
Image
Image
Image
Image
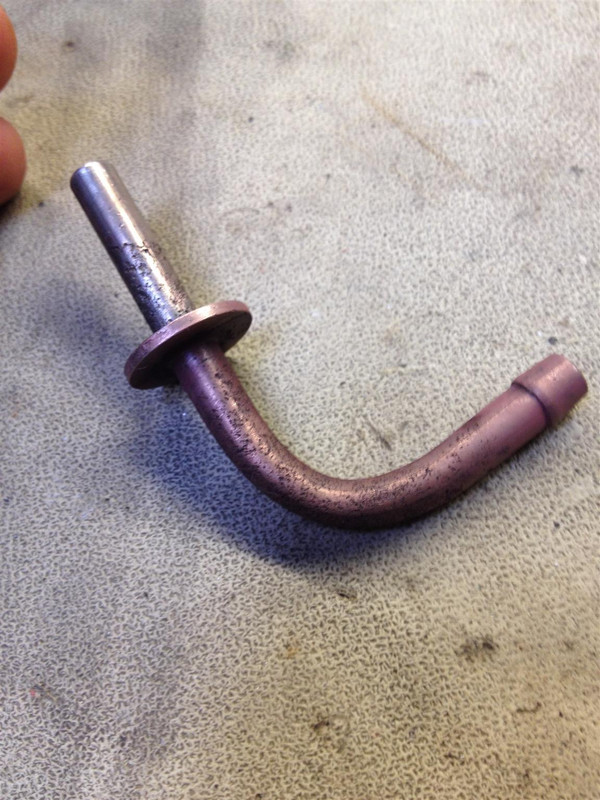
and it looks like it's ready to go back in the tank
Image

To be continued :beer:

Re: 1972 Type 1

Posted: Jun Sat 28, 2014 4:46 am
by BigSkyGLI
Nice! '72 was a great year. ;)

1972 Type 1

Posted: Jun Sat 28, 2014 9:36 am
by YASHA7FOLD
Nice another AC getting back on the road

Re: 1972 Type 1

Posted: Jul Sun 13, 2014 1:37 pm
by kevin286
disclaimer. I'm going to use 'battlestar galactica' grown up words here.


I'm so fraking cheesed off with the gas tank right now. I'm not sure if its the paint or the constant hot arse weather here but I can't get the paint to cure. I waited 2 weeks for this fraker to get hard. Tried to polish, any polish sinks into the paint. Paint dents with finger nail. Set a rag on it for more than 10 seconds and thats enough to mar the felgercarba out of it.

gaaaaaaaaAAAAAAAAA


so today, this mother fraker gets some treatment and i'll start fresh. <beady eyes>errrr</beady eyes>

Whatever... pix
here i am wasting time sanding for second coat
Image
Image
Image
Image
Image

and wasting more time wet sanding
Image
Image
Image
Image
Image

<ahab the arab>silence! i keel you</ahab>
Image

Also cleaned the carb, of course.
Image
Image
Image
Image
Image
Image
Image
Image
Image
Image
Image

LESSON LEARNED. AFTER CLEANING PUT GAS THROUGH IT IMMEDIATELY.
The check valve for my accelerator pump seized up after cleaning. Not sure if it was water deposit or corrosion. Had to resoak and then shock load it repeatedly to get it unstuck with this syringe. Aligned the accelerator spray so it hits just rear of the center point of the arm that sticks in the throat. The desired outcome is to have the stream come out, hit and disperse into a perfect cone down the throat, NOT hitting the walls.
Image
Image

Blew/flushed out my fuel line and replaced the soft line sections. Also added secondary fuel filter inline for more wow. Yes, I don't have an air compressor, so I hooked up a bike pump to blow it out. :banghead: (par for the course)
Image
I'd pour a little gas in the line, then blow it out, then more gas, then blow it out. Checked gas at other end to make sure was pure.
Image
Image
Image

So I'm ready to rip. But need that frakin tank to be done. <smoke from ears> piece of ... lettuce</smoke>

Re: 1972 Type 1

Posted: Jul Sun 13, 2014 6:13 pm
by benno3231
good luck... I wonder how much a new tank is? looks like a real clean ride :)

Re: 1972 Type 1

Posted: Jul Sun 13, 2014 11:29 pm
by kevin286
@ benno3231 129 dolla. To me it's not about the money here, well not primarily, it's about keeping it as original as possible. New tanks are not german made and are reported to be of less than OEM quality.

Got it stripped all the way down with chemicals then finished off the spots with 320 and then 400 grit. This time i went with semi-proper automotive paint. Duplicolor.

pix or gtfo.. i know i know.. darn demanding crowd.
Image
after touching up with sand paper
Image
using this combo
Image
primer
Image
sanded primer with 400 grit then first coat of base
Image
like 3rd or so of base
Image
last coat of clear. IIRC 4 coats of clear
Image
weeee painting
Image

more later. :beer:

Re: 1972 Type 1

Posted: Jul Mon 14, 2014 7:03 am
by MT-Getto
Look what all that paint did to you! Googly eyes!!!! :) nice work Kevin!

Re: 1972 Type 1

Posted: Jul Mon 14, 2014 9:07 pm
by benno3231
I appreciate the dedication to oem keep it up :thumbsup:

Re: 1972 Type 1

Posted: Jul Mon 14, 2014 11:24 pm
by Mikewire
Hahaha great thread, nice!!

Re: 1972 Type 1

Posted: Aug Wed 27, 2014 7:00 pm
by kevin286
update

the new paint dried as expected, no drama. I was a little unsure if you're supposed to wet sand the base coat and the clear coat or just one or the other. Google says just the clear so that's what I ended up doing and it turned out well.

Here is wet sanding. See the dull area on the one raised rib, that's sanded with 2000 grit. It amazed me how much texture there was after clear coating and how much smoother it got after sanding. :thumbsup:
Image
after wet sanding and a little polish
Image
after the polish is complete and a coat of wax
Image
my ugly mug documenting for your pleasure
Image
one more before covering it up with the cardboard thing and tools and crap
Image

Oh, and the red coat gas tank sealant totally plugged up the vent tube, so to reconnoiter what was what I stuck a web cam through the hole so I could see what I was poking at. Turns out I just shoved some baling wire down the tube and got it unclogged, but thought it was cool seeing how it coated the inside
Image

After putting in the gas tank I was ready to install the sending unit. Rubber gasket for that shrunk. Got new one, installed and hooked everything up.

Cranked it over and fired right up then died. Gas everywhere in the back. Dry things off, crank, gas coming from the float bowl over fill. Fine whatever. Get new float valve. install and fix that problem. Still gas everywhere. Ok, fuel pump leaking from somewhere. Fine whatever. Put on other fuel pump recently resurrected from death caused by too short of a screw in the top holding the built in fuel filter thingy. Crank and fires but won't idle. Fine whatever.
Pretty much over fighting the fuel sys at this point. I've committed myself to tearing down the carby and blowing it out real good now that I got an air compressor :nod: (birfday) :unibrow: If that fails then I found a guy online that does Solex rebuilds with new throttle shaft bushings and re-plating of the steel parts, the whole 9-yards. http://www.volkzbitz.com So that's last resort.

Sigh