German AWD

Moderators: Mikewire, Rennwagen1

kevin286
In the trunk...
In the trunk...
Posts: 336
Joined: Jul Sat 05, 2008 10:23 am
Vehicles: 02 M3, 06 Taco DCSB, 90 240 Wagon
Location: Moab, UT
Contact:

Re: German AWD

Post by kevin286 »

Started working on the rear bumper. With these cars there's "Diving board" and "plastic" bumpers. The plastic are more desired and came on 89 or 90+ year cars. They sit more in on the car and are typically color matched to the paint. For those who don't have access to good junk yards or don't want to pay out the coconut for someone else to pull them and ship there's a intermediate solution. Tucking.

Image
Image
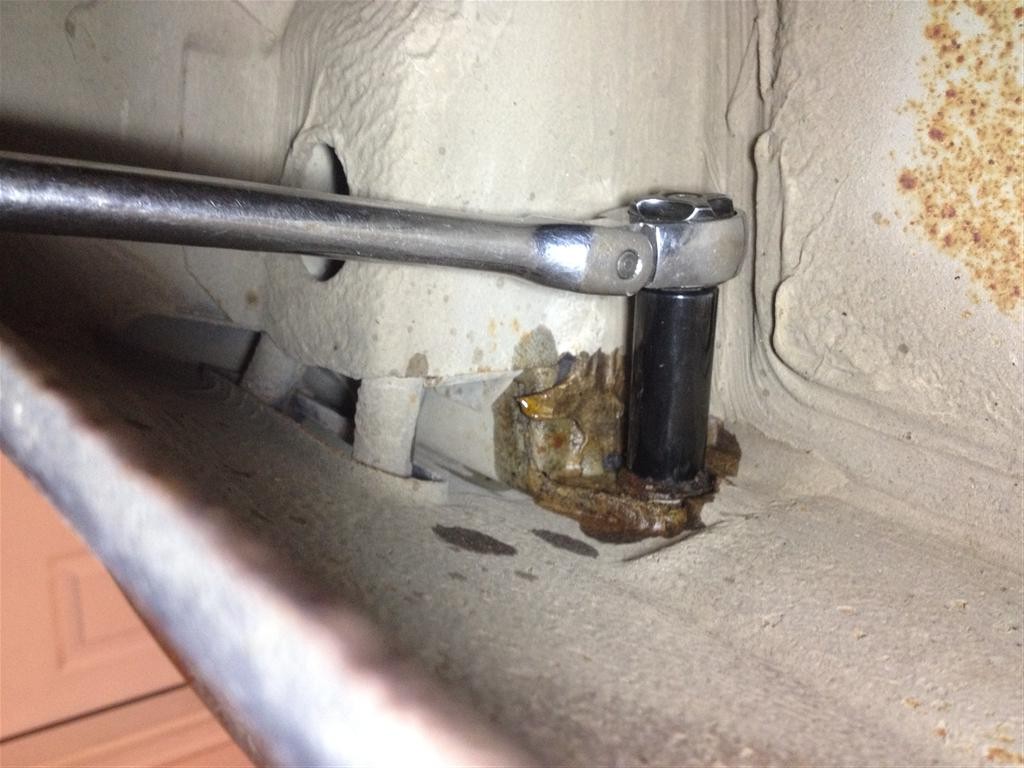
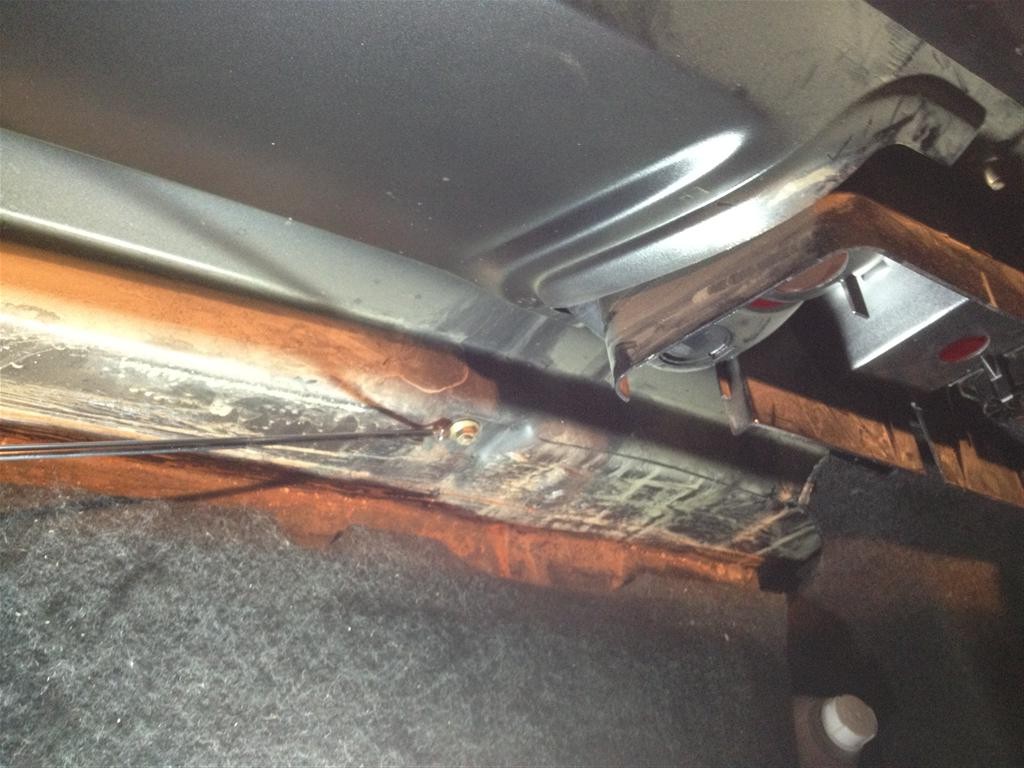
Remove all the bolts. The hard part was figuring where they were hidden at
Image
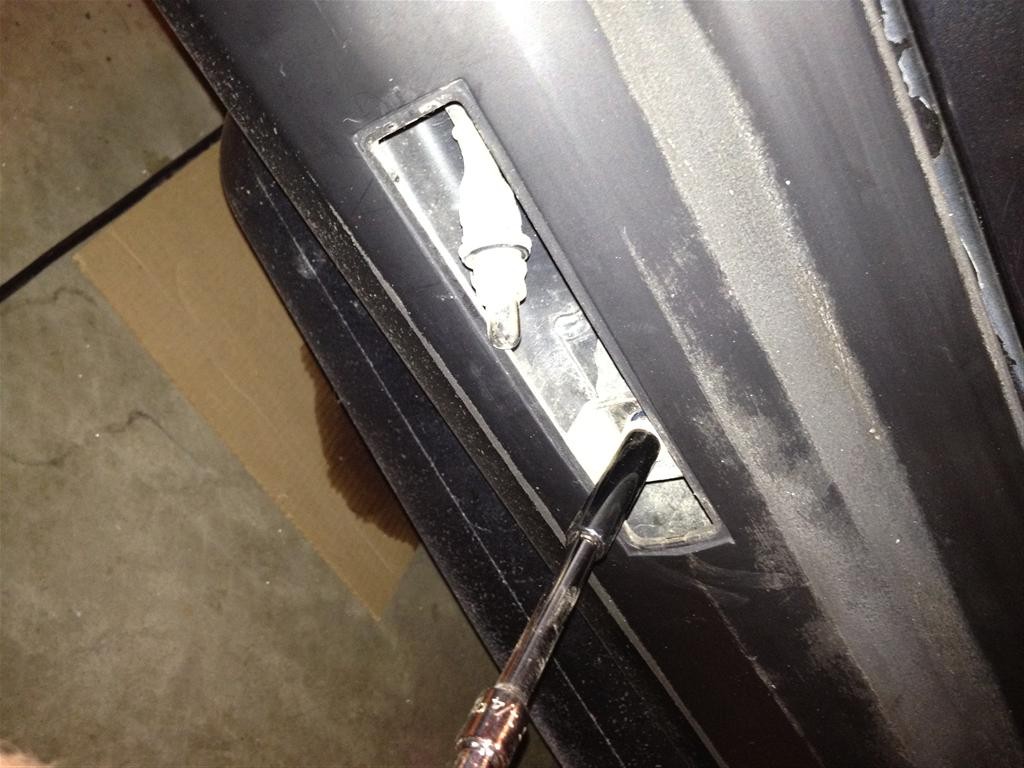
Behind the marker light
Image
Image
This one couldn't hold up to my kate beckinsale size muscles. (everybody say "MMMmm kate") :nod:
Image
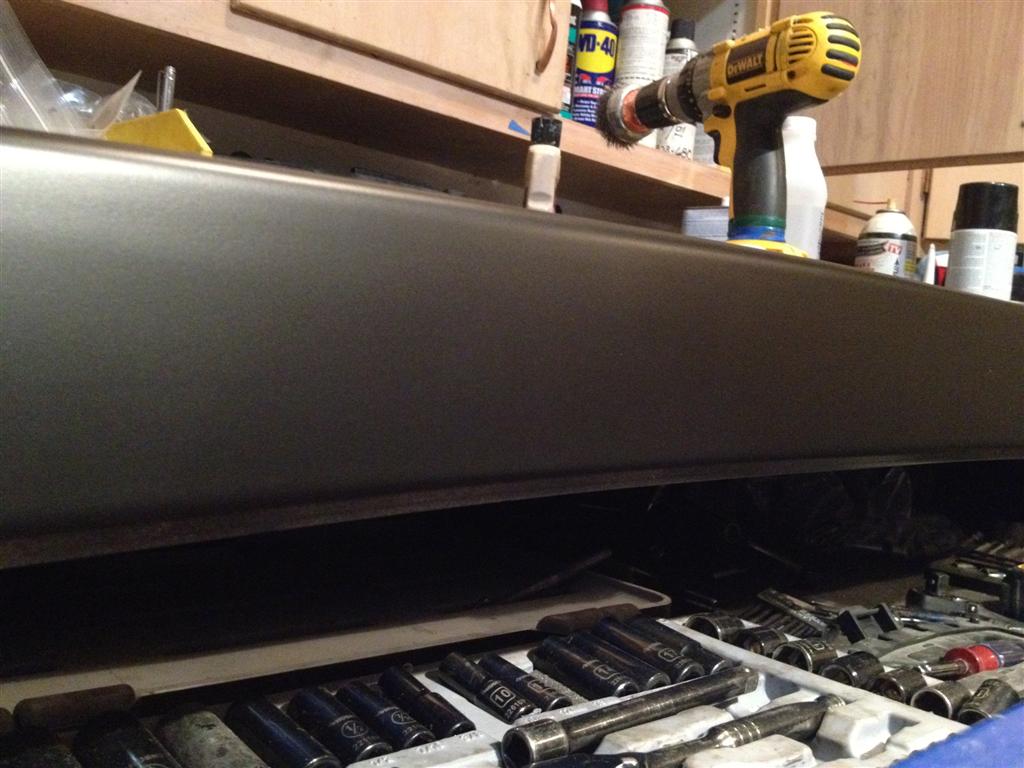
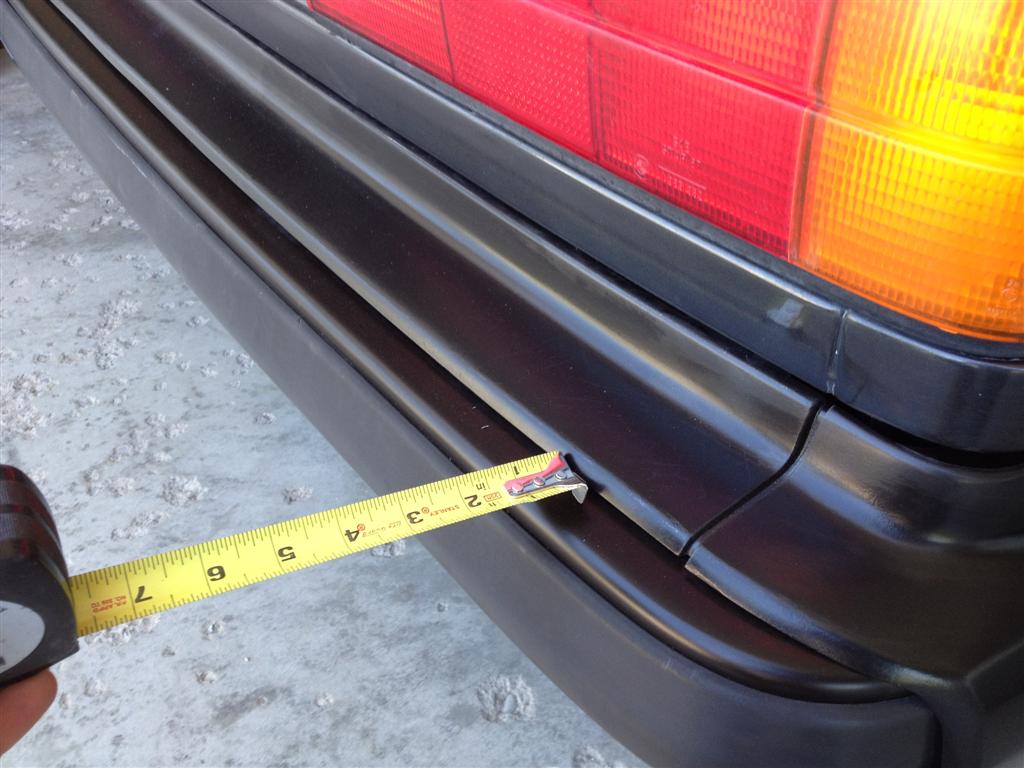
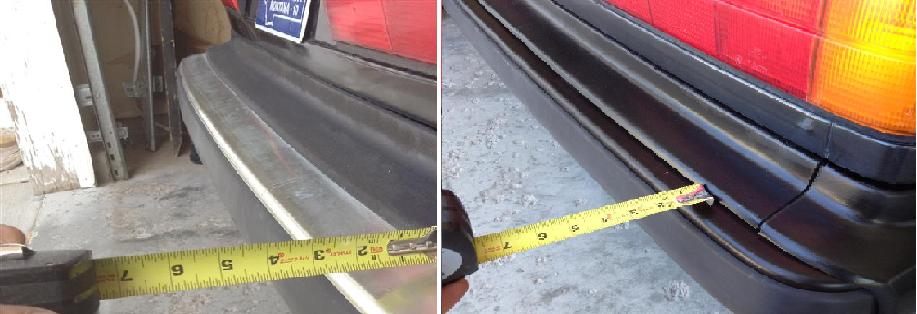
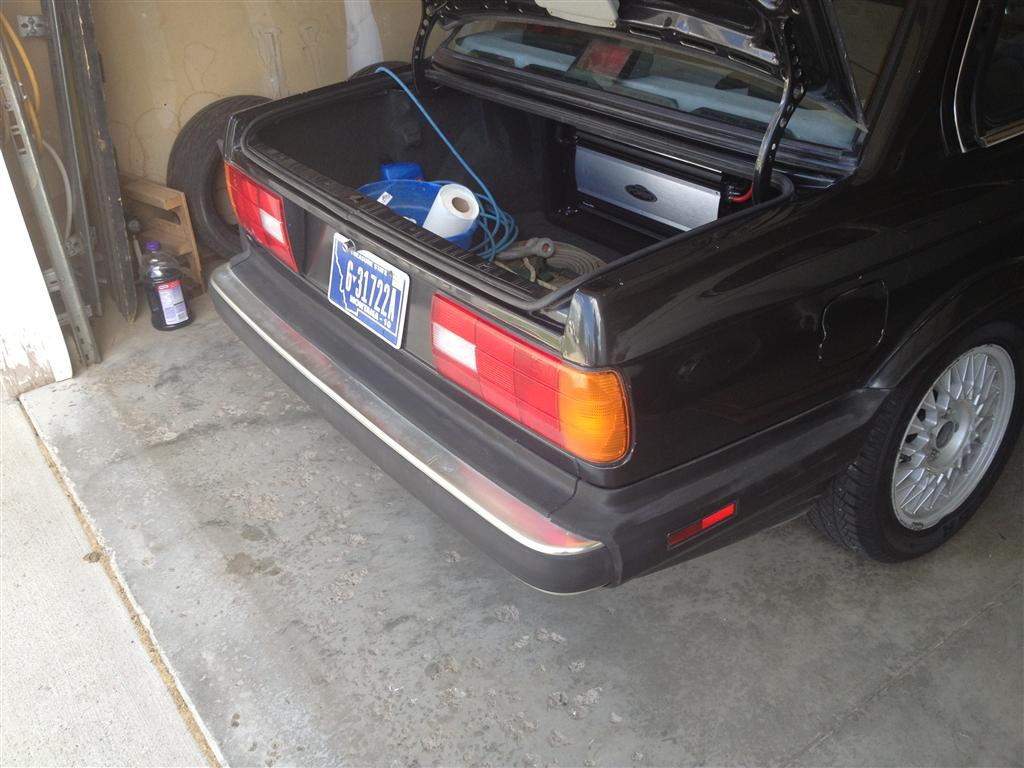
Once they're all out, the trim will come off and you can just pull the bumper out.
Image
Image
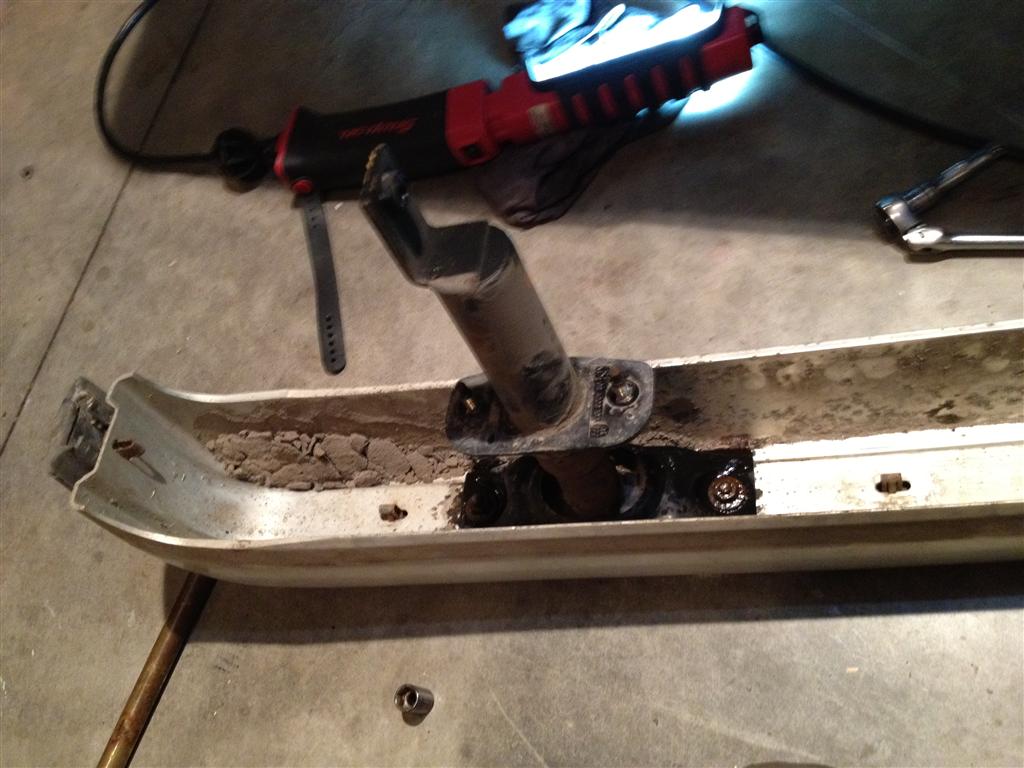
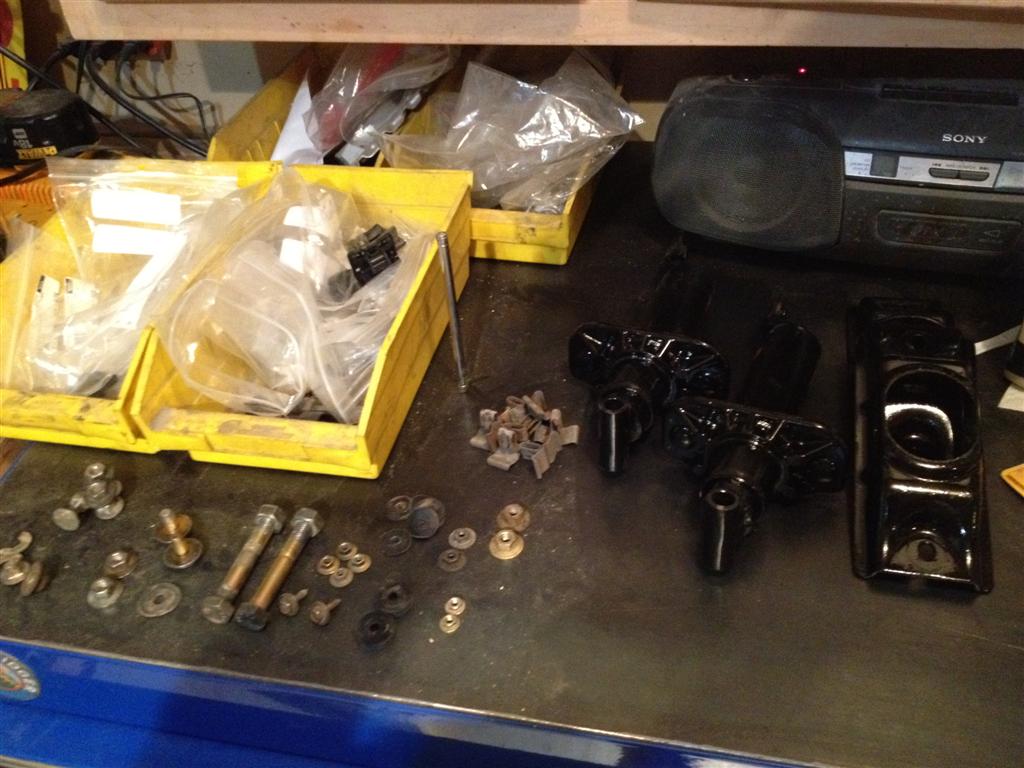
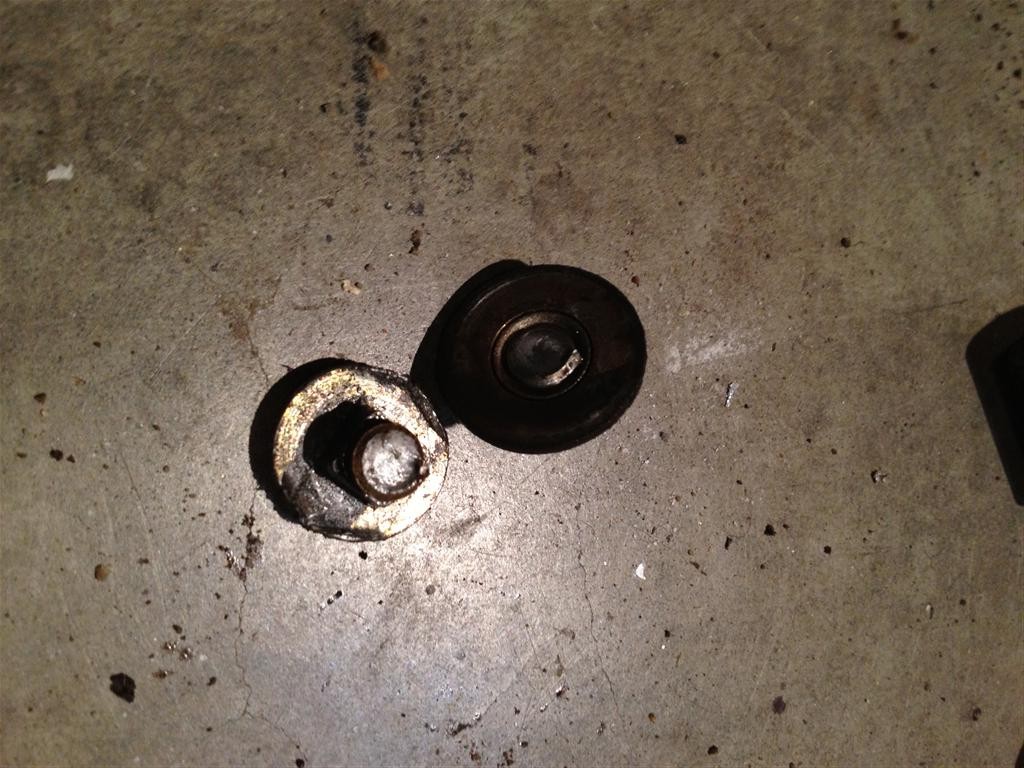
Once the bumper's off I removed the shocks. (who ever though carriage bolts in aluminum was a good idea :banghead: )
Image
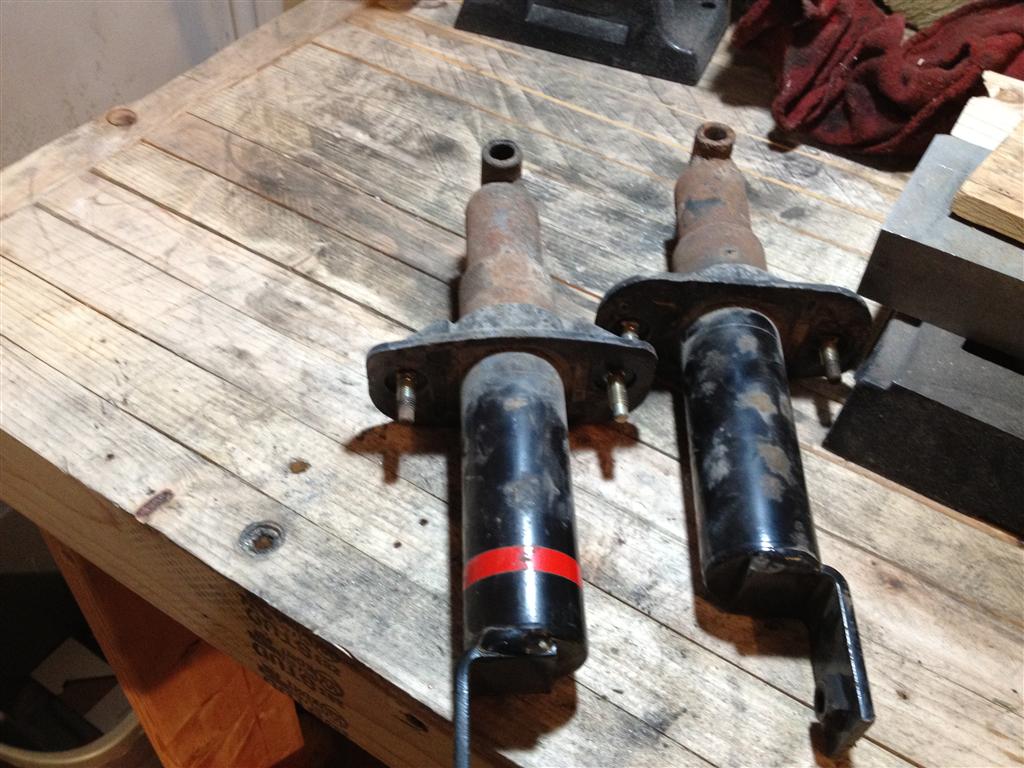
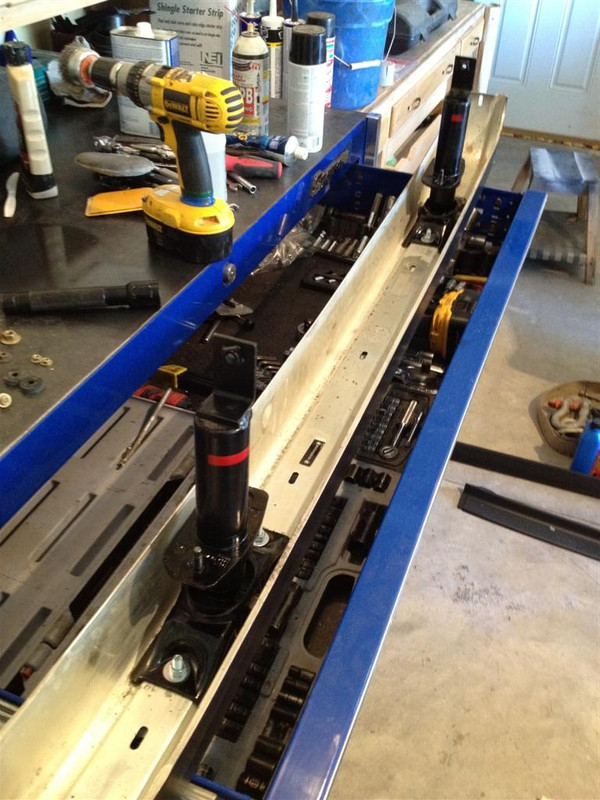
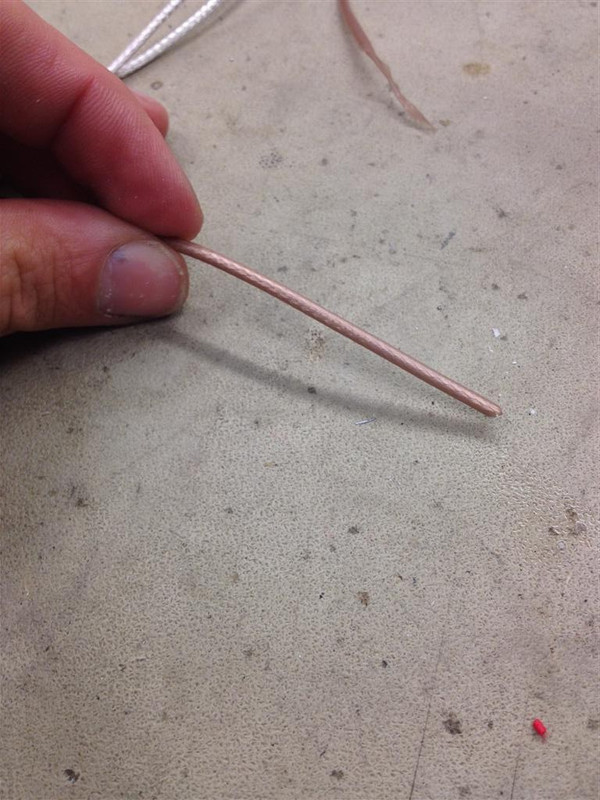
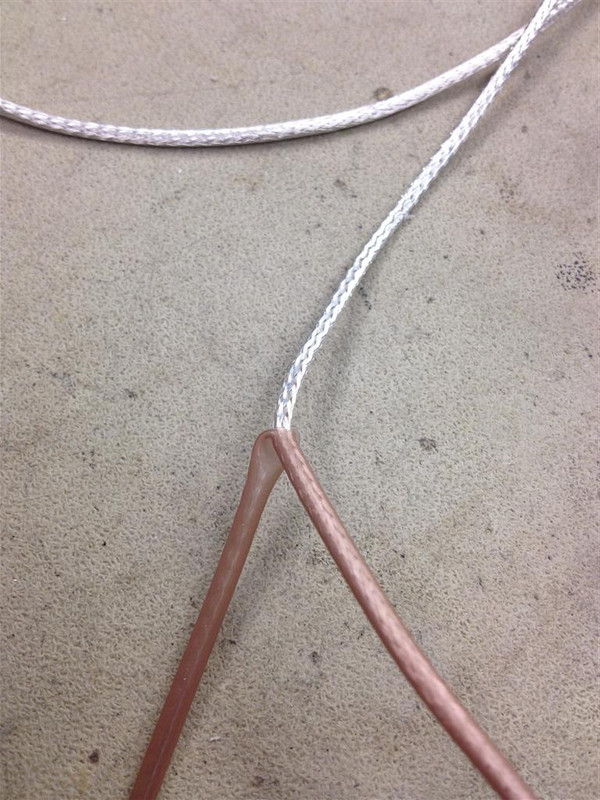
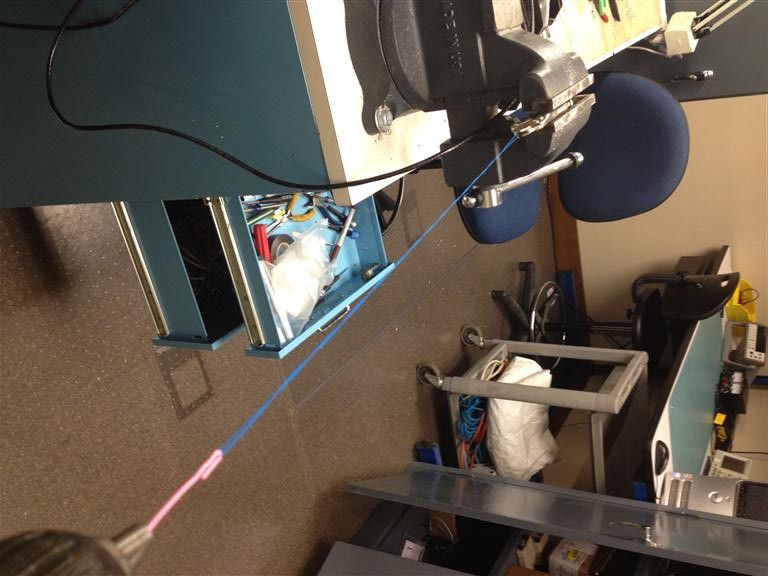
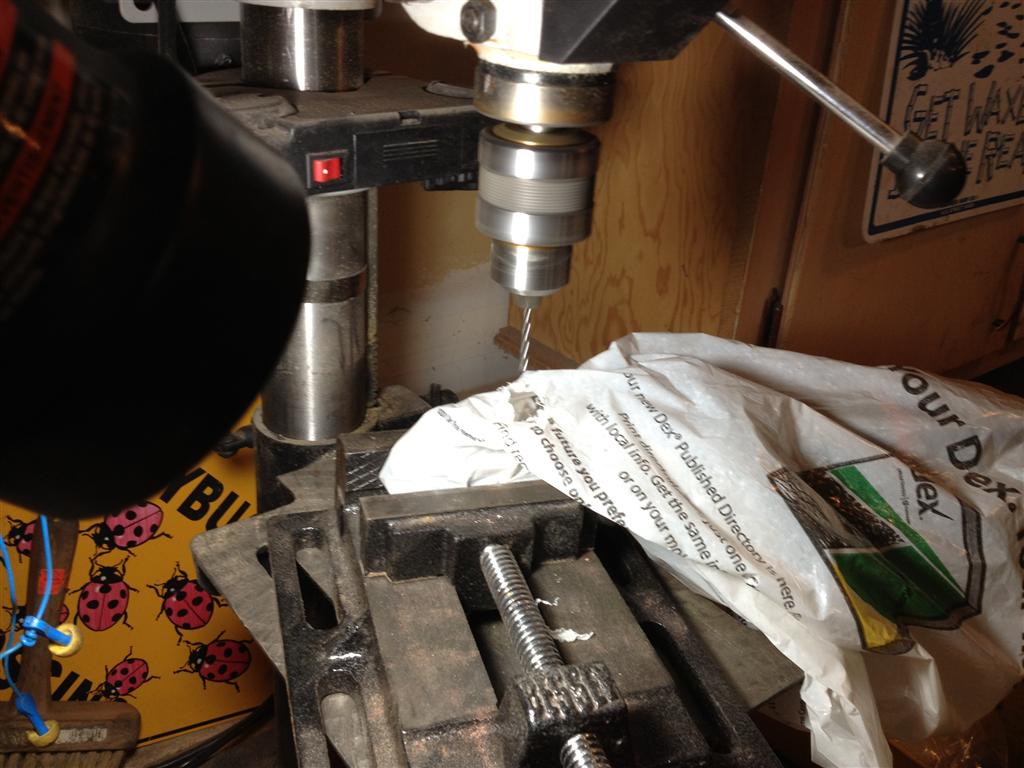
I sanded the tubes to help them compress post drill, then loaded them up in the drill press
Image
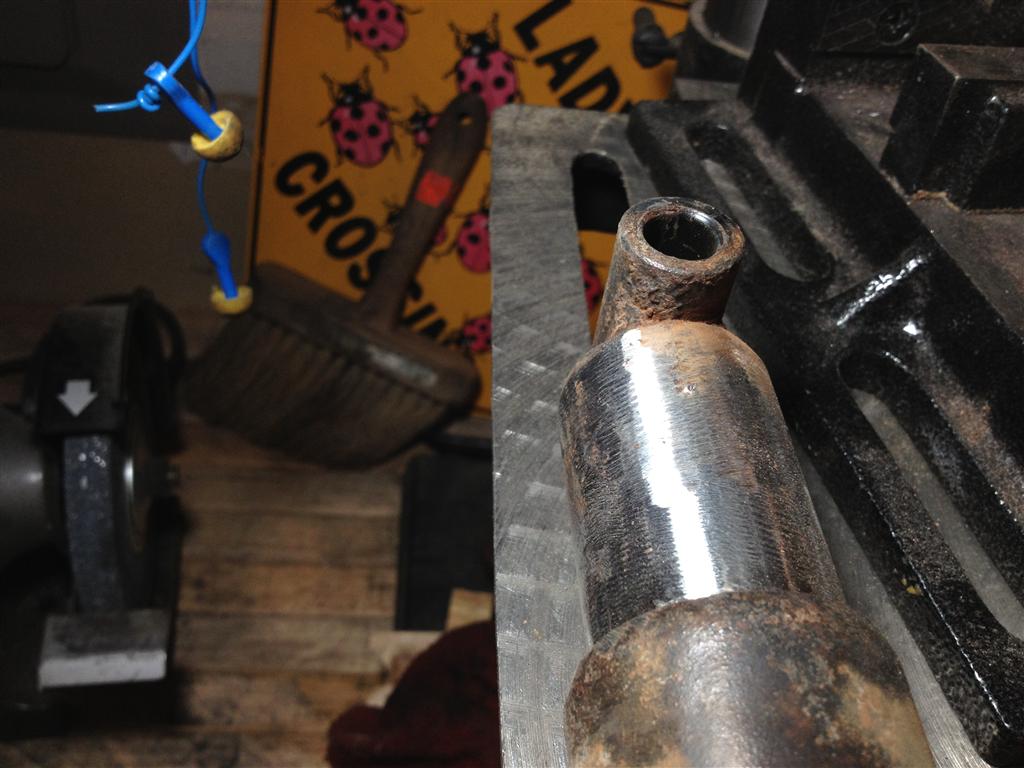
and put a plastic bag over it to catch some of the spray (actually wasn't bad)
Image

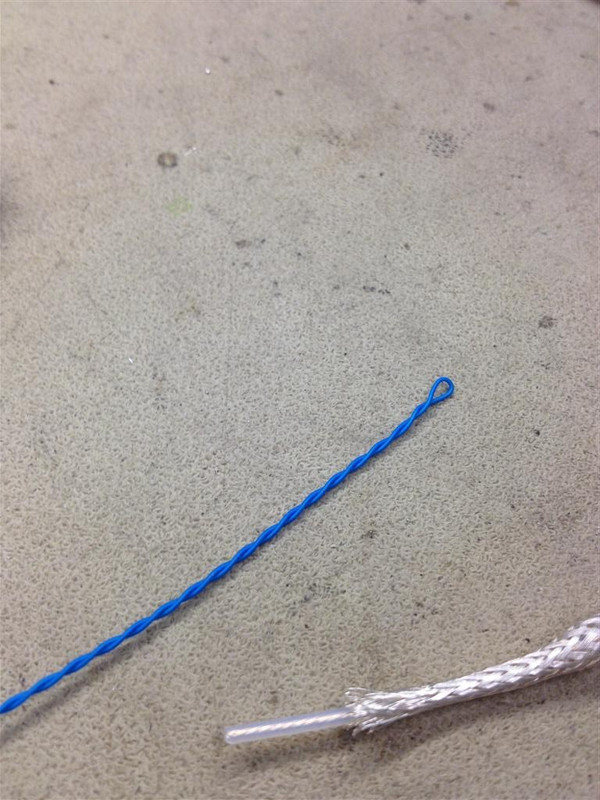
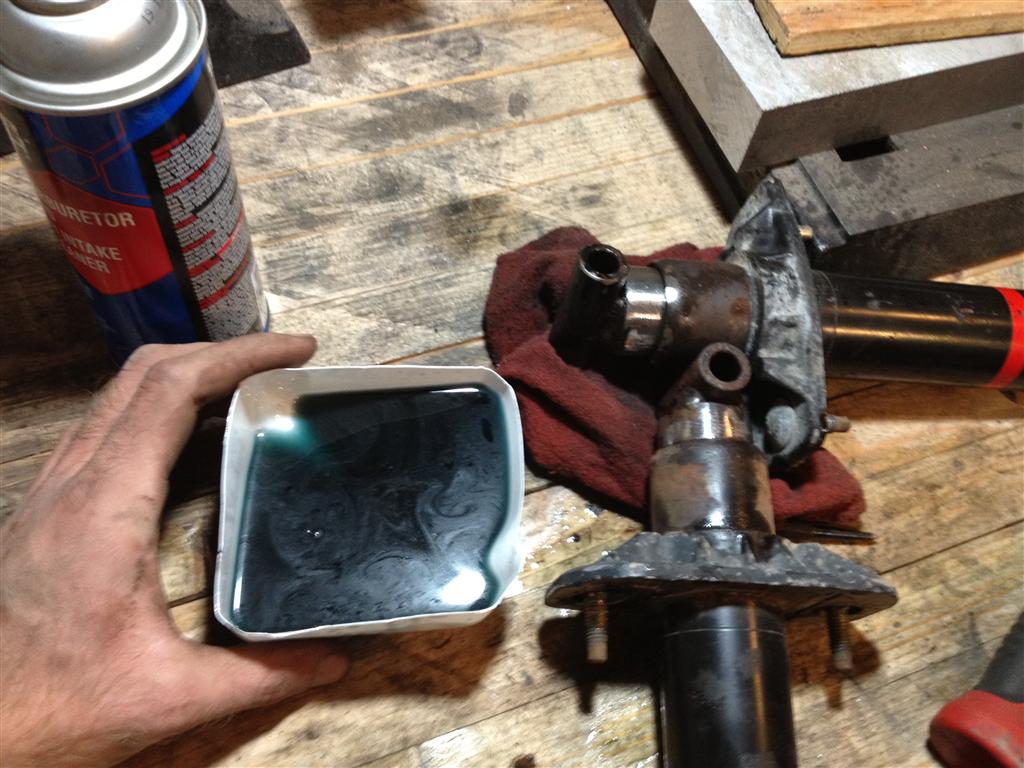
These are pressurized emulsion type (nitrogen? air? I don't know) so
Yea, even though this is the second one, I still jump when it hisses at me.
And the juice inside. Looks like regular shock oil to me.
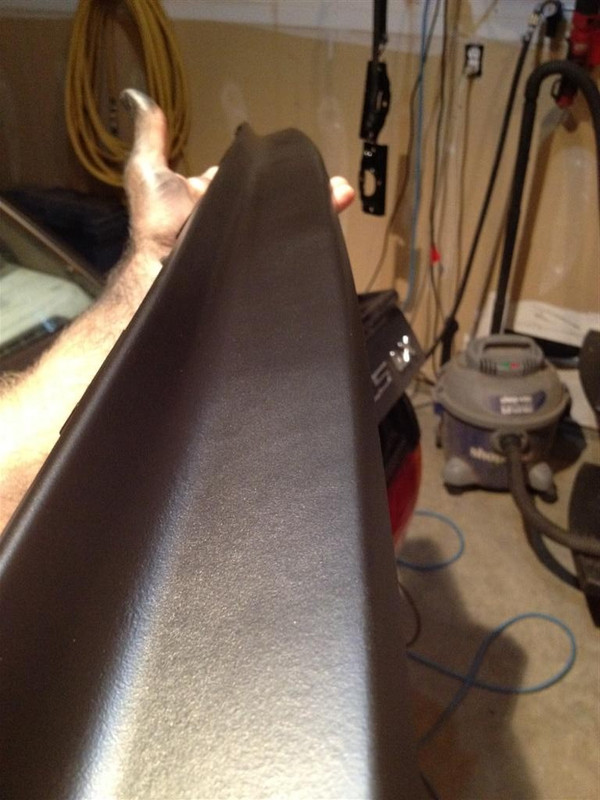
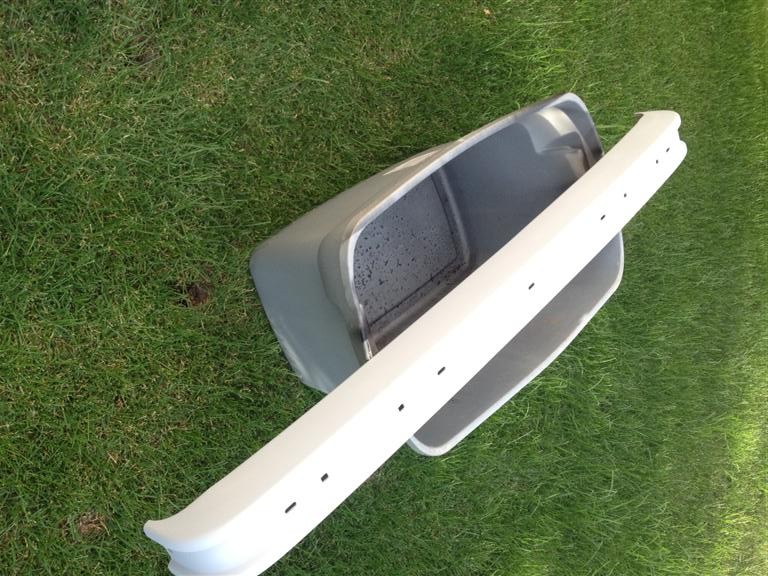
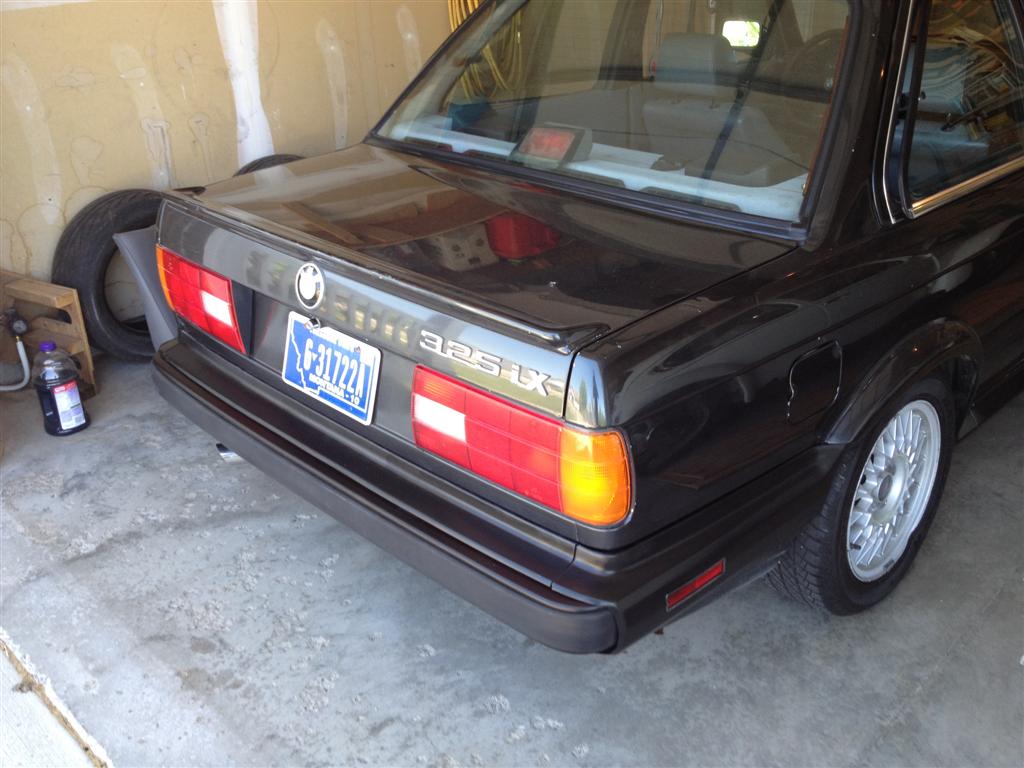
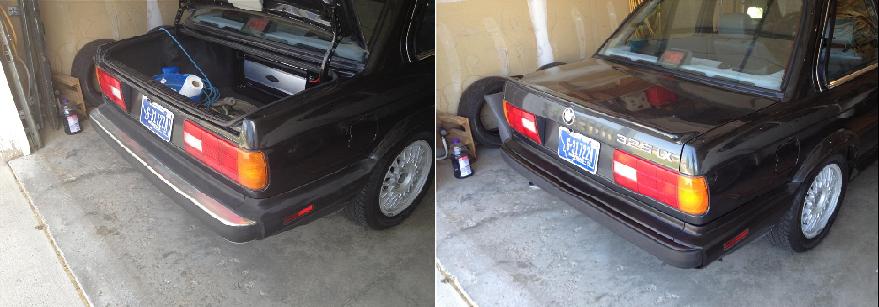
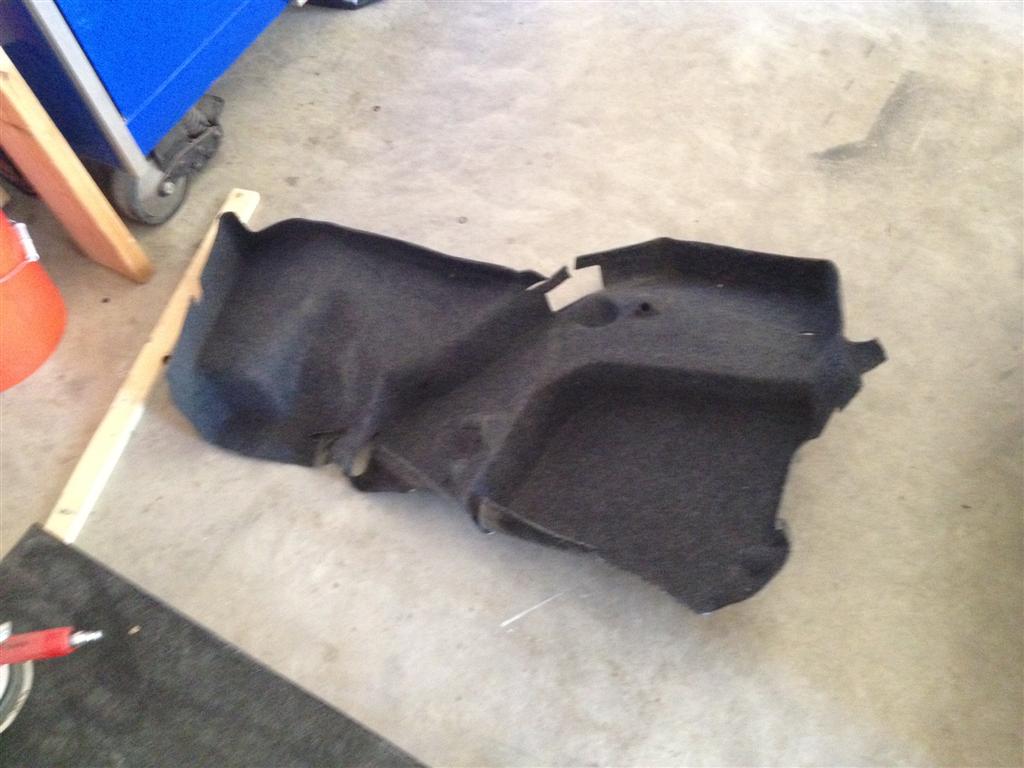
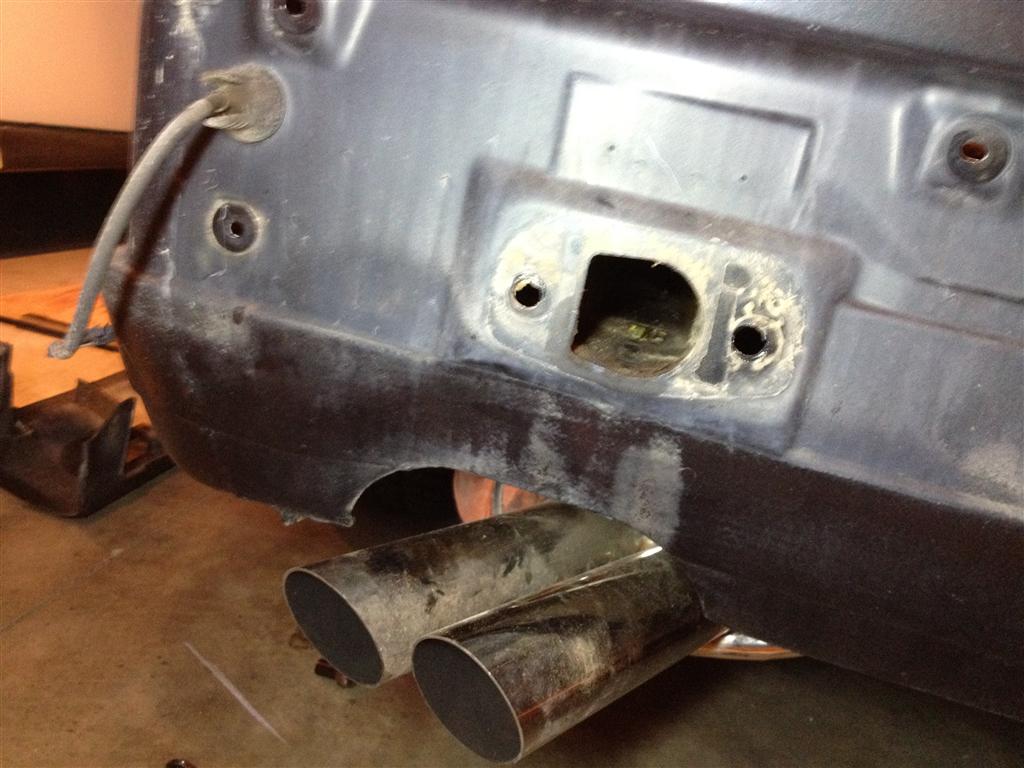
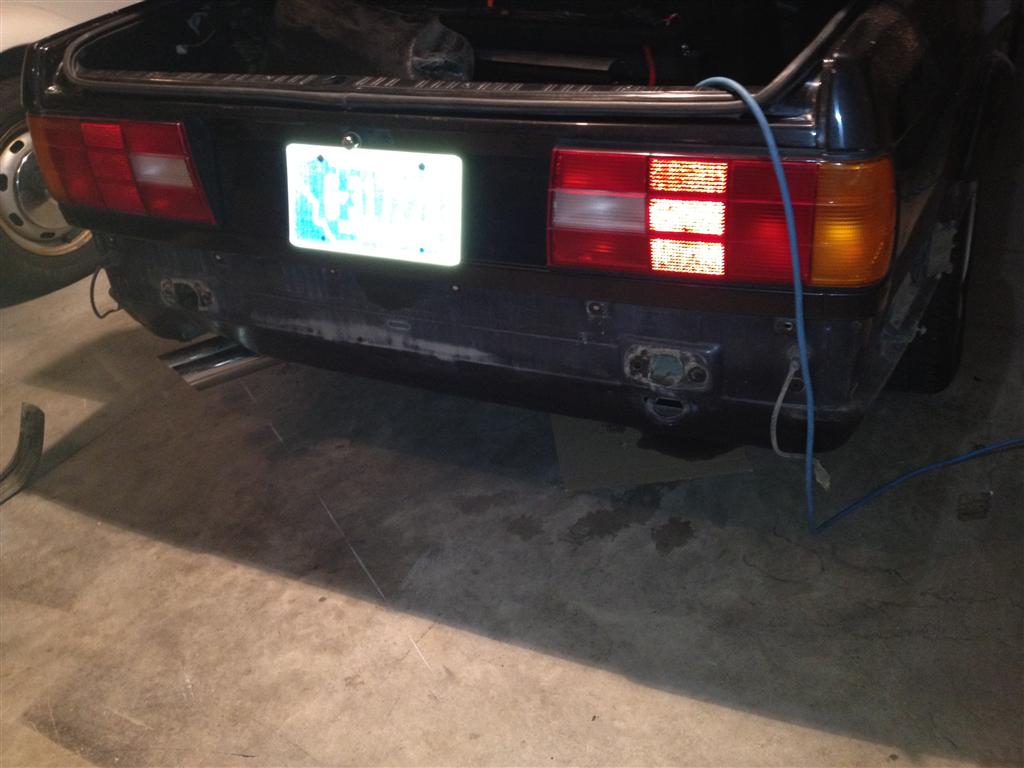
Image

Naked Rear End
Image
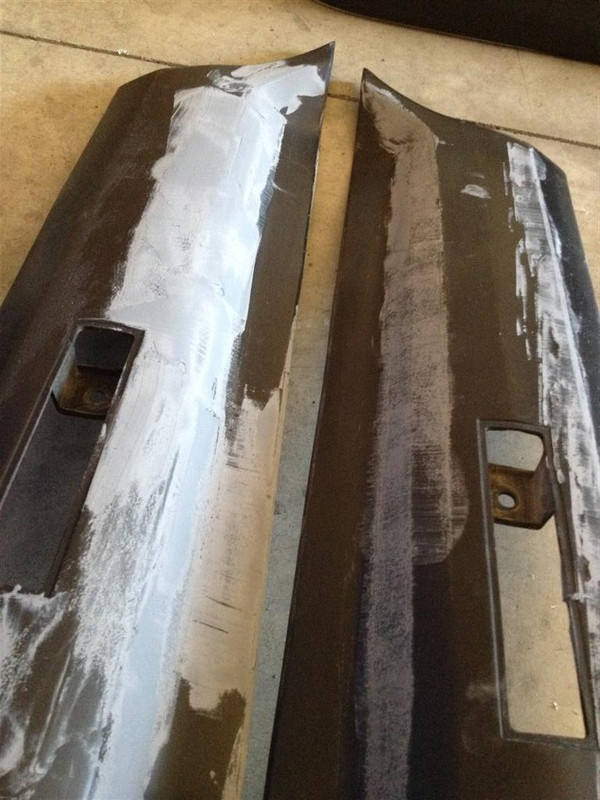
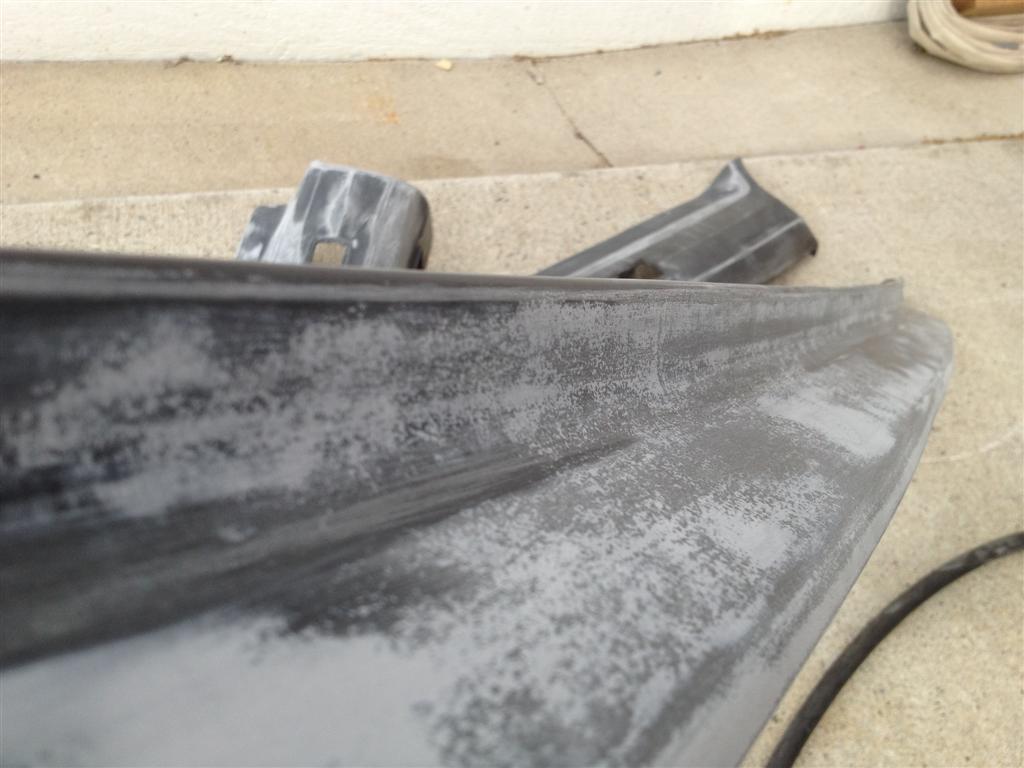
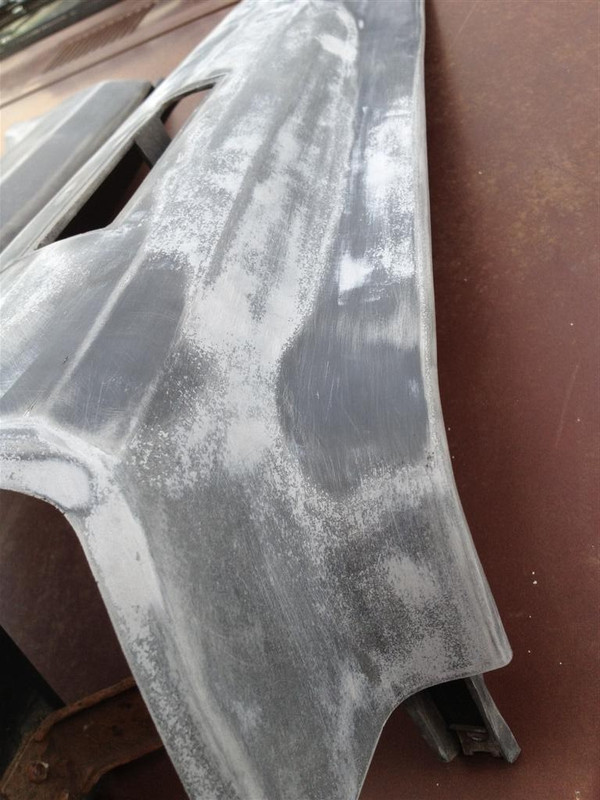
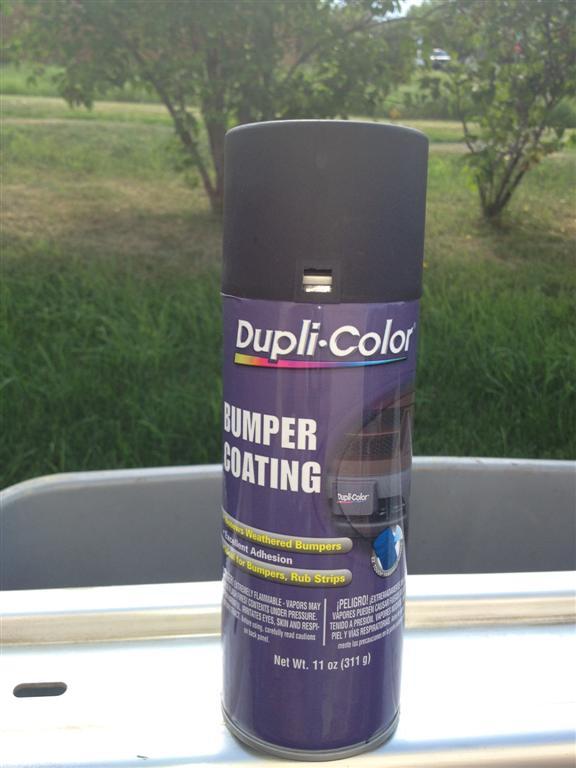
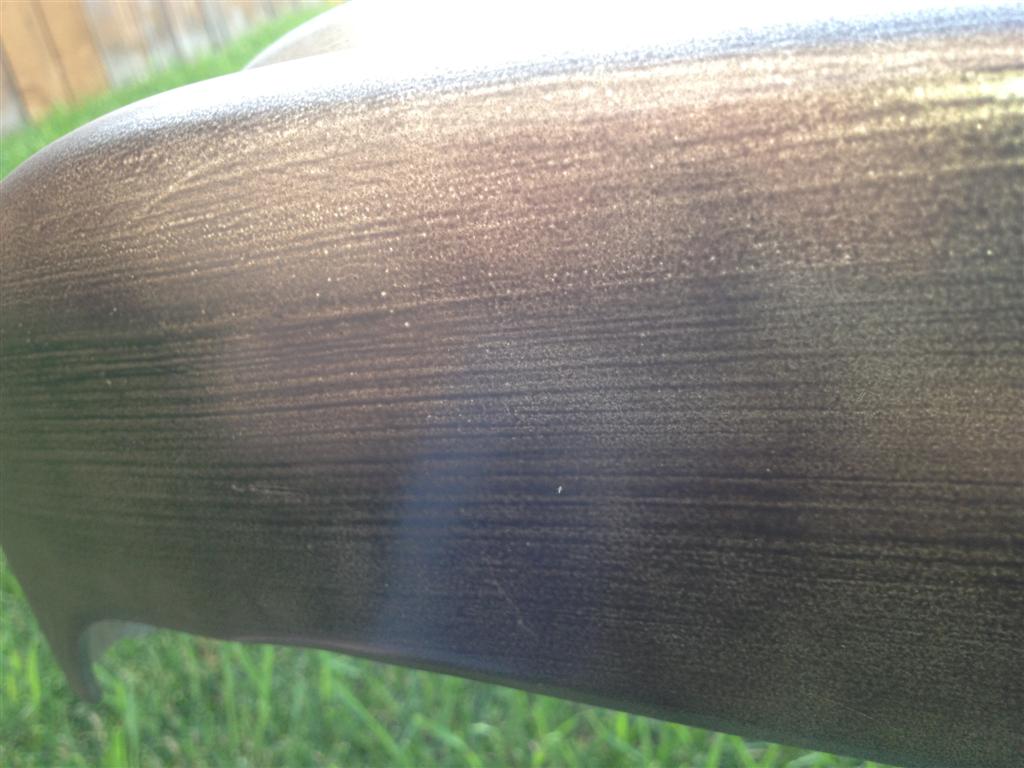
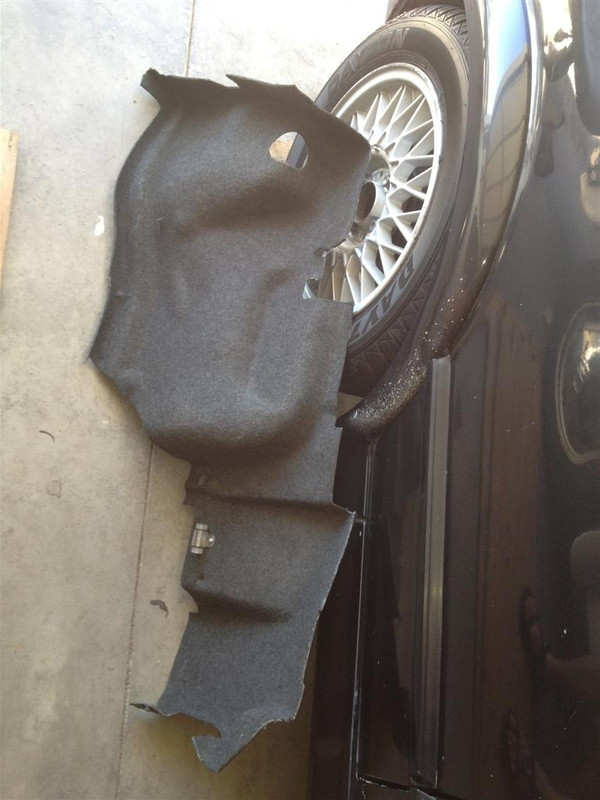
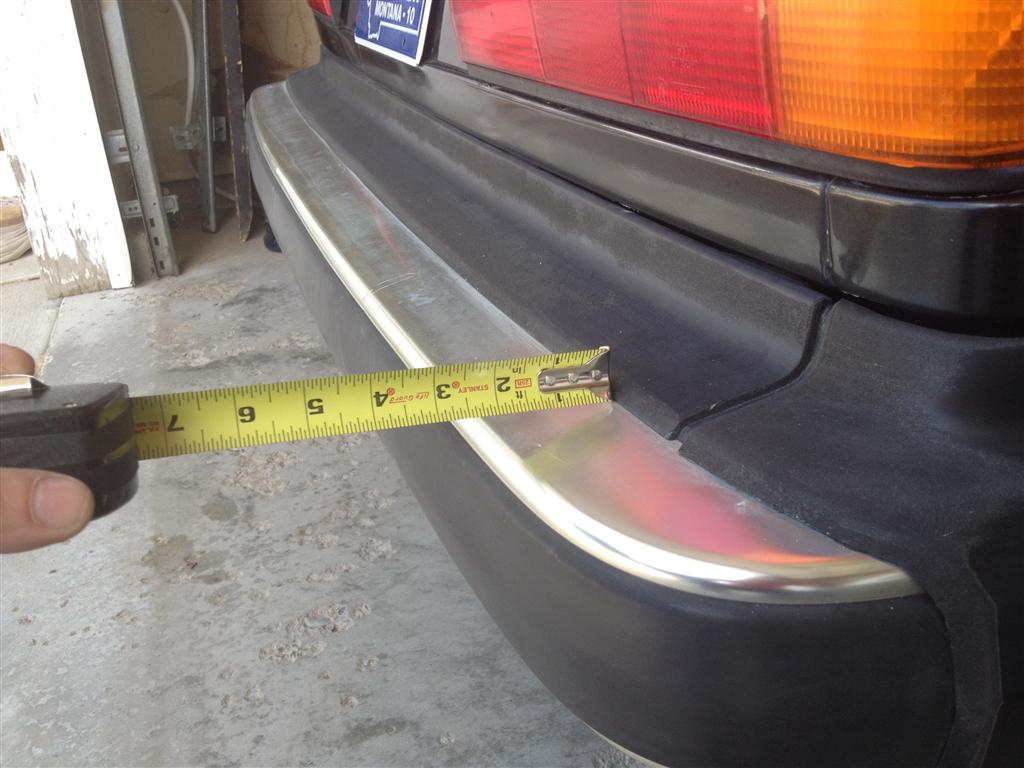
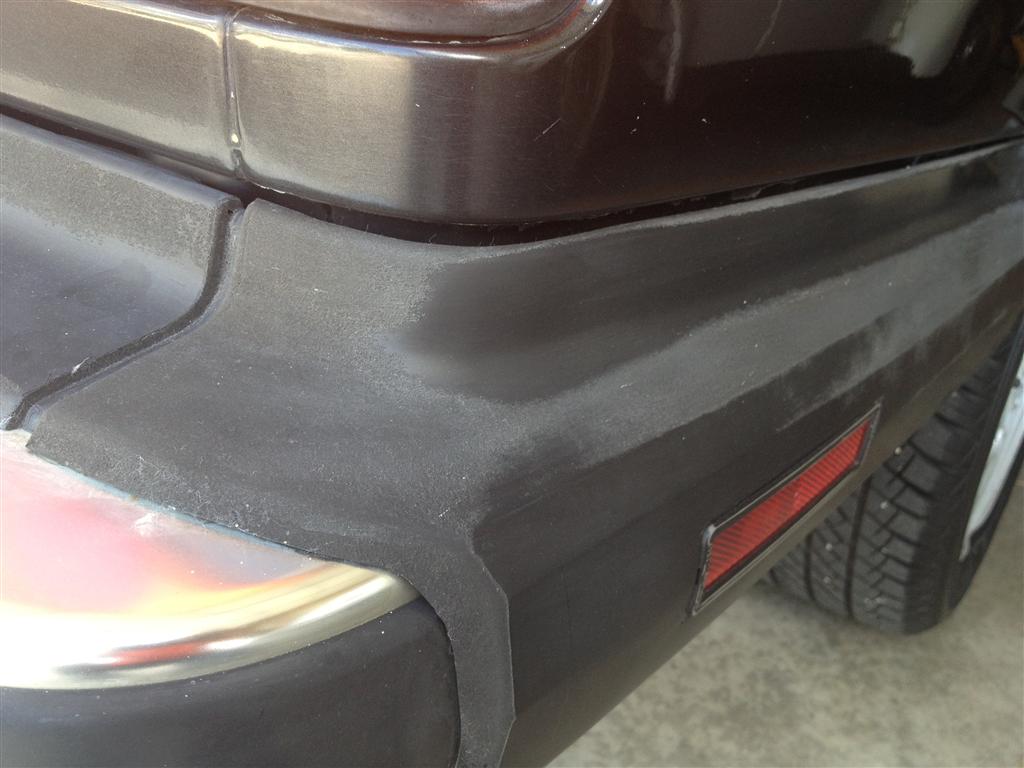
The trim is sun worn, kind of ruff and pitted. I got some 3M glazing putty that I'm going to try and use, then coat the whole piece with plasti-dip.
Image

:beer:
Last edited by kevin286 on Jul Mon 01, 2019 6:45 pm, edited 1 time in total.
Ramrod
Euro Addict!!!
Euro Addict!!!
Posts: 1148
Joined: Feb Mon 05, 2007 6:42 pm
Location: Helena, MT

Re: German AWD

Post by Ramrod »

MMMmm kate :D

Any pictures of that full rear once it's been lifted and tucked?
"That Guy"
B5 Audi S4 Stg 3, '00 A6 Avant, '69 VW Squareback, '69 VW Westfalia
Image_________________________Image
kevin286
In the trunk...
In the trunk...
Posts: 336
Joined: Jul Sat 05, 2008 10:23 am
Vehicles: 02 M3, 06 Taco DCSB, 90 240 Wagon
Location: Moab, UT
Contact:

Re: German AWD

Post by kevin286 »

This evening update.
So my super awesome UV activating 3M glazing putty. Yeah, dried in the tube. Took it back, opened all the remaining tubes of the stuff at O'reily's and they were all junk.
Went to Napa and got some Napa brand stuff. Not UV activating, though it does not require any activator, just dries quick.
Image
At first I used a light flexy spreader but I couldn't get a thin coat with it. :( That just means too much sanding.
So then I tried a stiff spreader and much better. On the bottom, too heavy, top, nice thin coats
Image
I think I ended up doing about 4 coats each with sanding sessions between. Stuff is dry sandable in like 15 minutes so that's pretty awesome.
Image
Image
Then I did 3 coats of Plasti-Dip
Image
Image
And also prepped the hardware. I know, it's covered but I'd know there was uck underthere.
Image

:beer:
Last edited by kevin286 on Jul Mon 01, 2019 6:49 pm, edited 1 time in total.
kevin286
In the trunk...
In the trunk...
Posts: 336
Joined: Jul Sat 05, 2008 10:23 am
Vehicles: 02 M3, 06 Taco DCSB, 90 240 Wagon
Location: Moab, UT
Contact:

Re: German AWD

Post by kevin286 »

Thought I'd try official "Bumper" paint out. I'd done the front in Plasti-Dip and that looks good, but I did notice a chip the other day so I thought maybe I'd try this out and see if it's more durable.
Yeah, it's actually called "Bumper Coating" :retard: Who'daThunk
Image
Doesn't say anything about priming or even what the recoat times are.
First I tried just spraying on the alum. (I'd sanded it with 220 grit and wiped it down with acetone)
I got pinholes though which are typically a symptom of either contamination or incompatible base coat.
Image
So... I thought maybe the acetone wasn't good to clean with, so I stripped it all off, then wiped it down with isopropyl alcohol.
Still pinholing, though I did notice it seemed to only pinhole around tiny dings in the alum.
Stripped it down again. This time my theory was that I couldn't strip the incompatible base or whatever in the recesses of the tiny dings so I put a wire wheel on my drill and scrubbed the bejeebers out of it. Then the DA sander 220 grit again. Then alcohol wipe down. Then as extra precaution, I put a thin coat of primer on.
Image
Then I did real light coats, the whole can, 4 coats.
Image
I'm satisfied with the results. Next up assembly. edit: I guess you can't really tell in the photo ^^ the black part in the picture there is a shot of the flat top side of the bumper
Last edited by kevin286 on Jul Mon 01, 2019 6:52 pm, edited 1 time in total.
User avatar
Darkside
Euro Addict!!!
Euro Addict!!!
Posts: 1161
Joined: Aug Sat 23, 2008 8:23 pm
Vehicles: 97' Jetta VR6
85' Golf 8v
Location: Buildings
Contact:

Re: German AWD

Post by Darkside »

looks like new! Nice work :)
MKIII VR6 MKII 8v
kevin286
In the trunk...
In the trunk...
Posts: 336
Joined: Jul Sat 05, 2008 10:23 am
Vehicles: 02 M3, 06 Taco DCSB, 90 240 Wagon
Location: Moab, UT
Contact:

Re: German AWD

Post by kevin286 »

Got up at 8 this AM to get this reassembled before C&C. Draggn butt, due to being out late late towing a friends lifted 4runner back from Norris. :\
Image
Image
Image

And here's side by side (don't have editor on this PC.. had to use mspaint :crybaby: )
Image
That's about 3" poke to 1".
Image
Last edited by kevin286 on Jul Mon 01, 2019 6:54 pm, edited 1 time in total.
User avatar
YASHA7FOLD
Euro Addict!!!
Euro Addict!!!
Posts: 2092
Joined: Jun Wed 30, 2010 4:42 pm
Vehicles: 58 Buggy,65 Baja,69 Beetle, 72 Westy
Location: Laurel
Contact:

Re: German AWD

Post by YASHA7FOLD »

Nice and snug with a clean look. Nice job man. :thumbsup:
.R13 5 (o\!/o)
..╚╬╬╝
... 24
kevin286
In the trunk...
In the trunk...
Posts: 336
Joined: Jul Sat 05, 2008 10:23 am
Vehicles: 02 M3, 06 Taco DCSB, 90 240 Wagon
Location: Moab, UT
Contact:

Re: German AWD

Post by kevin286 »

Okay. Not to proud to admit mistake here.
So I have GC Koni yellows, top adjust.
Before let me stress that... before you install your awesome Lukebox, drill the trunk side panels so that you can get your adjusters on and actually access your fancy shocks.
I absolutely forgot about this and getting the LB out was a PITA. Not just the box, but I had all my wires... bla bla. Anyways, trust me, drill first. I used a 2 1/2 hole saw running backwards, Going forward grabbed too much, backwards works just fine.
You start with this
Image
Drill hole
Image
Tada, now you can get your adjuster knob on there to adjust the shock. :nod:
Image

Yeah, I'm a dumb arse for not thinking of this before but... yeah. Do it. Heck, just do it even if you're only planning on top adjust in the future. :cool:
Last edited by kevin286 on Jul Mon 01, 2019 6:56 pm, edited 1 time in total.
kevin286
In the trunk...
In the trunk...
Posts: 336
Joined: Jul Sat 05, 2008 10:23 am
Vehicles: 02 M3, 06 Taco DCSB, 90 240 Wagon
Location: Moab, UT
Contact:

Re: German AWD

Post by kevin286 »

Back to the whole phone by the A pillar for music and navigation goodness.
I found that my radio takes over the iPhone when it's plugged in, really I just wanted to use if for DAC and 5VDC power... EG use my phones app to change the music, show whats playing, rather than use the head unit to show what's playing and change the song. So, I thought I just run a audio extension from the phone to the head unit. Pop a little bulkhead 3.5 jack in the A pillar next to the USB and run a short M -> M extension from phone to pillar.

Made an extension cable today after work.
All low inductance and sh*t with silver braid shield because that's what the internets say about good analog audio signal transfer (I also have a TT fetish so.. yeah) <<edit that's not a reference to an Audi
The guys over at TNT-audio seem to be pretty knowledgeable if you're interested in audio interconnects.

Started with some nice LMR190 coax cable.
Image
Stripped off the plastic sheath
Image
Using 30ga solid core for the L & R channels
Image
Chucked up a bent paper clip in a drill to twist it
Image
Turned out good (note ease off the wire when down and let it untwist just a bit or you'll end up with a knotted mess)
Image
Pulled the center core out of the LMR190 and pulled in my 30ga pair
Image
Soldered it to my connectors (admittedly these aren't super quality)
Image
Put a little heat shrink tubing in place
Image
All together
Image


And...

..
..
..


..
The connector base is too large a diameter to fit through the phone case hole.
It don't fit :banghead:
Image

Cheers, :beer:
Last edited by kevin286 on Jul Mon 01, 2019 7:01 pm, edited 1 time in total.
User avatar
MT-Getto
Euro Addict!!!
Euro Addict!!!
Posts: 2747
Joined: Dec Sun 17, 2006 11:46 am
Vehicles: 20VTMK2GLI
MK6DSGGTI
2010PowerStroke
Location: Fraggle Rock

German AWD

Post by MT-Getto »

Well that's still cool :)
It's not how fast you go. It's how well you go fast.
Post Reply